In video editing, a keyframe is an important frame that is used to define the properties of an object or animation. Properties that can be defined include position, color, size, and rotation. Keyframes are used to create animations and to smooth transitions between frames. In order to create a smooth animation, the editor must create a keyframe for every property that changes between two frames.
What is Keyframing?
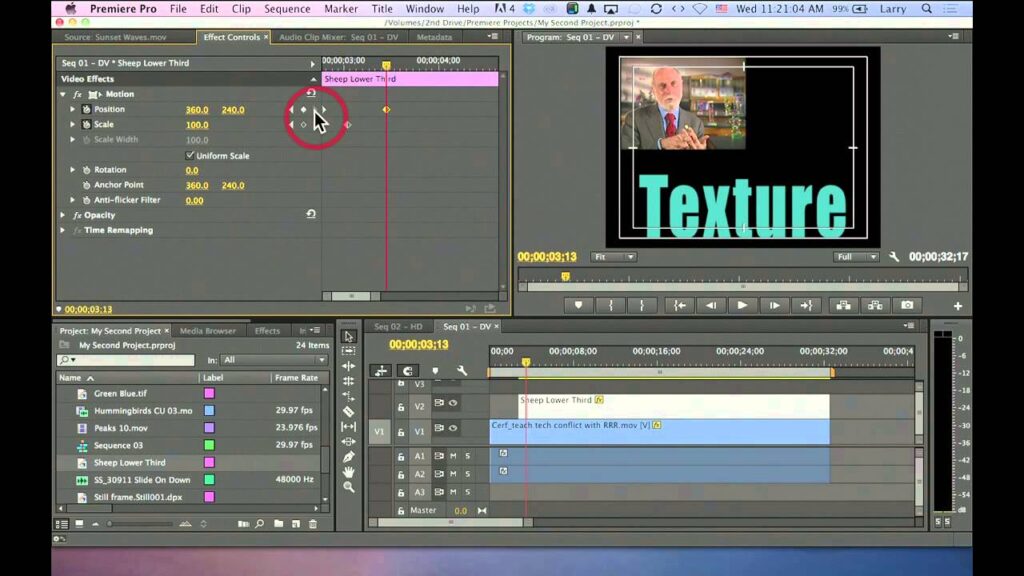
In video editing, keyframing is a process of animating changes in elements over time. This can be done with text, graphics, or video. Typically, keyframing is used to create smooth transitions between different elements in a video or to add movement and life to static elements.
Video Editing Software That Can Use Keyframing
Here is the video editing software that can edit video with keyframing animation:
Camtasia
Keyframing is an animation technique that allows you to define specific points in time and control the motion and appearance of objects between those points. Camtasia offers a variety of keyframing options, which you can use to create custom animations.
To create a keyframe, first, select the object or objects you want to animate. Then, on the timeline, drag the play to the point where you want the animation to start. In the Properties pane, click the Edit Keyframes button. This will open a window with all of the keyframe options. The Camtasia promo code is the best way to buy this video editor with the keyframing option with a big discount.
You can use keyframes to control a wide range of properties, including position, size, and opacity. You can also add easing effects to give your animation a more fluid feel. To do this, select an easing type from the Easing menu and then adjust the settings as needed.
Filmora
Keyframing is a powerful animation tool that you can use to create smooth and seamless animations. With keyframing, you can control the movement of individual objects or elements in your video. To create a keyframe, simply drag the slider to the desired position and click the keyframe button. You can then animate your object by moving it to a new position and clicking the keyframe button again. Filmora makes it Tiranga game asy to create smooth animations by automatically interpolating between keyframes. Also, there is Filmora 11 discount available on this software that will help you to save a lot of money.
What Are The Benefits Of Keyframing?
In animation, keyframing is the process of defining the starting and ending points of a change in an object’s position, scale, or another attribute. It is used to create drawn animation, motion graphics, and special effects. By creating a series of keyframes along a timeline, you can change the position, scale, or another attribute of an object over time. This allows you to create smooth animations without having to draw every frame.
What Is Keyframe Interpolation?
When creating a transition between two keyframes in an animation, you have a few options for how that transition will look. One of those options is called keyframe interpolation.
Linear Interpolation
Linear interpolation is a mathematical technique used to create a smooth transition between two points. It is a steady and even movement that gives the appearance of being seamless. Linear interpolation can be used to animate objects or to change the color or texture of an object. It is also used in video editing to create fades and other special effects.
Hold Interpolation
With interpolation, you can hold a value on one keyframe and then suddenly change to the value of the next key. This can be used to create more realistic animations. For example, if you have an object that is slowly moving across the screen and then you want it to jump to the other side, you can use interpolation to hold the value at the end of its current trajectory and then make a quick jump to the new position. This will create a much more realistic animation than if you just had it move from one side of the screen to the other in a single step.
Bezier Interpolation
If you’re looking for smooth transitions between points in your animation, you’ll want to use bezier interpolation. This method combines linear and hold interpolation, and is completely customizable. You can control the speed and smoothness of the transition by adjusting the bezier curve.
What Is Keyframe Interval?
Keyframe interval is the size of time that you set between two anchor points. When you create keyframe animation, you set a specific time for each keyframe. The browser then calculates the distance between each keyframe and creates the animation in between. You can change the keyframe interval to create different effects. For example, if you want an animation to move more quickly, you can reduce the keyframe interval. Conversely, if you want an animation to move more slowly, you can increase the keyframe interval.
What Is Keyframe Animation?
Animated videos are a great way to engage an audience and explain complex concepts. But making those videos can be daunting, especially if you’re not familiar with animation software. One of the simplest ways to animate an object in your video is with keyframe animation.
Keyframe animation is a technique where you create an animation by defining specific points in time (keyframes) and then telling the software how the object should look at each point. This approach makes it easy to control the timing and movement of your animation.
How To Use Keyframe To Create Animation?
Keyframe animation is one of the most popular ways to create animated content. It can be used to create simple or complex animations, and it’s easy to learn. Here are the steps you need to take to create a basic keyframe animation:
- Choose the content you want to animate. This can be a video, image, or text.
- Create a new document and import the content you want to animate.
- Add a keyframe at the beginning of the timeline and set the duration of the animation.
- Add another keyframe at the end of the timeline and set the final state of the animation.
- Draw or animate between the two keyframes to create your animation.
FAQs
Check the queries to learn more about Keyframe video editing:
What Is The Purpose Of A keyframe?
A keyframe is an anchor point for actions in all different types of animation programs. By setting keyframes, you create “stops” for the animation to pause at. This lets you control the speed and fluidity of the animation by creating a smoother transition between frames. Additionally, keyframes can be used to create more complex animations that would be difficult to create with just one frame.
What Is The Difference Between Frame And Keyframe?
Frames and keyframes are both integral parts of the animation. Frames are the basic building blocks of animation, while keyframes are important in defining the starting and ending points of animations. In general, frames are used to create the overall motion of animation, while keyframes are used to define specific points in that motion. For example, you might use a series of frames to create the illusion of a character walking, and then use keyframes to define when they start and stop walking.