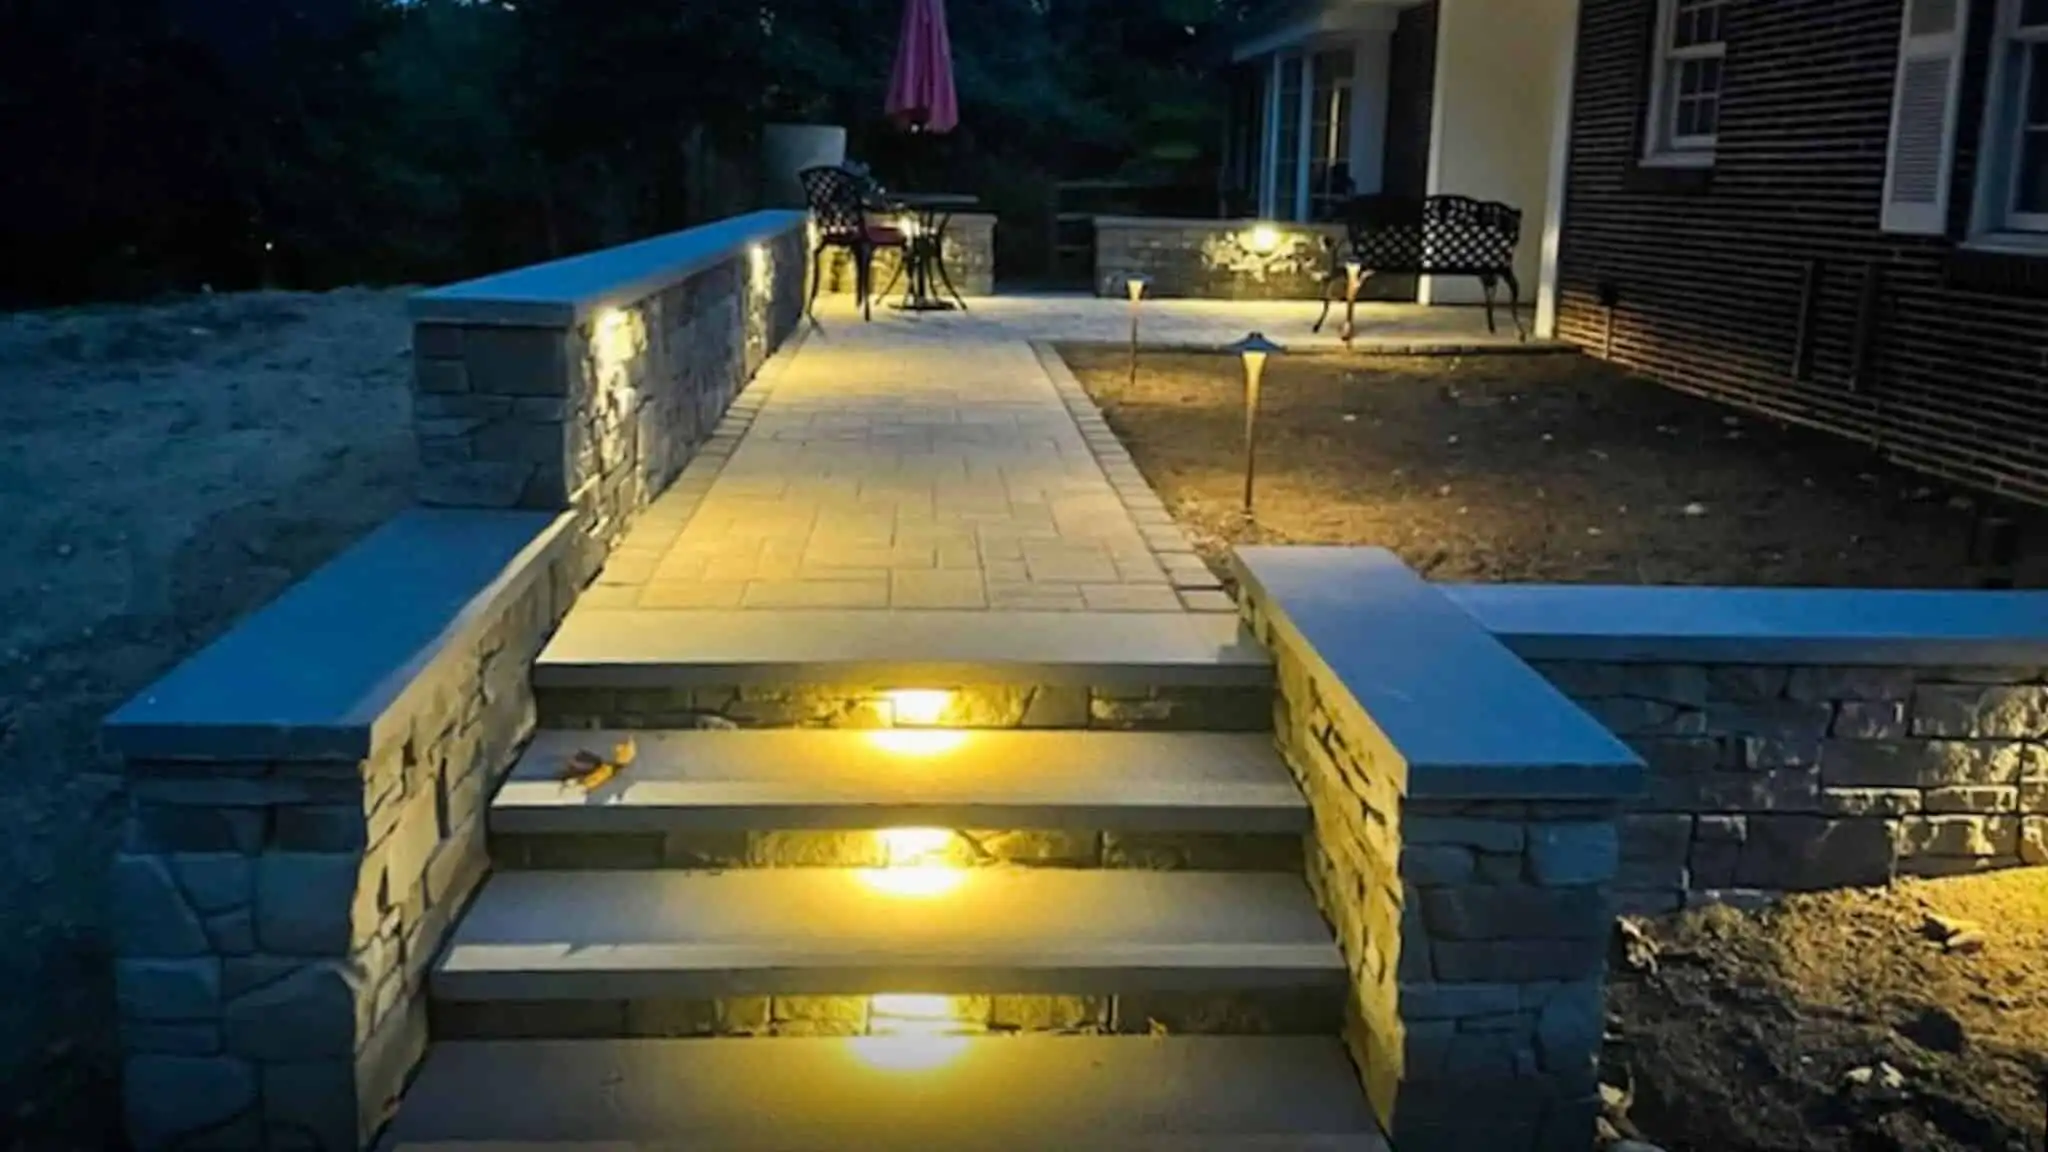
Installing paver lights from Kings Outdoor Lighting is one of the more technical DIY landscape lighting projects, but it is entirely achievable with careful planning and the right approach. Unlike surface-mounted path lights that require only a stake and a cable connection, paver lights must be installed flush with the surrounding surface — a process that demands precision at every step.
Pre-Installation Planning: The Work That Happens on Paper
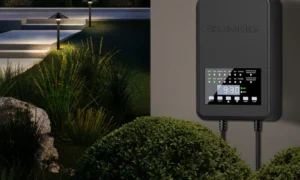
The quality of a paver light installation is largely determined before the first fixture is unboxed. Critical decisions made in the planning phase include: fixture quantity and spacing, cable routing strategy, junction box positions, and the location of the transformer.
For a driveway installation, sketch the planned fixture positions over a diagram of the driveway layout. Mark cable routing lines from each fixture back to the main cable run. Identify where the main cable run will exit the driveway surface and route underground to the transformer location. Identify where junction boxes will be positioned for future access.
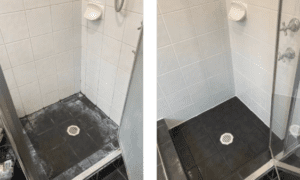
One detail that catches many DIYers off guard: the housing for a paver light must be installed before the final paver surface is laid if you are doing new construction. For retrofits into existing pavers, the relevant pavers must be carefully lifted and set aside without damage, the housing cavity prepared, and the paver reinstalled after the housing is in place.
For homeowners pairing paver lights with underwater led lights for swimming pool from Sunbright Lighting for underwater lighting in a water feature adjacent to the paved area, the best time to run both lighting cables is simultaneously — opening the ground for one system and routing all cables at the same time minimises disruption.
Cutting and Preparing the Housing Cavity
The housing cavity for a paver light must be exactly the right size — too large and the fixture is loose and unstable; too small and it cannot be installed without force that may damage the housing or surrounding pavers.
Use the fixture housing as a template to mark the cutting outline on the paver surface. Cut along this line with a concrete saw or angle grinder fitted with a diamond blade. Make the cut slightly inside the marked line — you can always remove more material but you cannot replace it. Chisel out the interior after sawing the perimeter.
The depth of the cavity must accommodate the full housing height plus a layer of compacted base material beneath. Most paver light housings are 2 to 4 inches deep.
Cable Routing and Connection
Run low voltage cable through conduit when it passes beneath pavers or hardscape. Conduit allows the cable to be replaced in the future without lifting the surface — a practical consideration that costs little at installation time and avoids significant expense later.
At each fixture location, leave enough spare cable to allow the fixture to be lifted completely out of its housing for maintenance and inspection — typically 18 to 24 inches of spare cable is appropriate.
For homeowners wanting premium 120V outdoor path lighting at the approach to their paver-lit driveway, 120V Outdoor Path Light from Kings Outdoor Lighting provides elegant 120V path fixtures that frame the paved area with architectural quality lighting.