AI image generators can produce an impressive composition in seconds, but the first result often carries small visual clues that reveal how it was made. Skin may look waxy, reflections can feel painted on, backgrounds may contain soft geometric errors, and every surface can appear equally sharp. The natural response is to add more detail, contrast, and clarity. That often makes the problem worse.
A believable image is not defined by maximum detail. It is defined by consistent light, plausible materials, controlled texture, and the small imperfections that cameras preserve. The most effective workflow therefore treats realism as a correction problem rather than an enhancement contest.
Why AI Images Begin to Look Artificial
Generative systems predict visual patterns instead of recording a physical scene. They can imitate a portrait, room, product, or landscape without fully understanding how every object should behave under the same lighting conditions. A face might be lit from the left while a nearby object casts a shadow in another direction. Fabric may have the smoothness of plastic. Hair can merge into the background in ways a camera would not capture.
Editing can amplify those inconsistencies. Global sharpening makes malformed edges more obvious. Heavy denoising removes pores and material grain. Strong saturation turns subtle color contamination into a stylized grade. Before making an image “cleaner,” identify which part is structurally wrong and which part merely needs a gentler finish.
Correct Structure Before Adding Texture
Begin at normal viewing size, then inspect the image at 100 percent. Look for errors in hands, eyes, teeth, jewelry, text, repeated background objects, architectural lines, and reflections. These details attract attention because viewers know how they should look.
Use a local repair or inpainting tool for isolated problems. Make the smallest selection that contains the error, preserve nearby edges, and generate several alternatives. A large selection gives the model too much freedom and can change a person’s identity, product shape, or composition. Once the geometry is credible, texture work becomes much easier.
Make Lighting Internally Consistent
Real photographs contain a clear relationship between the main light, fill light, shadows, and reflected color. Check the brightest area of the scene and trace the expected direction of every important shadow. If a subject is next to a warm window, for example, skin and clothing should receive some warm spill. A cool shadow may remain, but it should not look disconnected from the room.
Correct exposure locally instead of moving a single contrast slider. Reduce highlights on glossy skin, restore information in dark hair, and soften overly black shadows. Avoid perfect symmetry. Small differences between the two sides of a face or object help the scene feel illuminated rather than rendered.
Preserve the Texture That Makes Materials Believable
Different materials need different kinds of detail. Skin has pores, fine hairs, uneven color, and soft transitions. Metal has sharp highlights and clean reflections. Fabric has directional fibers and folds. Wood contains irregular grain. Applying one clarity or smoothing setting to the entire frame erases those differences.
Work with masks and adjust one material at a time. On portraits, reduce plastic shine without removing natural skin variation. On products, keep edge definition while allowing broad surfaces to remain smooth. If the image is too sterile, add a very small amount of fine monochromatic grain at the end. Grain should be felt as photographic cohesion, not seen as an effect.
Use Sharpness as a Finishing Tool
AI images frequently contain false micro-detail, especially around hair, foliage, patterned clothing, and distant objects. Aggressive sharpening creates halos around these areas and gives the whole image a brittle, crunchy appearance. It also makes every plane compete for attention.
Sharpen only after resizing to the final output dimensions. Give priority to the intended focal point, such as the eyes in a portrait or the logo and front edge of a product. Let the background remain slightly softer. This matches the way depth of field and lens focus guide attention in a real photograph.
Use a Realism-Focused Conversion When the Base Image Is Strong
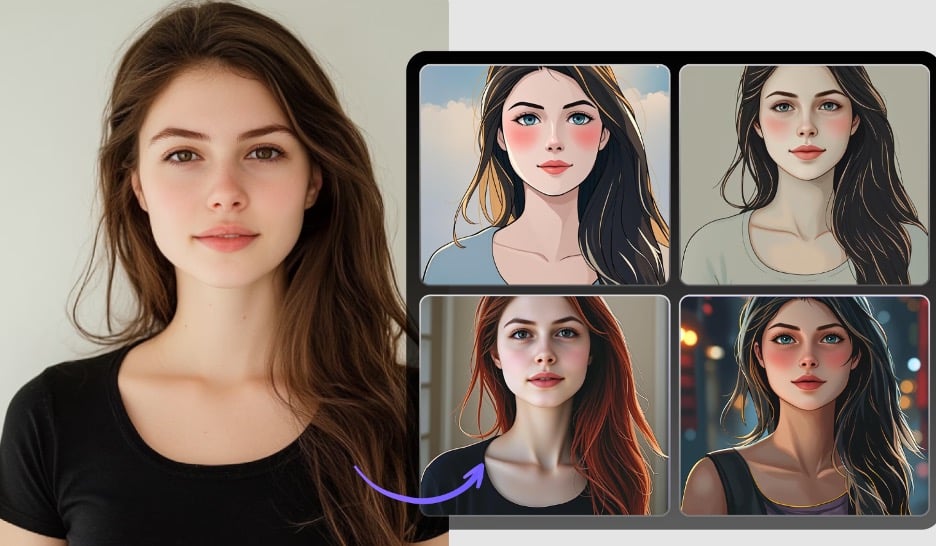
Some images already have a good composition and recognizable subject but still carry a synthetic sheen across the whole frame. In that situation, rebuilding the image section by section may be unnecessary. A focused workflow can convert an AI image into a realistic photo while retaining the core subject, layout, and visual intent. The best result should improve lighting, material response, and natural texture without turning the image into a different scene.
Start with the highest-resolution source available and avoid uploading an image that has already been repeatedly compressed. If the tool allows a prompt, describe photographic properties instead of vague quality terms. Mention a plausible lens, natural light direction, restrained color, realistic skin texture, and the material qualities that matter. “Natural window light, subtle skin texture, realistic cotton fabric, shallow depth of field” gives clearer guidance than “ultra-detailed masterpiece.”
Compare at the Size People Will Actually See
An image can look convincing at 200 percent zoom and unnatural in a social feed, online store, or article header. Review the final version at its real display size. Check whether the focal point is clear, whether skin still has texture, and whether edges look too sharp. Also test the image on a second screen if color matters; excessive warmth and saturation are easier to spot on a neutral display.
Keep the original and compare versions side by side. If the edited version has more detail but less depth, softer materials, or weaker facial identity, step back. Realism comes from a coherent set of cues, and one dramatic adjustment can break that coherence.
A Practical Final Checklist
- Confirm that anatomy, perspective, text, and repeated objects are structurally correct.
- Match highlight and shadow direction across the entire scene.
- Retain different texture behavior for skin, fabric, glass, metal, and wood.
- Use local corrections before global contrast, clarity, or saturation changes.
- Apply sharpening after the final resize and concentrate it near the focal point.
- Review the image at normal viewing size and compare it with the untouched source.
Conclusion
The most realistic AI-assisted images are usually the ones with the most disciplined editing. Correct obvious structural mistakes, establish believable light, preserve material-specific texture, and sharpen with restraint. When every adjustment supports the same physical scene, the result feels photographed rather than processed.