Introduction
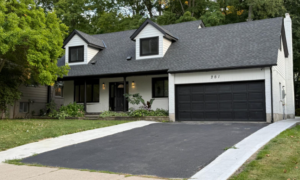
Installing a new roof is one of the most significant investments a homeowner can make. It’s not only about improving the appearance of your home but also about ensuring long-term protection against the elements. A well-planned roof installation guarantees safety, efficiency, and durability, offering peace of mind for decades to come.
However, many homeowners underestimate the complexity of this process. A proper roof installation in Waco, TX involves several meticulous steps, each of which must be executed with precision. From initial inspection to final cleanup, every detail affects the outcome. Understanding this process helps homeowners make informed decisions and appreciate the craftsmanship involved.
Companies like Waco Roofing Guys follow a systematic approach that combines technical expertise with attention to detail. By learning what goes into a professional installation, you can better evaluate your options, communicate effectively with contractors, and ensure your roofing project delivers lasting results.
Step 1: The Initial Roof Inspection
Every roof installation begins with a comprehensive inspection of the existing structure. Professionals evaluate the roof’s current condition, including decking, ventilation, and underlying support. This helps identify potential problems such as rot, mold, or weak framing that must be addressed before new materials are installed.
Measurements and slope calculations are also taken during this stage. These determine how much material will be needed and influence design choices, drainage, and ventilation requirements. A detailed inspection sets the foundation for a safe and durable roofing project.
Step 2: Choosing the Right Materials
Material selection is one of the most critical decisions in the roof installation process. The type of roofing material impacts aesthetics, performance, and cost. Common options include asphalt shingles, metal roofing, clay tiles, and synthetic materials. Each has unique advantages in terms of durability, energy efficiency, and maintenance requirements.
Homeowners should consider climate, budget, and architectural style when making their choice. A professional contractor can recommend materials that balance quality with practicality. Investing in premium materials may increase upfront costs but ensures better protection and lower maintenance over time.
Step 3: Preparing the Job Site
Before installation begins, the work area must be properly prepared. Contractors will remove outdoor furniture, cover landscaping, and set up safety equipment to protect your property during construction. Old roofing materials are carefully stripped away, ensuring the surface is clean and ready for new installation.
Proper site preparation prevents accidents and maintains efficiency. A professional team will also arrange for debris disposal and material delivery ahead of time, streamlining the workflow and minimizing disruption to your daily routine.
Step 4: Removing the Old Roof
Tearing off the existing roof is a crucial stage of any roof installation. While some projects allow for a new layer of shingles to be placed over the old one, complete removal is often recommended. This ensures that the underlying structure can be inspected and repaired if needed.
During this process, contractors remove all existing shingles, nails, and underlayment. The exposed decking is then inspected for damage or weak spots. Any compromised sections are replaced to guarantee a solid foundation for the new roof.
Step 5: Repairing and Preparing the Deck
Once the old materials are removed, the roof deck—typically made of plywood or OSB boards—is prepared for installation. Any signs of rot, mold, or structural damage are repaired or replaced. This step ensures the integrity of the entire roofing system.
A clean and secure deck provides the ideal surface for underlayment installation. Skipping this inspection can lead to uneven surfaces, moisture buildup, and premature failure of roofing materials. Reputable contractors like Waco Roofing Guys take extra care at this stage to ensure long-term stability and safety.
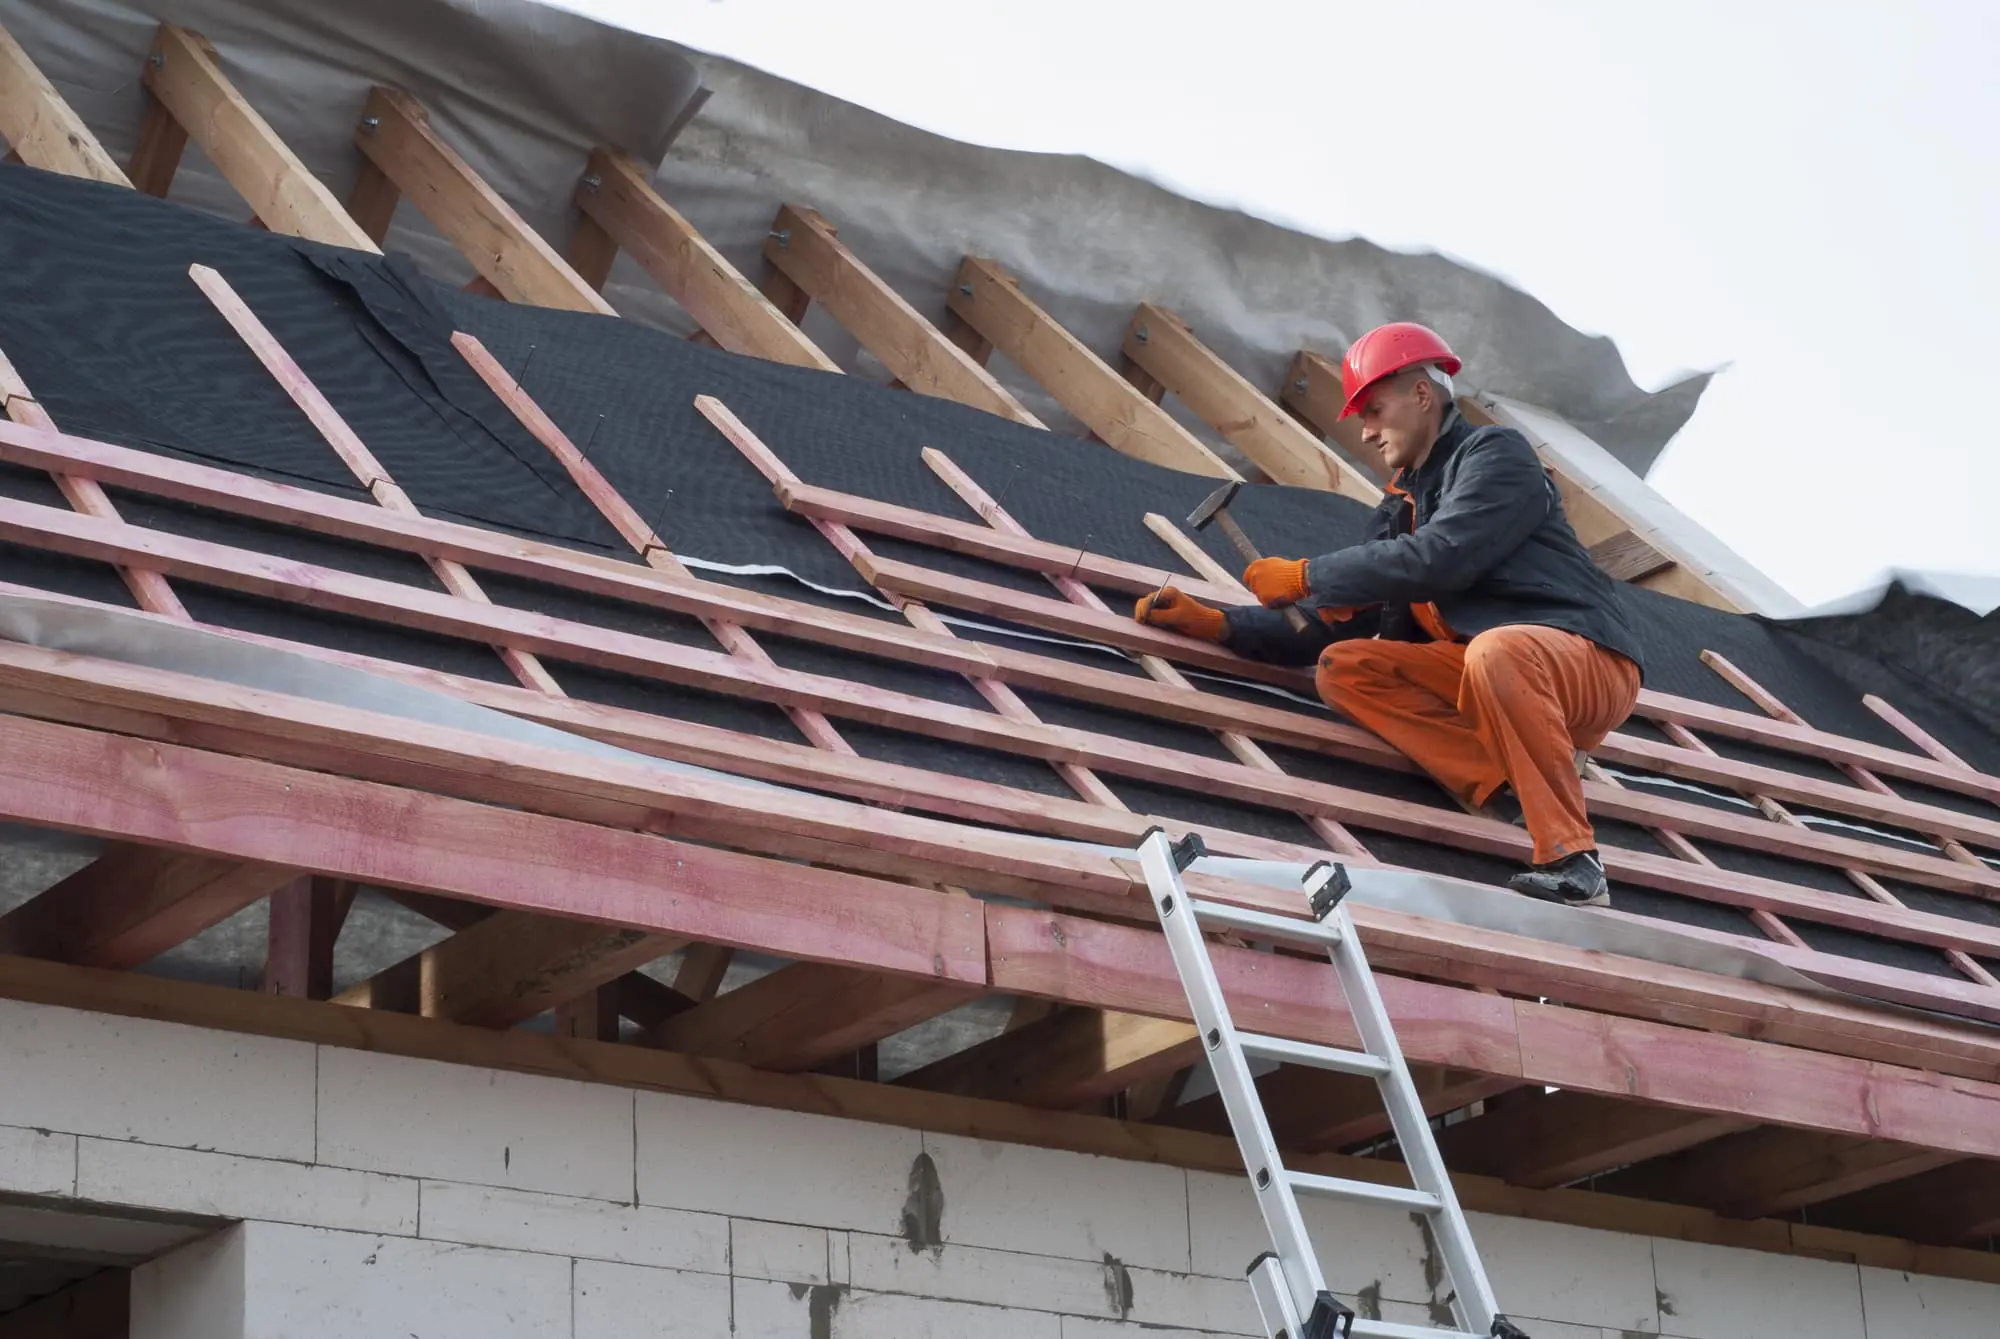
Step 6: Installing the Underlayment
The underlayment acts as a moisture barrier between the decking and the outer roofing material. It prevents water from seeping into the structure during heavy rain or snow. High-quality underlayment also improves fire resistance and energy efficiency.
Professionals roll out the underlayment evenly across the deck, ensuring it overlaps properly for maximum protection. In areas prone to ice or heavy rainfall, additional waterproof membranes may be applied around valleys, edges, and penetrations for added defense.
Step 7: Flashing and Vent Installation
Flashing is one of the most important components of a watertight roof installation. It consists of metal pieces installed around chimneys, vents, and skylights to redirect water away from vulnerable areas. Proper flashing prevents leaks and prolongs the lifespan of the roof.
Ventilation is equally vital. Ridge vents, soffit vents, and exhaust fans regulate airflow and prevent heat and moisture buildup in the attic. Adequate ventilation reduces energy costs and prevents mold growth, ensuring a comfortable and efficient home environment.
Step 8: Laying Down the Roofing Material
This is where the visible transformation takes place. Depending on the selected material—shingles, tiles, or panels—the installation technique will vary. For asphalt shingles, professionals start from the bottom edge, layering upward to ensure proper water runoff. Each piece is secured tightly to withstand wind and weather.
Attention to alignment and precision ensures a clean, uniform appearance. The roof’s ridge, hips, and valleys require special attention to ensure structural integrity and aesthetic balance. This step is where craftsmanship and expertise truly shine.
Step 9: Final Detailing and Cleanup
After the main installation, the contractor performs final detailing to complete the project. This includes sealing edges, installing ridge caps, and ensuring all flashing and vents are properly secured. The team then cleans up debris, removes protective coverings, and inspects the property for leftover materials.
A professional roof installation project always ends with a thorough quality inspection. The contractor checks for proper alignment, sealing, and ventilation to confirm everything meets safety and performance standards. You should receive documentation outlining materials used, warranties, and maintenance tips for the new roof.
Step 10: Understanding Maintenance and Warranties
Even the best roof requires occasional upkeep. Regular maintenance inspections ensure that minor issues—such as loose shingles or damaged flashing—are caught early. Many contractors provide maintenance services and warranty coverage to protect your investment.
Understanding the terms of your warranty is essential. It typically covers both materials and workmanship for a specific duration. Be sure to follow recommended maintenance schedules to keep the warranty valid and extend the roof’s lifespan.
Conclusion
A professional roof installation involves careful planning, precise execution, and quality craftsmanship. Each stage—from inspection and preparation to finishing details—plays a vital role in ensuring that the roof performs effectively for years to come. Homeowners who understand the process can make informed choices and appreciate the value of skilled workmanship.
By partnering with experts like Waco Roofing Guys, you can be confident that your roofing project is completed to the highest standards of safety and quality. A properly installed roof not only enhances your home’s appearance but also provides lasting protection and peace of mind for the future.
Read More From Techbullion