Mailing a check may seem old-fashioned in today’s digital world, but it remains a secure and widely accepted method of payment for many individuals and businesses. Understanding how to mail a check properly ensures your payment reaches its destination safely and on time. Whether you’re paying rent, sending a gift, or handling business transactions, following the right steps can prevent delays and errors.
Why Mailing a Check Still Matters
Even with the rise of online payments, checks offer a reliable alternative when electronic options are unavailable or unsuitable. Some landlords, service providers, and small businesses still prefer checks due to their traceability and ease of record-keeping. Learning how to mail a check can be especially useful in these situations.
Step-by-Step Guide to Mailing a Check
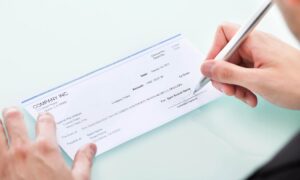
1. Write the Check Correctly
Before mailing, make sure your check is filled out accurately. Include the recipient’s name, the correct date, and the payment amount written both in numbers and words. Don’t forget to sign the check. Any mistake could result in the check being rejected or delayed.
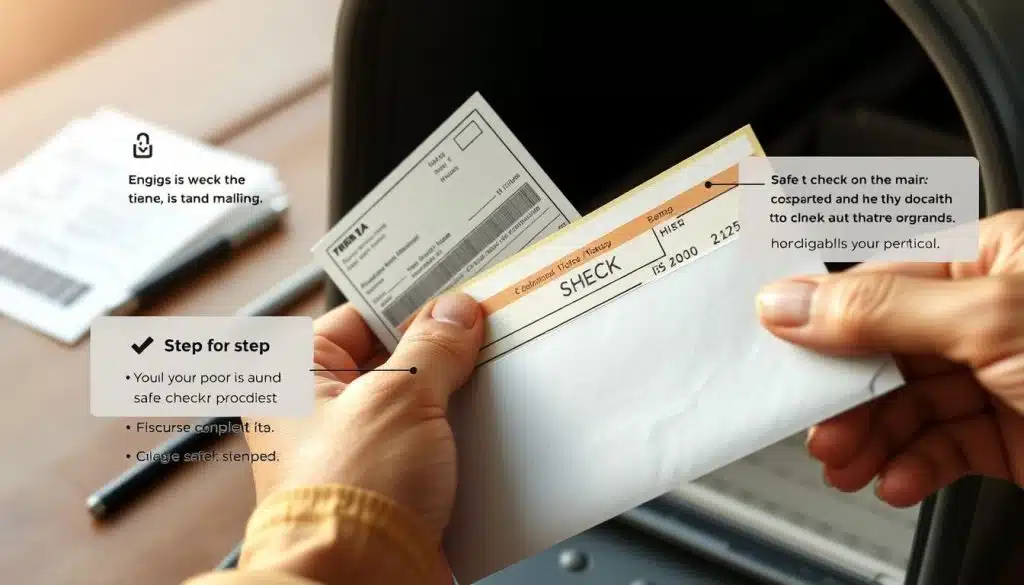
2. Use a Secure Envelope
Place the check inside a standard envelope. For added security, you may insert a piece of paper or a payment slip so the check is not visible through the envelope. This reduces the risk of theft or tampering during transit.
3. Add the Recipient’s Address
Clearly write the recipient’s mailing address in the center of the envelope. Double-check for accuracy, including zip or postal codes. Incorrect addressing is one of the most common reasons for delayed mail delivery.
4. Include Your Return Address
Always add your return address in the top-left corner. This ensures the envelope can be returned to you if there are delivery issues. It also adds a layer of credibility and professionalism.
5. Apply Proper Postage
Visit your local post office or use online postage tools to determine the correct stamp value. Insufficient postage may cause your mail to be returned or delayed. For important payments, consider using certified mail for tracking and confirmation.
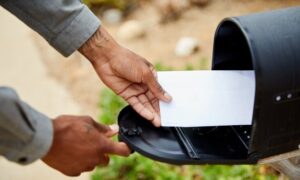
6. Mail It Safely
Drop your envelope in a secure mailbox or hand it directly to a postal worker. Avoid leaving it in an unsecured location where it could be lost or stolen. If the payment is time-sensitive, mailing it early is always a smart move.
Tips for Extra Security
When learning how to mail a check, it’s important to prioritize safety. Avoid writing sensitive information like your Social Security number on the check. Use permanent ink to prevent alterations. Additionally, monitor your bank account to confirm when the check has been cashed.
For high-value payments, consider using tracking services or requiring a signature upon delivery. These small steps can provide peace of mind and help you stay informed about your payment’s status.
Common Mistakes to Avoid
Many people make simple errors when mailing checks. These include forgetting to sign the check, using the wrong address, or failing to include sufficient postage. Another common issue is mailing checks too late, which can result in missed deadlines or late fees.
By understanding how to mail a check properly, you can avoid these pitfalls and ensure a smooth transaction every time.
Final Thoughts
Mailing a check doesn’t have to be complicated. With careful preparation and attention to detail, you can send payments securely and efficiently. While digital methods are growing in popularity, checks remain a dependable option for many situations. Mastering this simple skill ensures you’re always prepared, no matter how you choose to handle your payments.