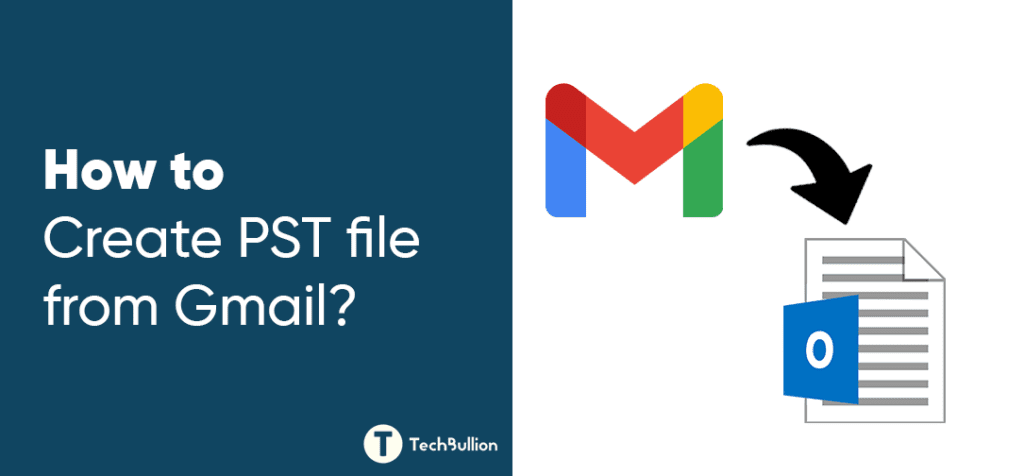
Are you tired of searching for the best methods to create PST file from Gmail Account? Creating a PST (Personal Storage Table) file from Gmail can be a frustrating task. But, in this article I will explain you the easiest techniques to export Gmail to PST file format? In this write up, we will explore two methods, and guide you through the step-by-step process of creating a PST file from Gmail using each method. So, whether you’re an Outlook user or prefer to use a third-party software, we’ve got you covered!
Let’s take a moment to understand what a PST (Personal Storage Table) file is before we proceed any further.
A PST file is a type of file format used by Microsoft Outlook to store email messages, contacts, calendar items, tasks, and other types of data. It is a proprietary file format that can only be read by Microsoft Outlook and some other email clients that support PST files.
PST files are particularly useful for users who receive a large volume of emails or who need to keep a record of important emails and communications. With PST files, users can keep their inbox organized, search for specific emails quickly, and access their email data from multiple devices. Additionally, PST files provide a convenient way to manage and archive email data over time, freeing up space in the user’s mailbox and making it easier to manage their email data.
Why someone would want to create PST file from Gmail?
There are several reasons why someone might want to create a PST file from their Gmail account:
Backup: You can create PST file from Gmail and serve as a backup in case your account is hacked, or you accidentally delete some emails. By having a copy of your Gmail data saved in a PST file, you can easily restore your data if needed.
Migration: If you are planning to switch from Gmail to another email service, creating a PST file can help you migrate your data. You can create PST file from Gmail and then import it into your new email client.
Offline Access: You can create PST file and access your Gmail data offline, even if you don’t have an internet connection. This can be useful if you are traveling or have limited access to the internet.
Archiving: If you want to free up space in your Gmail account, you can create PST file from Gmail account and archive older emails that you no longer need. This will help you keep your Gmail account organized and make it easier to find the emails you need.
Data Consolidation: If you use multiple email accounts, creating a PST file can help you consolidate your data in one place. You can export your Gmail data as a PST file and then import it into your primary email client. This will make it easier to manage your email data and keep it organized
Methods to Create PST file from Gmail
There are two methods to create PST file from Gmail, and each has its own advantages and disadvantages. The first method involves using the Microsoft Outlook application. This requires you to have the application installed on your computer and may take longer to export larger amounts of data. However, it should be noted that this method is only available to Outlook users for free and there is a risk of making data backup mistakes. The second method involves using Professional tool, which is a third-party software that provides a more efficient, faster, and easier way to export Gmail emails to PST format. It also provides more options to customize the export process, including selective email export, date range filter, and the ability to export emails with or without attachments. Additionally, it provides a secure way to backup your Gmail data and ensure that your important emails and attachments are safe.
Method 1: Using Outlook Application
To create PST file from Gmail using Microsoft Outlook we divide these steps in two parts:
Part 1. Configure Gmail in Outlook
Step 1. Open Outlook and click on the File tab in the top left corner.
Step 2. Click on “Add Account” to open the Add Account wizard.
Step 3. Enter your email address and click on “Connect”.
Step 4. On the next screen, select “IMAP” as the account type and enter the following details:
Incoming Mail Server: imap.gmail.com
Outgoing Mail Server: smtp.gmail.com
User Name: your full Gmail email address
Password: your Gmail password
Step 5. Click on “More Settings” and then the “Outgoing Server” tab. Check the box that says “My outgoing server (SMTP) requires authentication” and select “Use same settings as my incoming mail server”.
Step 6. Click on the “Advanced” tab and enter the following details:
Incoming Server (IMAP): 993
Use the following type of encrypted connection: SSL
Outgoing Server (SMTP): 465
Use the following type of encrypted connection: SSL
Click on “OK” to save the settings and then click on “Next” to test the account settings.
Step 7. If the test is successful, click on “Finish” to complete the setup.
Part 2. Export Configured Gmail Account in PST Format
Step 1. Open Microsoft Outlook on your computer.
Step 2. Click on “File” in the top left corner of the screen.
Step 3. Select “Open & Export” and then click on “Import/Export”.
Step 4. In the Import and Export Wizard window, select “Export to a file” and click on “Next”.
Step 5. Select “Outlook Data File (.pst)” and click on “Next”.
Step 6. Choose the folder that you want to export from. In this case, select your Gmail folder and click on “Next”.
Step 7. Choose where you want to save the PST file and what you want to name it. Click on “Finish” to complete the export process.
Step 8. If you want to add a password to protect the PST file, select the “Options” button and enter a password in the “Password” and “Verify Password” fields.
Step 9. Click on “OK” to close the Options window and then click on “Finish” to complete the export process.
Note: Depending on the size of your Gmail mailbox, the export process may take some time to complete. Once the process is complete, you can use the PST file to backup, migrate, or access your Gmail data offline.
Method 2: Create PST file from Gmail Using Professional Software
The Advik Gmail Backup Tool is an efficient and reliable software that can create PST file from Gmail Account easily. It comes with several features that make the export process fast, easy, and efficient. Some of these features include selective email export, date range filter, and the ability to export emails with or without attachments. This tool is also user-friendly and does not require any technical expertise to use. The importance of using the Advik Gmail Backup Tool to export Gmail emails to PST format is that it provides a secure way to backup your Gmail data, ensuring that your important emails and attachments are safe and easily accessible. The PST format also allows you to access your Gmail data offline, making it convenient for users who travel frequently or have limited access to the internet.
To create PST file from Gmail using Advik Gmail Backup tool, follow these steps:
Step 1. Download and install the Advik Gmail Backup tool on your computer.
Step 2. Open the tool and enter your Gmail login credentials.
Step 3. Select the email folders you want to export to PST format.
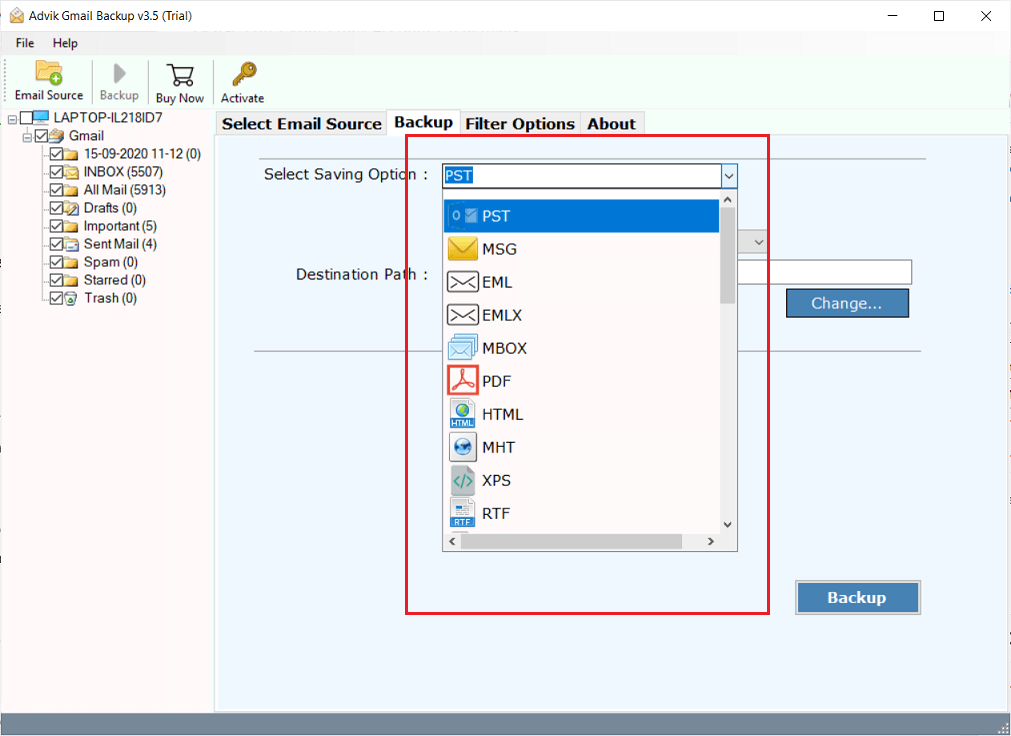
Step 4. Choose “PST” as the output format from the drop-down menu.
Step 5. Click on the “Backup” button to start the export process.
Step 6. Wait for the tool to finish exporting your Gmail data to PST format.
Once the process is complete, go to the destination folder and find the exported PST file. You can now use the PST file as you want.
Conclusion
In conclusion, exporting Gmail emails to PST format can be done using either Microsoft Outlook or the Advik Gmail Backup tool. Both methods have their advantages and disadvantages. Using Microsoft Outlook requires you to have the application installed on your computer and may take longer to export larger amounts of data. However, it is a free option that is readily available to Outlook users. On the other hand, using the Advik Gmail Backup tool is more efficient, faster, and easier to use. It also provides more options to customize the export process, including selective email export, date range filter, and the ability to export emails with or without attachments. Additionally, the Advik Gmail Backup tool provides a secure way to backup your Gmail data and ensure that your important emails and attachments are safe. Therefore, for users looking for a more efficient and customizable way to export Gmail emails to PST format, the Advik Gmail Backup tool is the best method to use.