Picture this: you’re five miles from home, pushing hard on a climb, when your derailleur starts skipping gears or your brake lever pulls all the way to the handlebar. That sinking feeling — stranded, frustrated, and suddenly aware of every creak and rattle you ignored — is something every cyclist knows. The truth is, most mid-ride breakdowns are entirely preventable with consistent, informed maintenance.
Keeping your bicycle in peak condition isn’t just about convenience. It directly affects your safety on the road, the performance you feel under your legs, and the lifespan of components that can be surprisingly expensive to replace. The difference between a well-maintained bike and a neglected one often comes down to one thing: using the right tools for the job.
This guide is designed to help cycling enthusiasts take full control of their bike care using precision tools. You’ll discover which tools belong in every home workshop, walk through a complete maintenance routine step by step, and learn how to apply correct torque settings to avoid costly damage. Whether you’re a weekend rider or a daily commuter, this manual gives you the knowledge and confidence to handle repairs yourself — safely, accurately, and effectively.
The Importance of Precision Tools in Maintaining Your Bicycle
Grab a standard adjustable wrench and try torquing a carbon fiber stem bolt — chances are you’ll either strip the threads or crack the steerer tube before you realize what’s happened. Generic tools lack the specificity that modern bicycle components demand. A one-size-fits-all approach might work for assembling flat-pack furniture, but bicycles are precision-engineered machines where tolerances are measured in fractions of a millimeter. Using the wrong tool doesn’t just make the job harder; it actively causes damage that can cost far more to repair than the original problem.
Precision tools change that equation entirely. A calibrated torque wrench eliminates guesswork when tightening critical fasteners, protecting expensive carbon components and alloy threads alike. Proper hex keys with accurate sizing engage bolt heads fully, preventing rounding that turns a simple adjustment into an expensive extraction job. Dedicated chain tools and cassette lockring wrenches apply force exactly where it’s needed, preserving component integrity through dozens of maintenance cycles.
For cycling enthusiasts serious about their equipment, the safety argument alone justifies the investment. Brake caliper bolts torqued incorrectly, headset preload set by feel rather than specification — these aren’t minor oversights. They’re failure points waiting to reveal themselves at the worst possible moment. Beyond safety, components maintained with appropriate tools simply last longer. Drivetrain parts wear evenly, threaded interfaces stay clean, and adjustments hold their position ride after ride.
A well-structured DIY project tool manual ties these elements together by pairing each maintenance task with the specific tool it requires, giving you both the knowledge and the means to work confidently on your bicycle.
Essential Precision Tools for Your DIY Bicycle Project
Building a capable home workshop doesn’t require buying every tool in a catalog, but it does mean being deliberate about what you choose. The right starting point is understanding which tools handle the widest range of tasks and which ones you’ll reach for on nearly every maintenance session. Quality matters more than quantity here — a well-made torque wrench you’ll trust is worth far more than a drawer full of tools you second-guess.
Must-Have Tools for Basic Maintenance Tasks
For everyday adjustments and routine upkeep, a few core tools cover the majority of what most cyclists will ever need. A set of hex keys — also called Allen keys — in sizes ranging from 2mm to 8mm handles brake lever clamps, stem bolts, seat post collars, and derailleur limit screws. Opt for a T-handle or L-shaped set with ball-end tips, which allow angled access in tight spaces without sacrificing torque control. A quality cable cutter with hardened blades makes clean cuts through brake and shift cables, preventing fraying that leads to poor feel and premature replacement. Add a Phillips and flat-head screwdriver set, a set of open-end wrenches for axle nuts, and a basic chain wear indicator tool, and you’re equipped to handle brake adjustments, gear indexing, cable replacements, and routine cleaning without improvising. Keep these tools in a dedicated roll or wall-mounted organizer so nothing gets misplaced mid-repair.
Advanced Precision Tools for Comprehensive Repairs
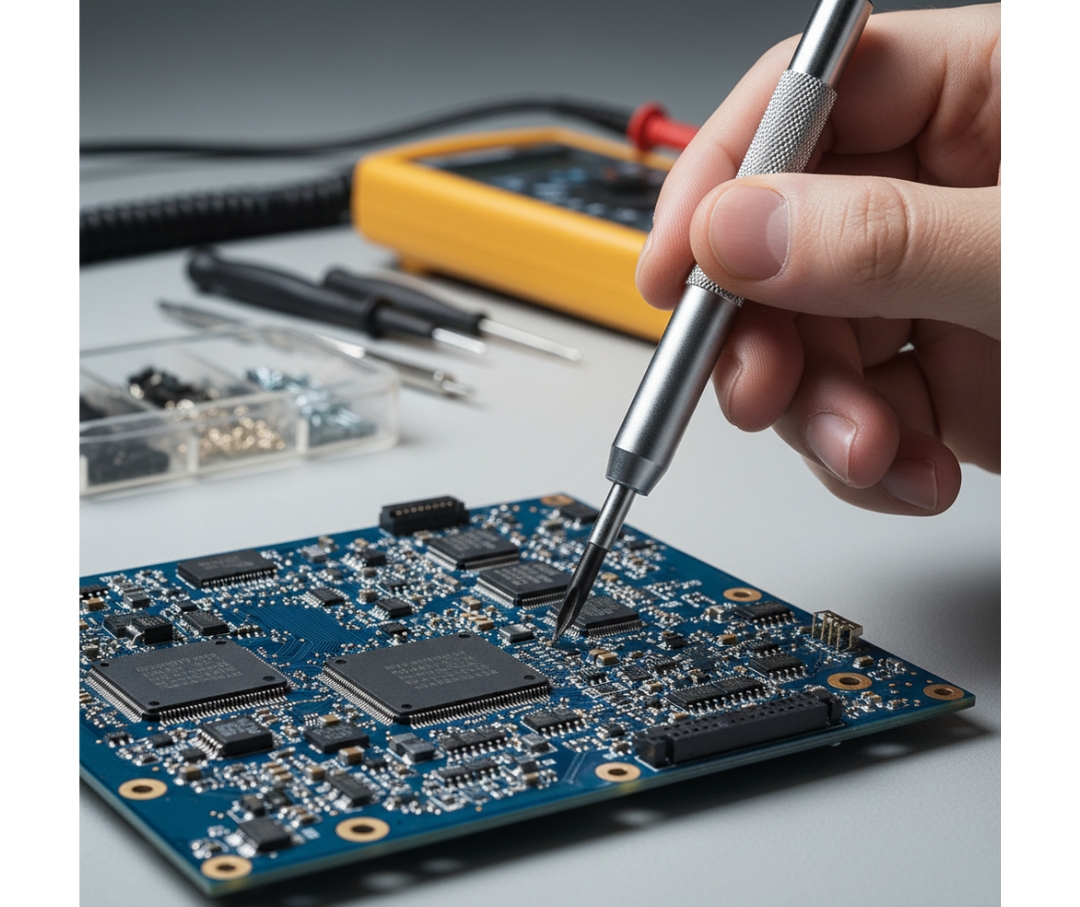
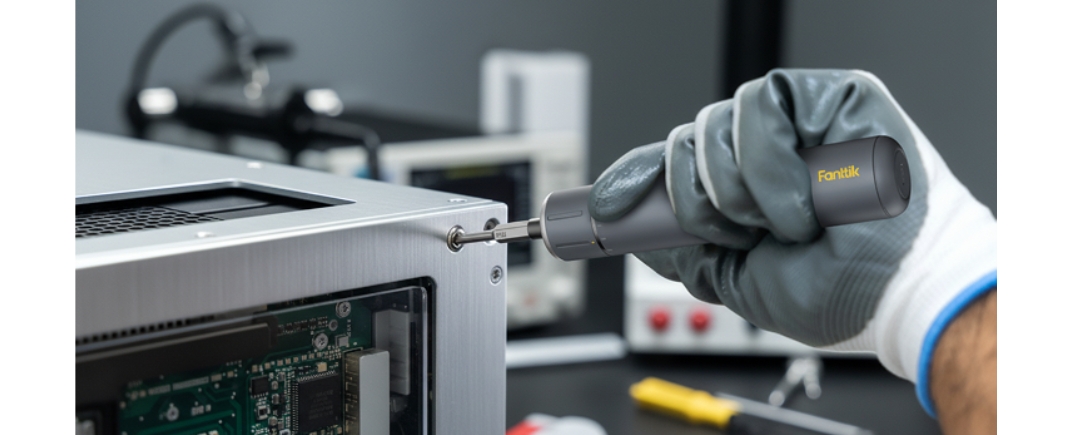
Once you’re ready to tackle deeper repairs, a calibrated click-type torque wrench becomes non-negotiable — particularly for carbon components where the margin between secure and damaged is razor-thin. Brands known for precision instrument tools, such as Fanttik, have expanded their torque tool offerings beyond automotive use, reflecting how universal the demand for accurate fastener control has become across mechanical hobbies. A chain tool for breaking and rejoining chains, combined with a master link plier for quick-link systems, handles drivetrain work cleanly. A cassette lockring wrench paired with a chain whip lets you remove and install rear cassettes without damaging splines. For wheel maintenance, a spoke wrench matched precisely to your nipple size prevents rounding during truing sessions. Bottom bracket work requires a splined or notched BB tool specific to your standard — BSA, PF30, or threaded — so verify compatibility before buying. A digital caliper rounds out the advanced kit by measuring brake pad wear, rotor thickness, and chainring bolt depth with accuracy that eyeballing simply can’t match. Store these tools in labeled compartments or a pegboard system so each one is immediately identifiable, reducing the chance of grabbing the wrong tool under pressure.
Step-by-Step DIY Guide to Maintain Your Bicycle with Precision Tools
A consistent maintenance routine doesn’t need to be complicated, but it does need to be systematic. Working through your bicycle in a logical sequence — from cleaning to inspection to lubrication to adjustment — ensures nothing gets missed and each step builds on the last. The goal is a bike that feels dialed in every time you roll out, not just after a trip to the shop.
Pre-Maintenance Checklist and Safety Precautions
Before touching a single bolt, set yourself up for success. Position your bike in a stable repair stand so both wheels are off the ground and the drivetrain is accessible from all angles. Lay out every tool you’ll need for the session — torque wrench, hex key set, chain tool, cable cutters — so you’re not hunting mid-task. Put on nitrile gloves to protect your hands from degreaser and chain lube, and keep a clean rag within reach at all times. Do a quick visual scan of the frame for cracks, especially around the head tube, bottom bracket shell, and dropout welds. If anything looks suspicious, stop and consult a professional before proceeding. Check that your torque wrench is calibrated and set to the correct range for the fasteners you’re working on. Starting with a clean, organized workspace isn’t just about efficiency — it prevents dropped tools from scratching components and keeps small parts like derailleur limit screws from disappearing into the floor.
Detailed Maintenance Procedures for Key Components
Start with the drivetrain. Apply a dedicated bicycle degreaser to the chain, cassette, and chainrings, then scrub with a stiff brush and rinse thoroughly. Use a chain wear indicator tool to measure elongation — if the tool drops into the links past the 0.75 mark, replace the chain before it accelerates cassette wear. Once dry, apply chain lubricant sparingly to each link while slowly backpedaling, then wipe off the excess with a clean rag to prevent attracting grit.
Move to the brakes. Squeeze each lever and note the feel — spongy hydraulic brakes need bleeding, while cable-actuated brakes with excessive pull need cable tension adjustment via the barrel adjuster. Remove brake pads and measure remaining thickness with a digital caliper; most pads require replacement below 1mm of compound. When reinstalling pads, use the correct hex key to tighten the retaining bolt to spec rather than by feel. Check rotor thickness on disc brakes the same way — rotors worn below the minimum stamped on their surface need immediate replacement.
For gear indexing, shift through all combinations under no load while the bike is in the stand. If shifts hesitate or the chain skips, start with cable tension before adjusting limit screws. Turn the rear derailleur barrel adjuster a quarter-turn at a time — clockwise to reduce tension, counterclockwise to increase it — and retest after each adjustment. Use a 2mm hex key to fine-tune limit screws only after cable tension is correct, as adjusting them out of sequence creates more problems than it solves.
Finally, inspect tires for cuts, embedded debris, and sidewall wear, then check pressure with a floor pump gauge against the range printed on the sidewall. Inspect wheel spoke tension by plucking each spoke — a dull thud signals a loose spoke that needs tightening with a correctly sized spoke wrench. Address any wobble in the rim by making small, incremental adjustments rather than large corrections, always working symmetrically from both sides of the wheel.
Understanding and Applying Torque Settings for Safe Bike Repairs
Torque is simply a measure of rotational force — how hard you’re twisting a fastener as you tighten it. On a bicycle, where components range from steel axle nuts to titanium stem bolts to carbon fiber seatposts, the difference between the correct torque value and the wrong one can mean the difference between a secure assembly and a cracked frame or stripped thread. Manufacturers specify torque values in Newton-meters (Nm) precisely because “tight enough” is too vague when the consequences of getting it wrong are this significant. Every modern component has a torque specification stamped on it or listed in its documentation, and treating those numbers as suggestions rather than requirements is one of the most common — and costly — mistakes home mechanics make.
Why Proper Torque Matters in Bicycle Assembly
Under-torqued fasteners work loose under vibration and load, causing components to shift unpredictably mid-ride. A stem bolt that isn’t tightened to spec can allow the handlebar to rotate under braking force — a scenario with obvious and serious consequences. Over-torquing creates an equally dangerous set of problems: cracked carbon fiber, pulled threads in alloy components, and deformed clamping surfaces that compromise the integrity of the joint even after the bolt is replaced. Disc brake caliper bolts torqued beyond specification can warp the mounting interface, causing brake rub and uneven pad wear. Crank arm bolts under-torqued will develop creaking and eventually damage the spindle interface beyond repair. Neither failure mode announces itself clearly until the damage is already done.
Practical Tips for Mastering Torque Application
Using a click-type torque wrench correctly starts before you touch the first bolt. Set the wrench to the target value — say, 5Nm for a carbon stem faceplate bolt — by rotating the handle until the scale aligns with your number, then lock the collar in place. Apply thread-appropriate preparation first: a thin layer of carbon assembly paste on carbon-to-carbon interfaces, or anti-seize compound on titanium bolts threading into aluminum. Tighten in smooth, steady motion until you feel and hear the click, then stop immediately — continuing past the click defeats the purpose entirely. For multi-bolt interfaces like stem faceplates and disc rotor bolts, work in a star pattern, bringing each bolt to roughly half torque before completing a second pass to full spec. This distributes clamping force evenly and prevents warping. Common reference values to keep posted in your workshop: stem bolts typically fall between 4–6Nm, seatpost collars between 4–8Nm, crank arm bolts between 35–50Nm, and disc rotor bolts around 4Nm — but always verify against your specific component’s documentation rather than relying on general figures alone.
Build Confidence Through Consistent Bicycle Maintenance
Maintaining your bicycle doesn’t have to be a mystery or a task reserved for professional mechanics. As this guide has shown, the combination of precision tools, a systematic approach, and respect for torque specifications puts effective, safe maintenance well within reach of any dedicated cyclist. The right hex keys, a calibrated torque wrench, and purpose-built drivetrain tools aren’t luxuries — they’re the foundation of repairs you can trust your safety to.
Working through a structured routine — cleaning the drivetrain, inspecting brake pads and rotors, indexing gears, and checking wheel tension — keeps small issues from becoming expensive failures. Applying correct torque values protects your components from the twin dangers of under-tightening and over-tightening, extending the life of everything from carbon stems to crank arms. Every step in this manual is designed to build your confidence and competence simultaneously.
The payoff extends beyond saved repair bills. A bike you’ve maintained yourself is one you understand intimately — you’ll notice changes in feel sooner, respond to emerging problems faster, and ride with genuine confidence in your equipment. Start with the basics, invest in quality tools progressively, and treat each maintenance session as an opportunity to deepen your knowledge. Your bicycle will reward that attention with reliable performance, ride after ride.