Walking up to a beautifully lit home at night is an experience that never gets old. The soft glow of well-placed pathway lights along a garden path signals warmth, safety, and thoughtful design. Whether you are planning a complete landscape overhaul or simply upgrading a tired front walkway, understanding what makes a great pathway light saves time, money, and frustration.
What Sets Pathway Lights Apart
Unlike flood lights or spotlights that project light at a target, pathway lights cast a controlled downward wash onto the ground. This directional quality prevents glare — you light the path without blinding the person walking it. The best designs use mushroom caps, shields, or louvers to keep light focused downward at just the right angle.
Most residential pathway lights operate on 12-volt low voltage systems powered by a transformer. This makes them safe to handle, easy to install without an electrician, and inexpensive to run. A system of eight fixtures running six hours nightly might cost only a few dollars a month.
Choosing the Right Material
**Brass** — The premium choice. Naturally corrosion-resistant, develops a beautiful patina, and can be cast into detailed designs. Heavier than aluminum but far more durable in coastal and humid environments.
**Aluminum** — Lightweight and affordable. Modern die-cast aluminum fixtures are powder-coated for weather resistance. They suit contemporary designs and hold their color well without the patina development of brass.
**Composite** — Budget-friendly but become brittle under UV exposure. Fine for temporary installations but rarely last more than three to five years outdoors.
Layout Principles That Make a Difference
The most common mistake is treating pathway lighting like airport runway lights — fixtures lined up straight on both sides at uniform spacing. This looks institutional rather than welcoming.
Instead, offset your lights. Place one on the left at six feet, the next on the right at twelve feet, alternating as you go. This zigzag rhythm feels natural and draws the eye forward. Group fixtures closer together near steps and corners, spread them wider on long straight sections. For a 40-foot path, six to eight fixtures is usually sufficient.
Lumen Output and Color Temperature
Pathway lights should not be bright. Their job is to define the path and prevent trips, not flood the area. Fixtures producing 40 to 100 lumens are ideal for most residential walkways. Going brighter creates hot spots that make surrounding plantings look dark by comparison.
Warm white at 2700K to 3000K is the most popular choice for residential landscapes — it feels inviting and flatters plants beautifully. Cool white above 4000K looks harsh in garden settings and is better suited to commercial applications.
Weekend Installation Guide
Start by positioning your transformer near an outdoor GFCI outlet. Run your low voltage cable along the planned path, leaving it on top of soil initially. Connect each fixture using tap connectors — these snap over the cable and pierce the insulation without wire stripping. Power everything on to verify before burying cable and staking fixtures into final position.
For homeowners who want energy-efficient low voltage pathway lights options that complement their pathway system, Sunbright Lighting offers reliable 12-volt products built for long-term outdoor performance.
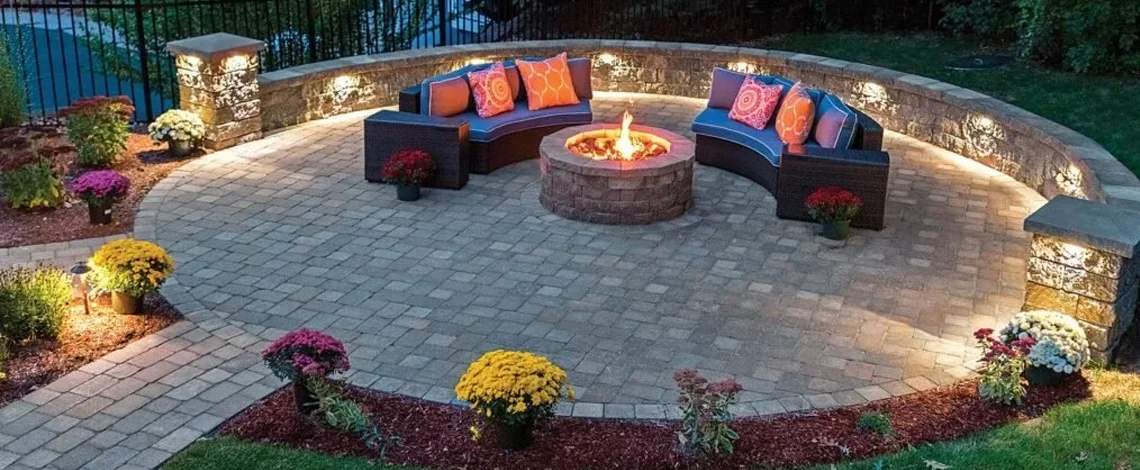
Building a Layered Lighting Scheme
Pathway lights work best as part of a layered system. Pair them with spotlights that uplight specimen trees, wall sconces at the entry door, and step lights at any changes in elevation. This creates a three-dimensional lighting environment that feels professional and intentional.
For those looking to extend their design with architectural exterior lighting options, 120V Outdoor Sconces from Kings Outdoor Lighting rounds out a complete landscape lighting plan with options that complement low voltage pathway systems beautifully.