It is important to ensure that the air conditioning installation process runs smoothly and efficiently. Having a plan in place can help reduce stress, prevent costly mistakes, and guarantee that the job gets done correctly. This article outlines some tips for a successful and efficient AC installation process so that you can have peace of mind knowing your air conditioning unit will be installed correctly and quickly.
Step 1: Researching AC Options
Before you begin the installation process for an air conditioner, it is important to research your options. There are many different factors to consider when selecting a unit, including size and efficiency.
Size is an important factor in determining the right AC system for your home or office. If you choose a unit that is too small, it may not be able to adequately cool the space. On the other hand, if you choose one that is too large, it will run inefficiently and waste energy while cooling the space. It is best to consult with an HVAC professional who can measure your space and recommend a unit that fits your needs.
In addition to size considerations, look into the energy efficiency ratings (EER) of the AC units when researching options. The higher the rating, the more energy-efficient and cost-effective it will be over time. Be sure to also review any available warranty information so that you know what type of coverage comes with each option and how long it lasts.
Step 2: Finding a Professional Installer
Once you have chosen the right AC system for your space, it’s time to find a professional installer. It is important to carefully pick an experienced contractor like All Climate HVAC Contractors with good customer reviews, who offers a service warranty and is licensed and insured. Ask around for recommendations or look online for reviews. Before making your decision, get at least three quotes from different contractors—this will help you save money and make sure that you are getting the best possible deal. Make sure to ask them questions about their experience and qualifications, too. Once you have found a contractor that fits all of your needs, be prepared to provide information such as the capacity of the AC system, the type of insulation in your home, ductwork plans if applicable, and other details related to the project.
Step 3: Preparing the Area for Installation
Once the area has been chosen, it is time to start preparing the area for installation. Depending on the type of AC unit being installed, preparation can take up to a few hours and may involve some tools or materials outside of what is provided with the unit. In order to make sure a successful installation experience, be sure to have these items ready before starting:
Safety equipment like protective eyewear and gloves should be worn during preparation. Additionally, all furniture and debris should be cleared from the area where the AC unit will be installed. If possible, try not to mount the AC in an enclosed space as this might impede airflow – instead, choose an open wall or window with enough space for proper ventilation and access for future maintenance needs. Make sure that any wiring used is insulated properly and tucked away from foot traffic if being placed on a floor surface. Lastly, ensure that any screws or nails used are securely fastened into place so that they won’t come loose over time due to the vibration of the machine running.
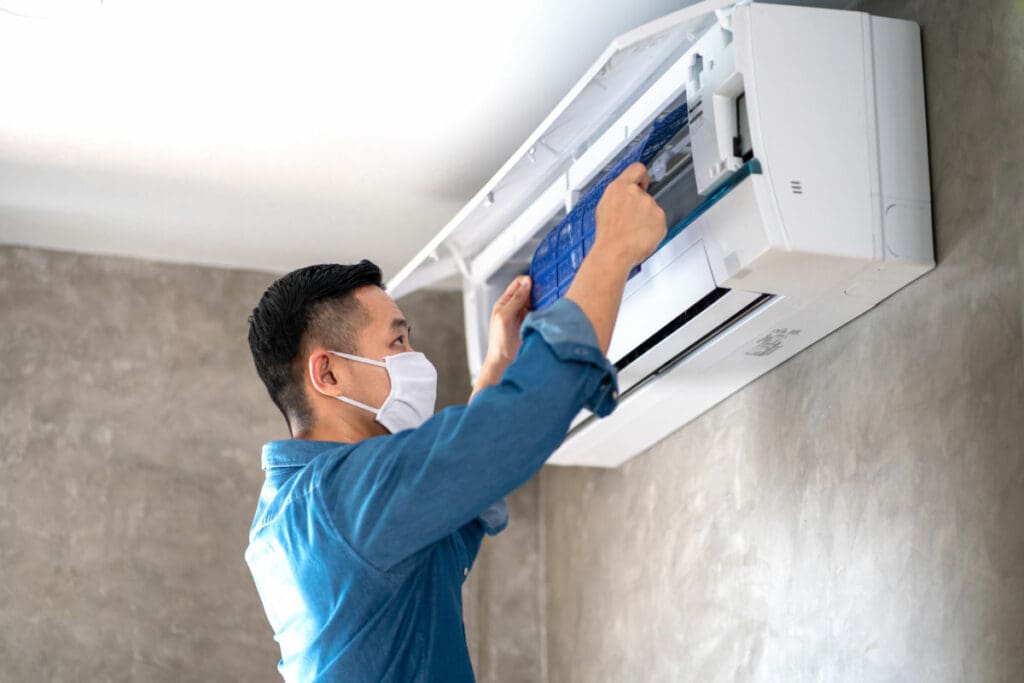
Step 4: Installing the Unit Properly
Once the location and mounting of the unit have been determined, it is time to install the AC unit properly. Start by installing the top bracket, making sure that it is firmly secured to both the wall or ceiling and the air conditioner. Then attach any flexible ductwork and venting components necessary for your model of the air conditioner. Lastly, secure all electrical connections according to the manufacturer’s instructions, as well as safety standards outlined by local building codes. Some installations may require a professional electrician if wiring needs are too complex.
Next comes the installation of side panels or other parts specific to your type of AC unit. This can include insulation against heat loss, weather stripping for sealing off gaps in areas that need protection from elements like wind or rain, and gaskets around windows or doorframes where needed. Finally, ensure all access points are securely closed and fastened before testing out your newly installed AC system. It is a complex process and a professional can do it in a proper way so contact today here to a team of experts for installation and get your quote.
Step 5: Testing And Troubleshooting
Testing and Troubleshooting is the last step in having a successful AC installation. It is important to ensure that all components are working properly and efficiently before completing the job.
Start by holding down the power button and checking for any issues with the air conditioner. Make sure all connections are secure, including the electrical connections, breaker box, gas line, etc. After you have ensured everything is connected correctly, turn on each component of your system one at a time and observe if there are any unusual sounds or odd smells coming from your AC unit. If there are any problems during this process, troubleshoot as necessary to determine what could be causing them.
Finally, after all, components have been tested successfully, check that air temperature settings are correct according to manufacturer instructions. Ensure that temperature readings on interior and exterior thermometers match up with thermostat settings for optimal comfort levels inside your home or office space. Taking these steps will help you ensure an efficient installation process and long-lasting results from your new AC system!
Conclusion
The conclusion is the final step in ensuring a smooth and efficient AC installation process. It involves assessing the job that has been done, making sure all components are functioning correctly, double-checking safety protocols are followed and confirming customer satisfaction.
To achieve a successful conclusion to an AC installation project it is important to review all materials used in the process, check all connections and test run the system before leaving the site. Additionally, any warranty paperwork should be reviewed with the homeowner as well as any instructions for the use or maintenance of their new air conditioning system. Lastly, make sure to follow up with customers after installation to ensure they are happy with your work and will recommend you in future projects. Following these steps should help guarantee a successful outcome for AC installations every time.