You’ve seen a shirt in your head—the exact color, the weird little graphic, the phrase only three people would get. Then comes the search online. Nothing. Using AI to design custom apparel closes that gap.
Describe what you want, the model generates it, print it. No sketches, no Photoshop, no minimum orders of 50. This guide walks through everything worth knowing—so the first design looks like something worth wearing.
What Makes AI Ideal for Apparel Design
The hardest part of apparel design isn’t having ideas—it’s getting them out of the designer’s head. AI shortcuts that. A prompt like “vintage botanical print, muted greens” gives back a draft in seconds. The real shift isn’t speed—it’s seeing an idea before committing to it.
This changes how the work happens, not just how fast. Instead of protecting one idea through hours of execution, ten get held loosely, and the strongest earns the next round. The final design isn’t the first instinct—it’s what survived a few rounds of “what if.”
Cost is the other piece. Traditional custom apparel meant hiring a designer or ordering in bulk to make the math work. AI drops that barrier. A one-off hoodie for a birthday gift costs about the same per unit as one for a small brand launch.
AI works best as a partner. It handles the technical lift—illustration, color, composition—while the human brings the taste. Knowing what looks good, what fits the wearer, what feels current: that’s the edge. The tool just gets things there faster.
How to Use AI to Design Custom Apparel
1) Start With the Wearer Not the Design
Before you open any AI tool, picture the person who’ll actually wear this. What colors already fill their closet? Do they layer hoodies over everything, or live in fitted tees? The answers narrow your design before a single prompt gets typed.
And be honest about the difference between taste and habit. A shirt someone double-taps on Instagram isn’t the same as one they’ll pull on for a Tuesday. Saved posts are aspirational; closets tell the truth. Design for the closet, not the feed.
2) Collect References Before You Prompt
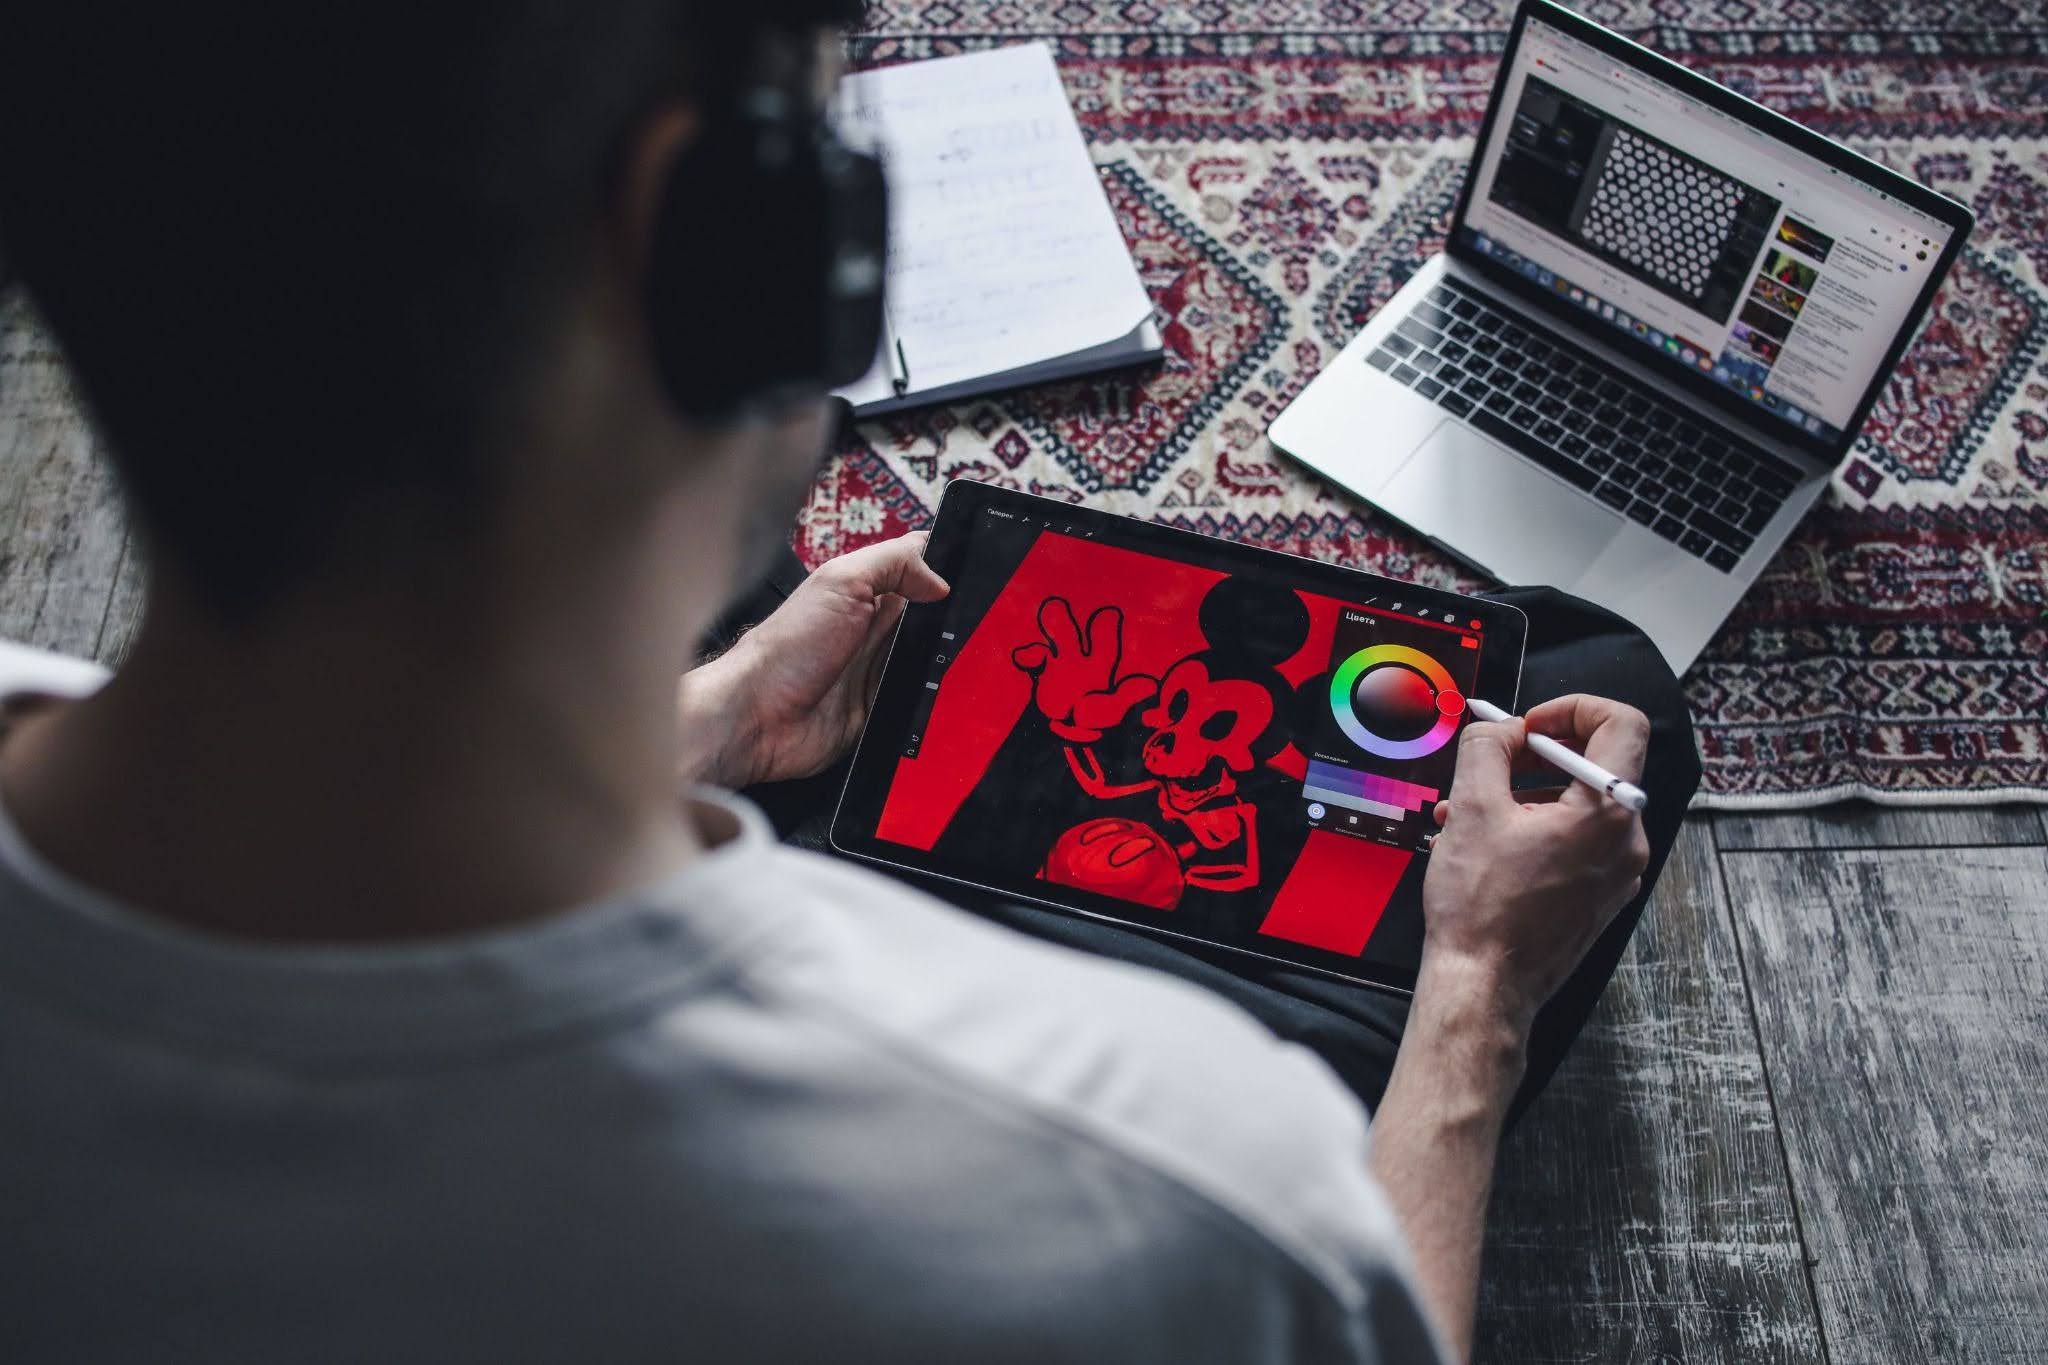
Save five or six images that capture the mood you’re chasing. Pull from places AI training data underrepresents—film stills, printed textiles. That’s where the interesting texture lives, and it’s what pushes your design past the generic look AI defaults to.
The point isn’t to copy them. It’s to build vocabulary for your prompt. When you can write “muted palette like this poster, bold outlines like this sticker, grainy texture like this film still,” you’ve already done half the design work.
3) Pick One Tool and Learn It
Jumping between platforms wastes your first month. Each AI tool has a personality:
- Midjourney: painterly, illustrative, strong on style
- DALL-E / ChatGPT: conversational, good for describing scenes in plain English
- Ideogram: handles text inside images better than most
- Leonardo: good free tier, decent for graphic-style work
Pick one and stay with it for two weeks. Every tool has quirks—words it loves, styles it botches, angles it can’t get right. You only find those by staying put long enough to hit them twice.
4) Write Prompts Like a Designer Not a Search Query
“Cool dog shirt” gives you generic results because you asked a generic question. Build every prompt from four pieces:
- Subject: “a corgi wearing round sunglasses”
- Style: “flat vector illustration, thick outlines”
- Palette: “cream background, rust orange, forest green”
- Detail level: “minimal, no shadows, no background”
Generate four versions, change one variable, and run it again. The design worth keeping usually shows up on round three or four—especially for custom pet apparel, where a real photo of the pet beats a generic “dog” prompt.
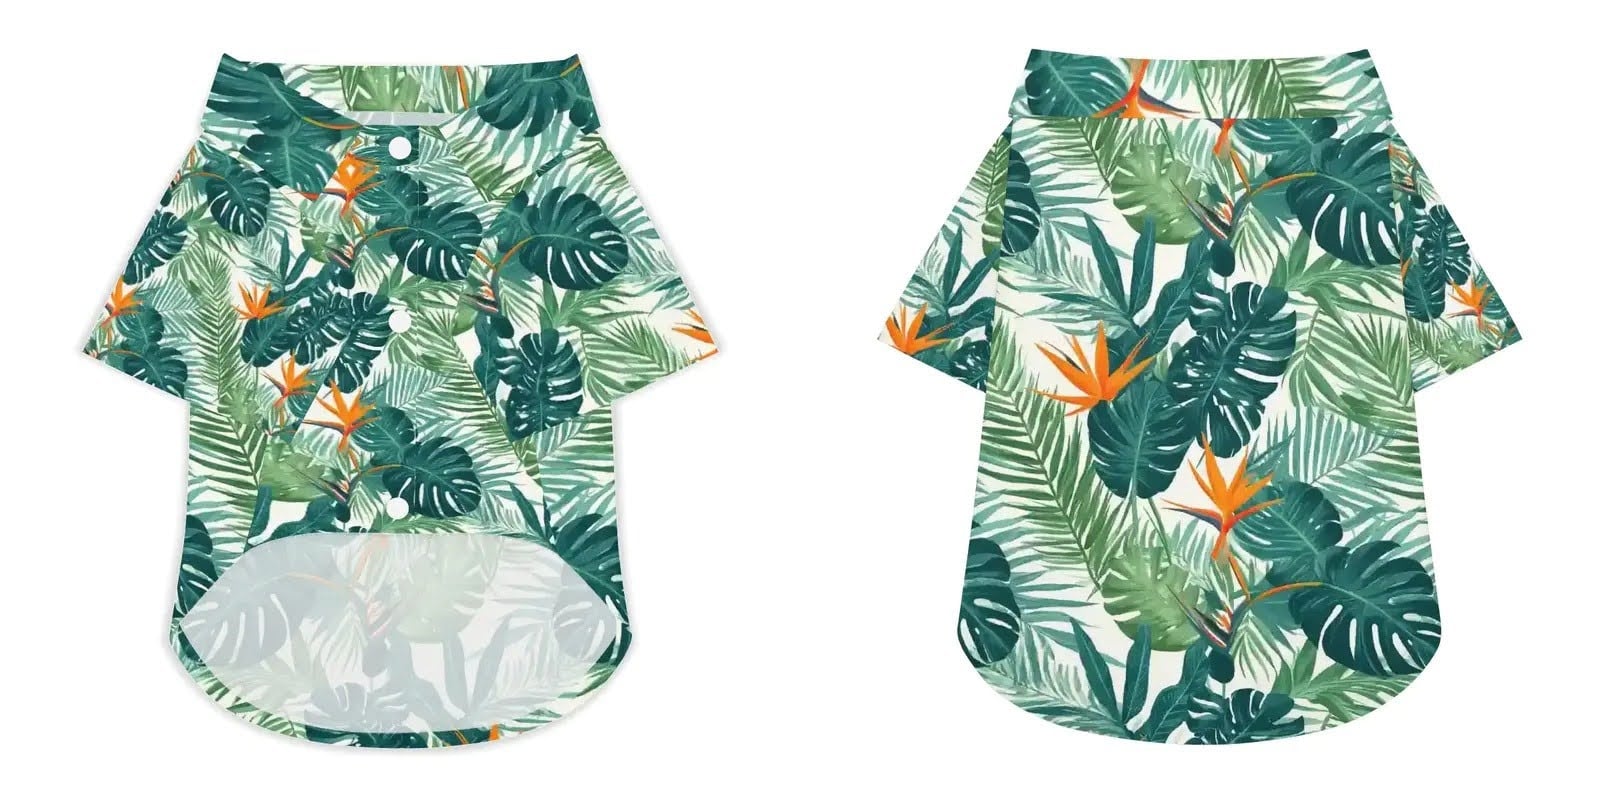
Custom Pet Hawaiian Shirt – Print-On-Demand
5) Keep a Prompt Notebook
These phrases have value. “Screen printed skate graphic,” “botanical woodblock print,” “risograph poster, two colors”—style-related phrases such as these carry almost all the weight in a prompt, and they can easily be forgotten without writing them down.
Most people retype prompts from memory every session, then wonder why progress feels slow. Ten lines in your notes app will change that for you: copy the prompt to one line, write down what it created on the second.
6) Fix the File Before You Print
A good design still looks wrong if the file is wrong. Three things to check every time:
1) Resolution. AI images often come out at 1024×1024. Fine for Instagram, too small for a 14-inch chest print. Upscale to 300 DPI at your final print size.
2) Background. For anything but an all-over print, you need a transparent PNG. Remove.bg does it in one click.
3) Colors. Screens use RGB, printers use CMYK. Neons and glowing blues will print duller than they look on your laptop. Assume a small shift and pick colors that can afford to lose 10% brightness.
7) Match the Print Method to the Job
The best design fails if you print it wrong.
- Screen printing: cheap per unit, expensive to set up. Use it for 20+ shirts of the same design.
- DTG (direct-to-garment): no setup fee, higher per-piece cost. Great for one-offs.
- Print-on-demand: sites like PrintKK handle both and ship for you.
For a single gift or small batch, DTG or print-on-demand wins almost every time. You pay more per shirt, but you skip the setup fees that make screen printing a bad bet under 20 pieces.
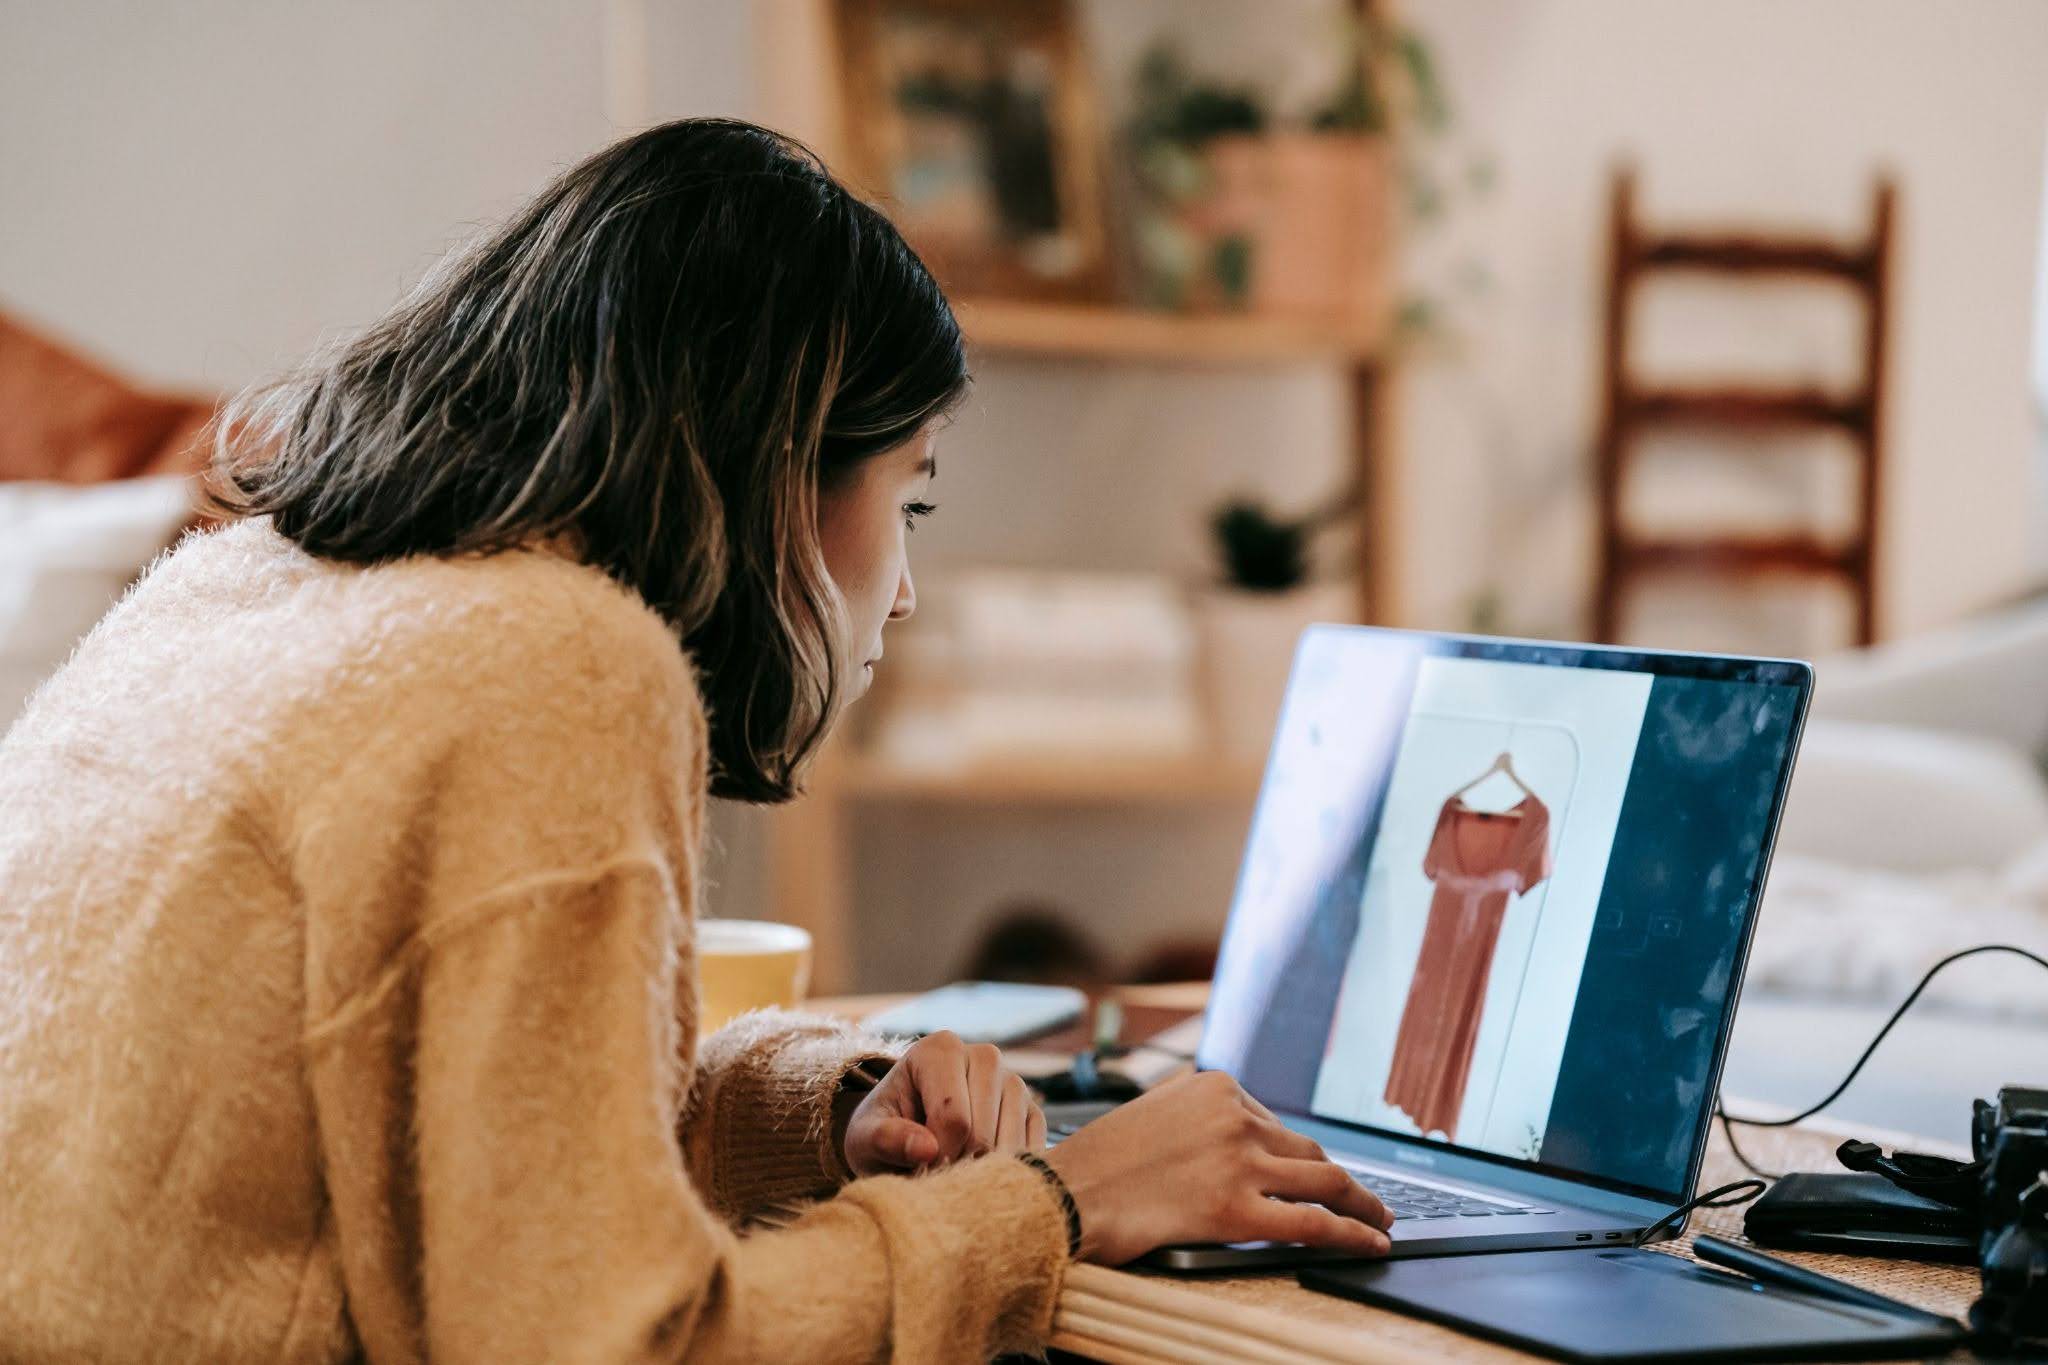
8) Test One Before You Order Ten
Print one sample before committing to a batch. Wash it twice on warm—that’s where cheap DTG prints fade and screen prints crack at the folds. Then wear it in daylight, since indoor LEDs flatten the darks and hide colors that turned out duller than the mockup promised.
Check the placement in a mirror too. Mockups center every graphic on a flat rectangle; real torsos don’t. A design that looks balanced on screen often sits two inches too low. A $15 test catches all of this before it hits twenty shirts.
Conclusion
The best thing about using AI to design custom apparel is how cheap the trial-and-error gets. A wild idea at 10 p.m., three quick rounds of tweaking, a printable file before bed—none of that would’ve been possible five years ago.
Drawing skills and expensive software aren’t the point. What matters is a clear picture of who’s wearing it and the patience to run one more round. Start with a single piece for one person. The next design starts from there.