The rise of virtual fitness has been a complete game-changer. The ability to get expert, one-on-one coaching from a professional trainer, all from the comfort and privacy of your own home, is an incredible and convenient way to reach your fitness goals. It eliminates the commute to the gym, the crowded locker rooms, and the “gymtimidation” that can hold so many people back.
But as with any live streaming experience, the quality of your technology can make or break it. There are few things more frustrating than being in the middle of a great workout, only to have your screen freeze or your trainer’s voice cut out. To have a truly seamless and effective session of virtual personal training, you need to ensure your home tech setup is ready for the task. It’s a partnership: a great platform provides the tools, but your own gear is what brings the experience to life.
Before your first session, run through this simple tech checklist to ensure a smooth and stress-free workout.
Check Your Internet Connection
This is the single most critical component of a successful virtual workout. A slow or unstable internet connection is the number one cause of frozen video and choppy audio.
The key is to check both your download and your upload speed. For a two-way video call, your upload speed—how fast your computer can send video of you to your trainer—is just as important. You can check this for free using a site like Speedtest by Ookla. For a smooth HD video call, you should ideally have at least 10 Mbps for both download and upload.
A wired Ethernet connection, where you plug your computer directly into your router, is always more stable and faster than Wi-Fi. If your workout space is near your router, this is your best option.
If you must use Wi-Fi, try to be as close to your router as possible. It’s also a good idea to ask other people in your household to avoid high-bandwidth activities, like streaming movies or online gaming, during your session.
Focus on Your Camera and Device
Your trainer needs to be able to see you clearly to check your form and to provide corrections. The device and the camera you use are their “eyes.”
While you can use a smartphone in a pinch, a laptop, a desktop, or a large tablet is a much better choice. A bigger screen makes it easier for you to see your trainer’s demonstrations clearly.
Most built-in webcams are good enough. However, if your camera is old and the image is grainy, a simple and affordable external USB webcam is a massive upgrade.
Look at Your Audio Setup
Clear communication is essential. If your trainer can’t hear you or if there’s a lot of echo, it can be incredibly frustrating. The built-in microphone on your laptop will work, but it often picks up a lot of room noise and can make you sound distant.
The single best and easiest upgrade you can make to your audio is to use a pair of headphones or earbuds, especially a set that has a built-in microphone. This simple change does two crucial things: it eliminates the echo that can be created by your computer’s speakers, and it isolates your voice, making it much clearer for your trainer to hear you.
Fix Your Physical Space
The final piece of the puzzle is your “analog” technology: the room itself.
Your trainer needs to see you. The best lighting is natural light from a window that you are facing. Avoid being “backlit,” with a bright window behind you, as this will turn you into a dark silhouette.
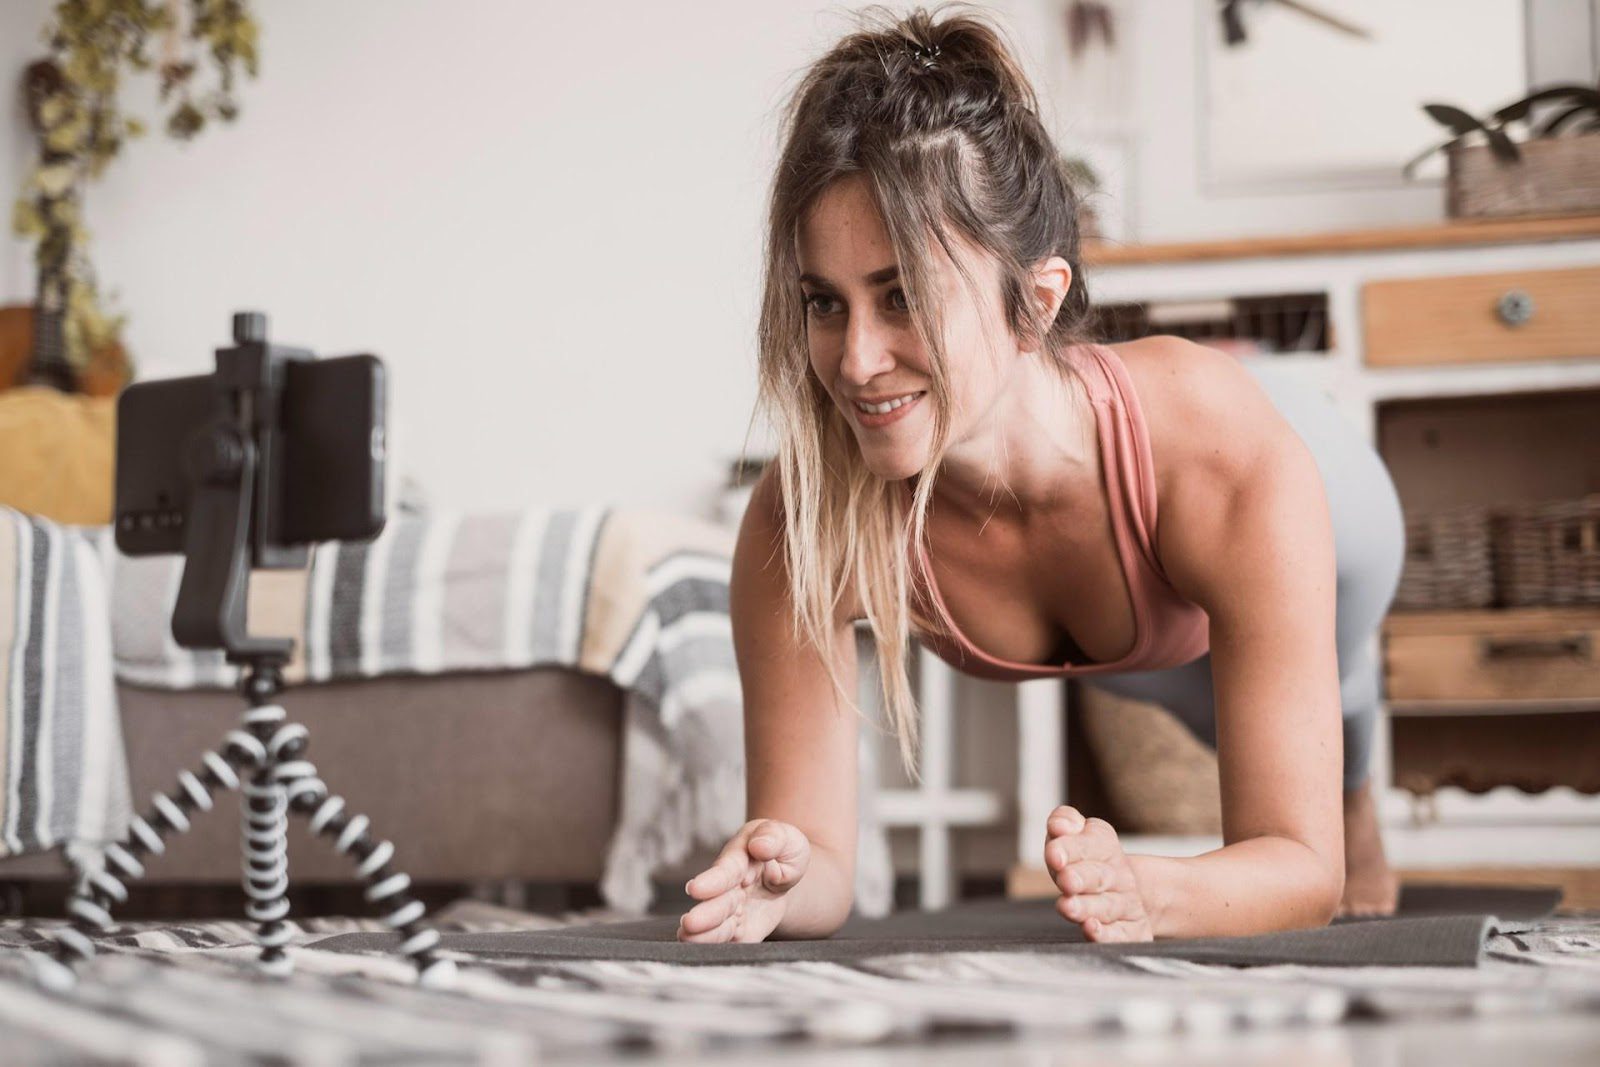
Position your camera so that your trainer has a full-body view of you, from head to toe, when you are both standing and lying on the floor. An inexpensive and adjustable tripod for your phone or your webcam is a fantastic investment that can help you get the perfect angle.
Before your session starts, make sure you have enough clear floor space to move around freely without bumping into furniture.
Virtual personal training is an incredibly powerful and convenient way to reach your fitness goals. By taking just a few minutes to optimize your tech setup, you can ensure that every session is a smooth, effective, and completely stress-free experience.