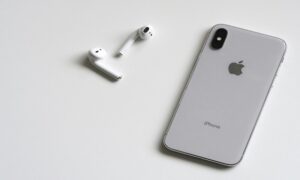
INTRODUCTION
A working microphone is essential for AirPods users since it allows for clear communication during phone conversations, voice instructions, and audio recordings. However, there are certain typical difficulties with the microphone on AirPods that can cause discomfort and impede the overall user experience. The goal of this post is to give consumers with practical solutions to microphone issues with AirPods, allowing them to recover fully functioning of their devices.
The first step in troubleshooting a broken microphone is to identify the symptoms. During calls, users may hear distorted or unclear sound, Siri may not answer properly, or voice recordings may be inaudible. Several variables, such as software faults, hardware damage, or debris covering the microphone ports, can all lead to microphone issues.
TROUBLESHOOTING STEPS
Basic checks
It is critical to keep the AirPods clean and clear of anything that might impede the microphone. Cleaning instructions for the AirPods and charging case are included. Furthermore, for best microphone performance, check a steady Bluetooth connection between the AirPods and the connected device.
Software solutions
Updating the firmware on the AirPods and the iOS software on the linked iPhone or iPad can frequently address software-related microphone difficulties. These upgrades are performed in accordance with the instructions provided. Furthermore, changing AirPods settings might aid in the resolution of software bugs that may be hurting the microphone.
Hardware-related solutions
It is critical to inspect the AirPods for physical damage, since any apparent damage might impair microphone operation. The post instructs users on how to examine their AirPods for indications of damage. Another important step is to clean the microphone and speaker ports, since dirt, lint, or debris might obscure the microphone. There are step-by-step instructions for cleaning these ports. Testing the AirPods with another compatible device can help identify whether the problem is with the original device or with the AirPods themselves.
Advanced solutions
If the problem persists, Apple Support should be contacted for additional assistance. They may offer specialised advice and troubleshooting that is geared to the particular circumstance. If required, users should investigate repair or replacement alternatives while keeping any applicable warranty coverage in mind.
DETAILED INSTRUCTIONS FOR TROUBLESHOOTING STEPS
Basic checks
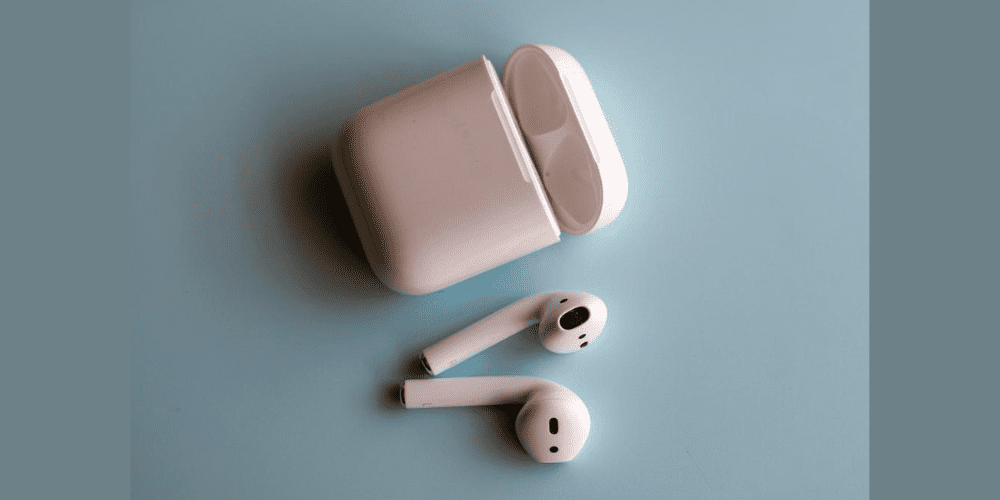
Clean the AirPods
- Using a gentle cloth or brush
To remove any dirt or smudges, gently clean the outside of the AirPods, including the earphones and charging case, using a soft cloth.
To clean surfaces in difficult-to-reach places, use a soft brush.
- Using compressed air:
Blow away any dust or debris from the microphone and speaker ports using a can of compressed air. To avoid damage, keep the AirPods at a safe distance.
Ensuring stable Bluetooth connection
- Using iOS to check Bluetooth settings:
Navigate to the Bluetooth menu on your iPhone or iPad by opening the Settings app.
Make that Bluetooth is enabled and that your AirPods are properly linked and recognised by the device.
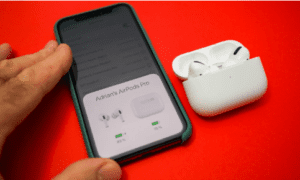
- Experiment with other device pairings:
Connect your AirPods to another compatible device, such as another iPhone or iPad, to see whether the microphone problem remains. If the issue is rectified, it might suggest a problem with the original device.
Software solutions
Updating the AirPods firmware and iOS
- Obtaining the AirPods firmware update:
Check that your AirPods are properly linked to your iPhone or iPad.
Start the Settings app and navigate to “General” > “About.”
If there is an AirPods firmware update available, you will be prompted to install it. To finish the update, follow the on-screen instructions.
- iOS Update for iPhone or iPad:
Connect your iPhone or iPad to a reliable Wi-Fi network and check the battery life.
Go to the Settings app and select “General” > “Software Update.”
If an iOS update is available, hit “Download and Install” and follow the on-screen instructions to update the software on your device.
Resetting AirPods settings
- Using iOS to access AirPods settings:
Go to the Settings app and choose “Bluetooth.”
In the list of connected devices, tap the (i) symbol next to your AirPods.
Select “Forget This Device” and confirm your choice.
- Carrying out a factory reset:
Keep your AirPods in the charging case with the lid open.
Hold down the setup button on the charging case’s rear until the front LED light blinks white.
Wait for the AirPods to reset once you release the button. Following the first setup, reconnect them to your smartphone.
Hardware-related solutions
Examining the AirPods case and earphones for physical damage
- Examine the AirPods case and earphones carefully for any apparent damage, such as cracks or dents.
Pay close attention to the microphone and speaker locations.
If you discover any substantial physical damage, get expert help from Apple or authorised service centres.
Cleaning the mic and speaker ports
- Using a dry, clean toothbrush:
Brush the microphone and speaker ports lightly with a clean, dry toothbrush to remove any dirt or dust. Take care not to apply too much pressure.
- Removing dirt with a tiny, soft brush: If there is obstinate debris trapped in the ports, use a small, soft brush (e.g., a makeup brush or an unused paintbrush).
- Experimenting with a different gadget
Connecting AirPods to a compatible device:
Connect your AirPods to another iPhone, iPad, or other compatible device to see if the microphone works properly.
- Testing microphone functionality:
After connecting to a separate device, perform a test call or record a voice memo to ensure that the microphone is working correctly. If the problem with the microphone persists across several devices, more troubleshooting or expert assistance may be necessary.
Advanced solutions
Contacting Apple Support
- Gaining access to Apple Support resources
To access troubleshooting tips, FAQs, and contact options, go to the Apple Support website or use the Apple Support app on your iPhone or iPad.
Give specifics regarding the microphone problem and the efforts you’ve previously done to address it.
- Communicating the problem and asking help:
To describe the microphone issue, contact Apple Support directly via phone, chat, or email. For additional troubleshooting steps or potential solutions, follow the instructions provided by the support agent.
Options for repair or replacement
- Investigating warranty coverage:
If your AirPods are still under warranty, check the terms and conditions to see if the microphone problem is covered.
To confirm your warranty, provide the appropriate proof of purchase and other details.
If the microphone problem persists and is not covered by warranty, try contacting Apple or authorised service providers for repair alternatives.
If required, they may examine the problem and give repair estimates or propose alternative replacement solutions.
By the way, you can also use a wireless microphone.

CONCLUSION
To summarise, it is critical to follow the troubleshooting procedures mentioned in this article to resolve microphone issues with your AirPods. Basic inspections, software solutions, hardware-related solutions, testing with a different device, and pursuing sophisticated solutions are all part of the process. Keeping your AirPods’ microphone operational is critical for clear conversation and excellent use in a variety of situations.
If you continue to have problems, it is best to get expert assistance from Apple Support or authorised repair centres. They have the knowledge and experience to identify and handle complicated issues that go beyond conventional troubleshooting. To maintain continuous audio experiences, remember to clean your AirPods on a regular basis, keep the firmware and software up to date, and handle them with care.