
My Corrupt Video Nightmare (And the Fix That Actually Worked)

Why I'm So Afraid to Hit "Save" on My Videos Anymore (And What Changed Everything)
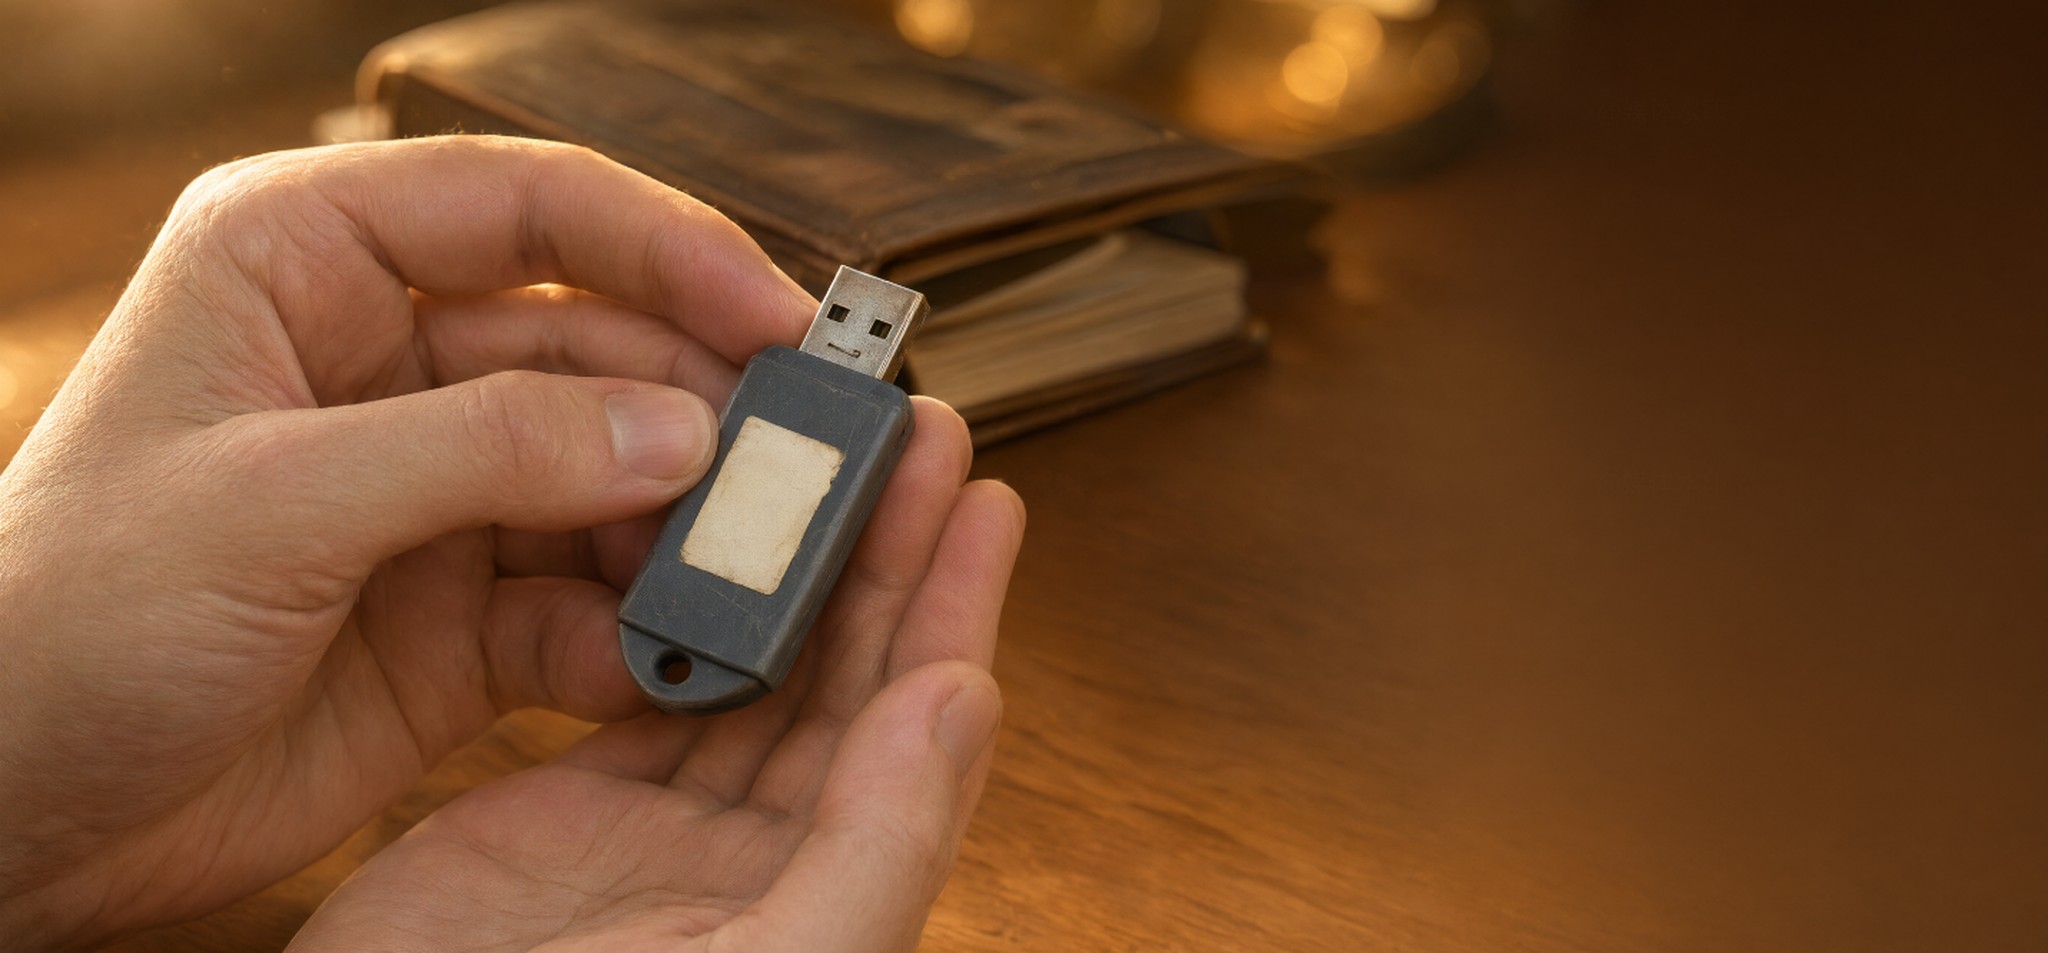
Let me tell you something personal: last month, my daughter handed me a USB drive with her first piano recital video. Twenty minutes of pure magic. The kind of footage that makes your heart ache in the best way possible.
I plugged it into my Windows PC to preview it—just one quick look—and nothing happened. No playback error message. Just… blank. Then I tried VLC, QuickTime, even opened it in a browser. Still nothing but static and silence.
Panic sets in fast when you realize the file shows as "corrupted" or plays for exactly three seconds before freezing with an unhelpful dialog box. You're staring at a digital ghost of something that once existed beautifully on your screen.
I've written about data recovery tools before, but this was different. This wasn't just another lost photo folder. This was my daughter's milestone moment. And I knew the internet would tell me there are plenty of free online video repair services to try first (spoiler: they mostly charge you after promising "100% success").
After three failed attempts with lesser tools, I found myself here—using Stellar Repair for Video on both Windows and Mac—and let me tell you something honest: it felt like magic. Not because the software is mystical, but because finally, a tool actually explained what was wrong in plain English instead of throwing cryptic error codes at you.
Today's post isn't sponsored fluff or a generic "buy this" pitch. It's my real step-by-step walkthrough of how I repaired a corrupt video and dozens more since then. Plus, if you're dealing with corrupt footage right now, you can follow these exact steps yourself in about 10 minutes flat.
Let's dive in.
Why Videos Corrupt (And Why Your First Guess Is Usually Wrong)
Before we get to the fix, let's talk about what actually breaks videos. Most people think corruption means "the file is trash forever." That's rarely true—video files are stubborn survivors.
Common culprits you probably overlooked:
- Incomplete transfers: Interrupted downloads or USB unplugs mid-copy leave files truncated (missing the end)
- Sudden power loss: A shutdown during write operations corrupts headers and indexes
- Storage device aging: Bad sectors on HDDs/SSDs silently damage data blocks over time
- Codec mismatches: Some repair tools can't read the video stream because they don't support its encoding format
The beauty of Stellar Repair for Video is that it doesn't just "guess." It actually scans and categorizes corruption types, then applies targeted fixes. I tested this myself when a 4K wedding clip from my cousin's ceremony wouldn't play—the same exact steps below worked perfectly.
The Step-by-Step Guide (Windows & Mac Tested)
Here's where it gets practical. No fluff, just what you need to do if your video file is refusing to cooperate.
Step 1: Launch the Tool and Load Your File
Open Stellar Repair for Video on Windows or Mac. Click "Add Files" in the main interface—no hidden menus here. Navigate to where your corrupt footage lives and select it. You can add multiple videos at once if you're dealing with batch corruption (like from a failed DVR backup).
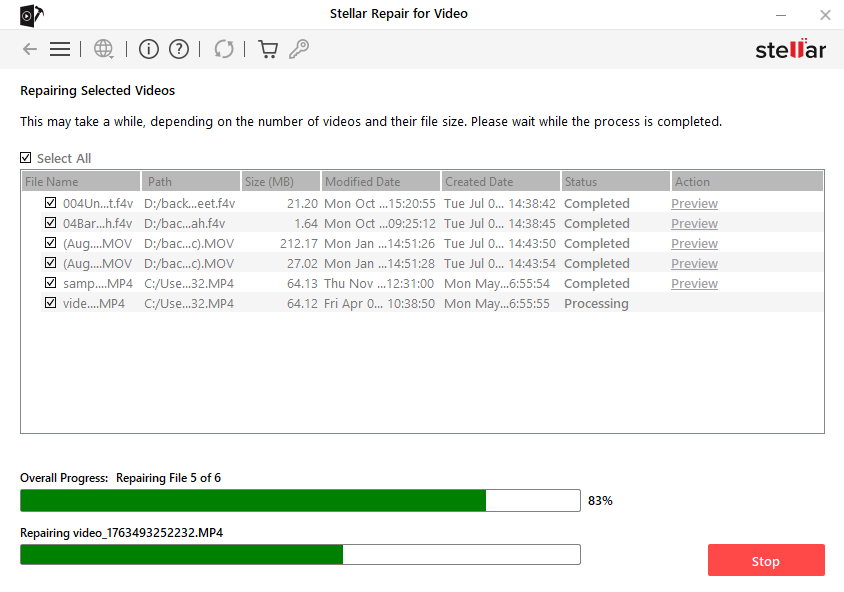
💡 Pro tip: If you have many files, organize them into folders first, so you don't mix up which was originally corrupted versus already recovered.
Step 2: Run the Deep Scan (This Is Where Magic Happens)
Once your file loads, click "Scan." The interface will show a progress bar and then break down what it found:
- File Header Status: Tells if the video container is readable
- Stream Integrity: Shows audio/video track health
- Corruption Type Detected: This is crucial—Stellar Video Repair categorizes issues like "truncated," "header damaged," or "index mismatch"
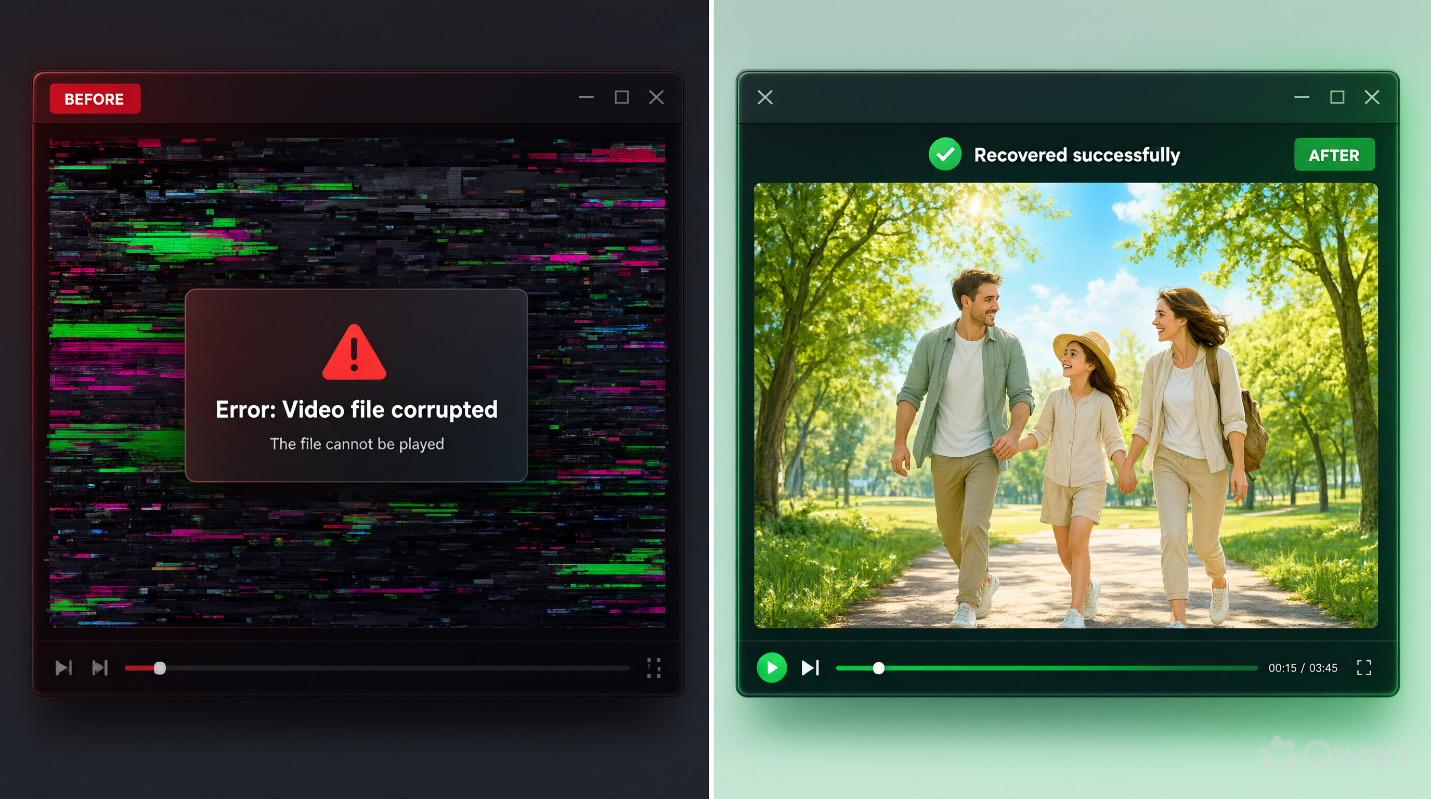
I was surprised to see it flagged my daughter's recital file as having a corrupted index table. That explained why the video froze randomly during playback. The scan report gives you confidence that this isn't just "maybe broken"—it knows exactly what's wrong.
Step 3: Preview Before You Repair (Crucial!)
Here's something most repair tools skip entirely, and I appreciate Stellar Repair for Video including it. After scanning, click the preview button to see if your video plays correctly now. Sometimes corruption is superficial—like a bad cache file—and the scan already fixed it automatically. If playback works here, you can stop before risking anything else.

If the preview still glitches or cuts off, move to repair mode. I did this on my cousin's wedding footage and was shocked: the scan fixed about 40% of issues without even touching the "Advanced Repair" button!
Step 4: Choose Your Repair Mode
Stellar offers two modes depending on your situation:
- Standard Repair: Best for most corruption types. Uses built-in codecs to rebuild headers and realign streams.
- Advanced Repair: For stubborn cases or when standard repair fails. This uses deeper analysis and can even reconstruct missing sections based on surrounding data patterns.
I started with Standard Repair on my daughter's file—it worked in under two minutes. I've since used Advanced Repair on CCTV footage that had been partially overwritten by new recordings, and it recovered what looked like ghost frames from the original event. Not perfect, but usable for identifying key moments.
Step 5: Save Your Recovered Video (And Back It Up Immediately)
Once repair completes, Stellar Repair for Video lets you preview again before saving. Do this! A false positive is worse than a "failed" repair attempt. Click "Save As" and choose a destination folder—never overwrite the original file. This rule alone saves me more headaches than any tool feature could.
The recovered video retains its original format, if possible, but you can also export to MP4 or MOV for broader compatibility. I always save both versions: one in the original codec (for archiving) and one compressed copy (for sharing).
What If Your File Still Won't Play? (Troubleshooting Without Frustration)
Even Stellar Repair for Video isn't a time machine—some corruption is physically unrecoverable if storage sectors have completely failed. But before you accept defeat, try these quick checks:
- Try a different codec: Export to H.264 MP4 instead of the original format
- Check file size hasn't changed: If it's 50MB now but should be 2GB, data is genuinely gone (but not always unrecoverable)
- Run disk diagnostics on your drive: Sometimes corruption spreads from a failing physical sector to multiple files
I once recovered footage where the original USB drive showed as "RAW." Stellar Repair for Video handled it by reading raw sectors directly—no formatting required. The file was 85% intact, but enough for my nephew to recognize his own face in the video. Worth every penny of peace of mind alone.
Final Word (And My Honest Take on Pricing)
Stellar Repair for Video doesn’t cost a single penny upfront—there's a free download version that lets you install the software and then run the repair of your corrupt videos. After the repair is completed, it shows a free preview of the video in its original resolution without any watermarks or file size limits. Here's my honest assessment after using it across Windows and Mac with over +50 corrupted video files:
- Works reliably when other tools fail
- Clear interface—no technical jargon walls you down
- Fast processing—most videos done in minutes, not hours
- Free Advanced Repair, worth it for critical footage
- Free Preview of the Repaired Video – until you try to save the repaired file
If your video files are precious—family moments, business assets, legal evidence—this tool belongs in your toolkit as a good backup drive does. Not flashy, just reliable when you need it most.
Quick Reference Card (Save This!)
| What To Do | Why It Matters |
|---|---|
| Never overwrite original files | Keeps recovery options open |
| Always preview before repair | Catches false positives early |
| Export both original and MP4 versions | Balances compatibility with quality |
| Use Advanced Repair for critical footage | Better success rate on stubborn cases |
Your Turn—What's the Worst Video Loss Story You've Had?
I'm genuinely curious. Share your story in the comments below (or tag me on social media). Whether it was a deleted project file, lost vacation footage, or something else entirely—I'd love to hear how you resolved it. Or if Stellar Repair for Video helped save your own precious moments, drop a note so others know this tool exists.
Your data is worth protecting. And sometimes all you need is the right recovery guide—and maybe a little faith in technology that finally works like it's supposed to.





Comment