Installing a domestic air conditioning (AC) unit can improve your home’s comfort, particularly during hot weather. With the right strategy and tools, you can complete the procedure efficiently. Here’s a step-by-step guide to walk you through the installation.
1. Choose the Right Air Conditioning Unit
The first step is to choose the most appropriate air conditioning unit for your home. Consider the following factors:
- Room Size: Determine the BTU (British Thermal Unit) rating needed for efficient cooling. Larger rooms require higher BTUs.
- Energy efficiency: To save money and energy, look for units with a high SEER (Seasonal Energy Efficiency Ratio).
- Type of air conditioning unit: Split systems are best for permanent installations, whereas window or portable units may be appropriate for smaller spaces or rented houses.
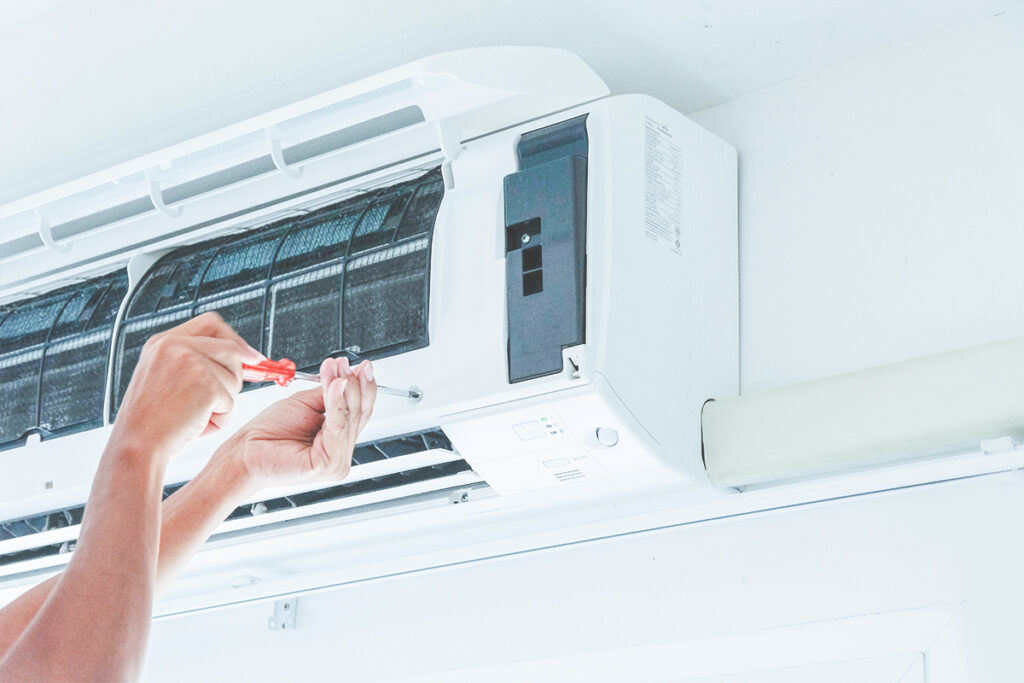
2. Gather the Necessary Tools and Materials
Before you begin, make sure you have all of your tools and materials available. Common objects include:
- Drill with bits.
- Screws and Mounting brackets
- Screwdrivers
- Pipe cutter
- Insulation Tape
- A measuring tape
- Vacuum Pump (for Split AC Systems)
- Safety goggles and gloves.
Having these items on hand can help you save time and avoid interruptions.
3. Plan the Installation Location
Choosing the best location for your air conditioning unit is crucial for its efficiency. Please follow these guidelines:
- Indoor Unit: Install the device away from direct sunlight and heat sources such as stoves. Place it 7-8 feet above the floor to improve air circulation.
- Outdoor unit: Locate a shady, well-ventilated place. To avoid water gathering, ensure that it has at least 12 inches of clearance from walls or obstructions and is slightly elevated.
4. Prepare the Mounting Area
Once you’ve picked the installation location, prepare the space for mounting.
- Clean the wall to ensure that no dust or dirt disrupts the installation.
- To prevent misalignment, use a level to mark the placement of the indoor unit bracket.
- Drill holes as necessary, and use wall anchors for extra strength if installing on walls.
5. Install the Mounting Bracket and Unit
Use screws to secure the mounting bracket to the wall. Ensure that it is level to avoid problems with water drainage from the AC unit. Once the bracket is placed:
- Mount the indoor unit carefully on the bracket.
- Make sure it fits firmly and doesn’t wobble.
6. Drill a Hole for the Pipes
Split air conditioning systems require the indoor and outdoor units to be connected via refrigerant pipes and a drain pipe. Drill a hole in the wall to pass these pipes.
- To facilitate water drainage, the opening should be slightly tilted downward.
- Insert a plastic sleeve into the opening to protect the pipes.
7. Connect the Refrigerant and Drain Pipes
Carefully connect the refrigerant pipes between the inside and outdoor units.
- Use a pipe cutter to alter the pipe length as needed.
- Wrap the pipes in insulating tape to minimize condensation and energy loss.
- Attach the drain pipe to the indoor unit, making sure it slopes downward for efficient drainage.
8. Set Up the Outdoor Unit
Position the outdoor device in the desired location. Use mounting brackets or a concrete pad to keep it in place. Ensure it is stable and level.
- Connect the refrigerant pipes to the outdoor unit according to the manufacturer’s instructions.
- To prevent leaks, use a wrench to securely tighten the connections.
9. Vacuum the System and Check for Leaks
This procedure guarantees that the refrigerant system is airtight and moisture-free.
- Use a vacuum pump to extract air and moisture from the refrigerant lines.
- When the vacuum is finished, check for leaks by pouring soapy water to the connections and looking for bubbles.
10. Power Up and Test the System
After finishing the installation, turn on the AC unit to check its performance:
- Check that the inside unit is blowing cold air and the outdoor unit is working properly.
- Make sure there are no odd sounds or vibrations.
- To ensure that the equipment is responsive, adjust the thermostat settings.
Follow these ten steps to successfully install a household air conditioning system. Specific instructions and safety precautions should always be followed as directed by the manufacturer. If you are unsure at any point, consider hiring an expert to ensure that the installation is safe and effective.