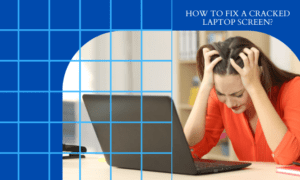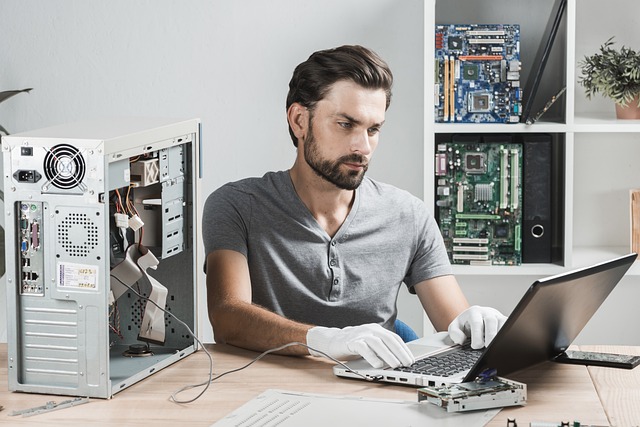
A damaged laptop screen can be frustrating, but replacing it yourself can save you time and money. This step-by-step guide will help you safely replace your laptop screen at home with ease.
What You’ll Need
Before starting, gather the necessary tools:
- A compatible replacement screen (check your laptop model)
- A small Phillips-head screwdriver
- A plastic pry tool or spudger
- Tweezers (optional)
- A clean, dry workspace
- A soft cloth to protect the screen
Step 1: Identify the Right Replacement Screen
Find the exact model of your laptop to ensure you purchase the correct replacement screen. You can check the laptop’s manual or look at the model number on the back of your device. If you can, remove the damaged screen first and note its part number.
Step 2: Power Off and Disconnect the Laptop
Before proceeding, shut down your laptop completely and unplug the power adapter. Remove the battery if possible to prevent electrical damage during the replacement process.
Step 3: Remove the Bezel
The bezel is the plastic frame surrounding the screen. Use a plastic pry tool or your fingers to carefully pry it off. Some laptops have screws hidden under rubber covers—if so, use the screwdriver to remove them first.
Step 4: Unscrew and Disconnect the Broken Screen
After removing the bezel, find and unscrew the mounting screws securing the screen.. Gently tilt the screen forward to reveal the video connector cable at the back. Carefully unplug the cable by releasing the adhesive or clip holding it in place.
Step 5: Install the New Screen
Take the replacement screen and align it properly with the mounting brackets. Reconnect the video cable securely, ensuring it is firmly attached. Once connected, position the new screen into place and secure it with screws.
Step 6: Reattach the Bezel and Test the Screen
Snap the bezel back onto the laptop and replace any screws if necessary. Reinstall rubber covers if they were removed earlier. Once the screen is secured, reconnect the battery and power on the laptop to test if the display works properly.
Troubleshooting Tips
- If the screen does not turn on, check the video cable connection.
- Ensure the replacement screen is compatible with your laptop.
- If you see display distortions, verify the connector is properly secured.
Final Thoughts
Replacing your laptop screen at home is a cost-effective way to extend your device’s lifespan. With the right tools and careful handling, you can complete the process in under an hour. If you encounter difficulties, consider seeking professional help.
Now that you know how to replace a laptop screen, why not share your experience or tips with others? Happy repairing!