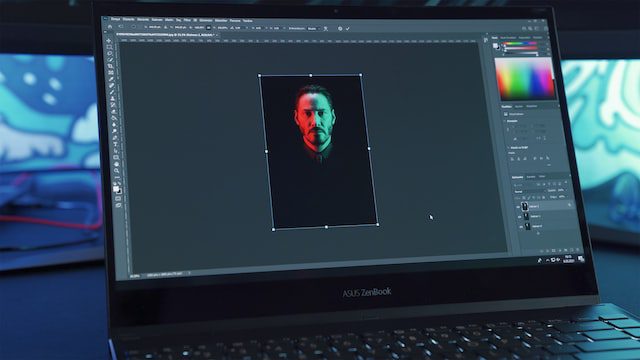
Adobe Photoshop is one of the most powerful tools today, and it can be used to do almost anything. From creating graphics for your website to editing photos before you upload them to social media, Photoshop is an essential part of our daily lives.
However, if you’re a beginner or intermediate user, there are some things that may have eluded you. But don’t worry — we’re here to help! In this guide, we’ll show you five Photoshop tools that are super useful for all sorts of things. You’ll learn how to use them so that you can get the most out of your time in Photoshop.
Content-aware fill
Content aware fill is a tool that creates a selection based on the surrounding area. This is helpful for replacing a selection with new content and can be used to fill in a selection or replace one with another background. It’s also often used to replace one selection with part of an image, which we’ll cover later in this article.
Content-aware fill works best when there’s enough contrast between what you’re trying to select and its surroundings. It won’t work well on images where everything looks similar, like areas with flat colors or even just lots of white space on either side of your subject.
Adjustment layers
Adjustment layers are a great tool to have in your arsenal. They’re non-destructive, which means you can adjust the opacity of an adjustment layer at any time. This also gives you the option to make your adjustments more subtle or dramatic, depending on what effect you want to achieve.
When you create an adjustment layer, you can make edits that will affect all parts of the document or only parts of it. This makes them ideal for many kinds of photo editing projects, from simple color corrections to more advanced techniques like selective coloring and retouching.
Layer masks
Layer masks allow you to hide parts of your image or reveal parts that have been hidden. If you want to make an image transparent, all you have to do is paint black on a layer mask. This will hide the area on your image that corresponds with where you’ve painted. If you want an area of an image to be visible, just paint white over that area’s corresponding portion of the layer mask, and voilà, it stays visible.
Even better than making parts of images disappear or reappear is using selections made with layer masks as part of creative projects such as collages or photo editing software like Adobe Photoshop Express (Android).
Smart objects
Smart objects are vector objects, which means they can be scaled without losing quality. This is especially handy when you need to resize an image file. If you’re working with smart objects, you’ll notice that they have a small icon in their bottom right corner that looks like a grid of tiny squares — that’s the smart object indicator.
You’ll also notice that when you double-click on the smart object layer in your Layers panel, it opens up in its own window, instead of opening inside Photoshop’s editing environment. When this happens, it means that all edits made to your original image will stay intact until you choose to overwrite those changes or discard them altogether by closing out of this window and heading back into your main Photoshop document.
Clipping masks
Clipping masks are one of the most useful tools in Photoshop, but they aren’t always as obvious or easy to use as you might think. A clipping mask is essentially a group of layers that’s used for clipping one layer (or group of layers) to another, so that only the topmost layer shows through.
The first thing to know about clipping masks is where they’re located. They appear directly above the layer(s) they affect — the layer or mask itself is on top, and everything beneath it appears inside the black border surrounding it. In other words, when working with clipping masks, your bottommost layer will be clipped by whatever comes above it. There’s no way around this rule unless you’ve somehow moved things around in your Layers panel.
Takeaway
Whether you’re a professional graphic designer or just want to learn the ropes, Photoshop is an essential tool for anyone. It is one of the best tools to utilize if you want to make money as a creative. Get better at using Photoshop by practicing with the tools we’ve listed above. The more time you spend with them, the better you’ll be able to use them in your own projects.


