Some bugs take an afternoon to find. This one cost me about two hours and a bit of pride.
I was finishing a remix, and a vocal chop that sounded fine on its own went brittle the second the full mix came up. A kind of watery fizz up top. I assumed it was an EQ thing and nudged a high shelf around for a while. Nothing helped.
The real problem was the sample. It was a low-bitrate MP3 I’d grabbed in a hurry, then chopped, pitched and bounced a couple of times. The damage wasn’t in my mix at all. It was baked in before I touched anything.
I haven’t treated source audio casually since. If you make beats, edit podcasts or cut video, the file you start with matters more than most plugin choices. So let’s talk about what WAV actually does, where it earns its keep, and how to get a proper WAV out of YouTube in 2026 without wading through shady download sites.
What WAV Actually Is (and What MP3 Takes Away)
Lossy audio, the short version
An MP3 or AAC file is a bet. The encoder wagers that you won’t miss certain quiet details and some high-end information, and in return the file shrinks to a fraction of its size. On earbuds, on the bus, the bet usually pays off.
The catch is that it’s permanent. Once that data is gone, no amount of processing brings it back.
Lossless audio, in plain English
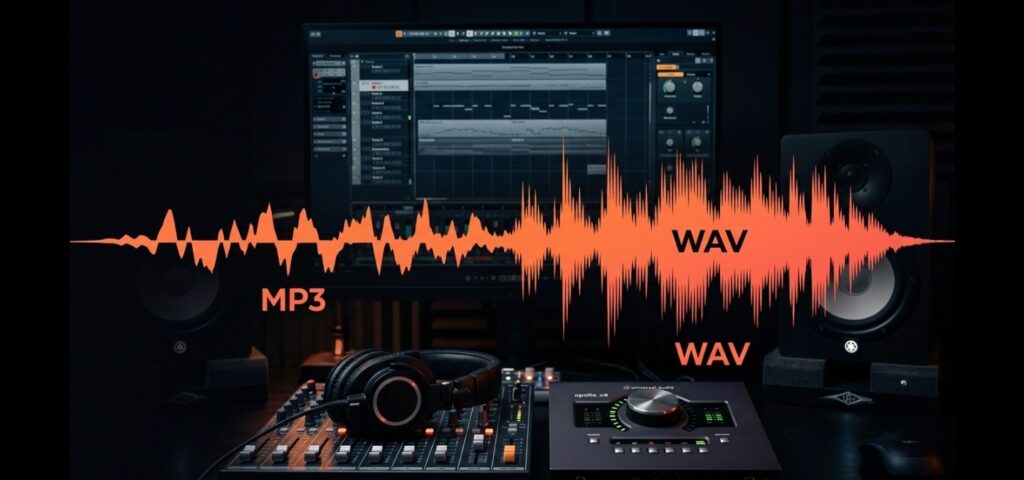
WAV skips the gamble. It stores raw PCM, which is just a long list of measurements of the waveform: 44,100 per second at CD quality, 48,000 in most video and studio work, each stored at 16 or 24 bits of resolution. FLAC is lossless too, only packed smaller, like a zip file for audio.
Picture WAV as the negative and MP3 as a print made from it. Perfectly good for hanging on a wall. Not what you want to keep rescanning.
Why the damage snowballs
Every time you edit and re-export a lossy file, the encoder runs again and takes another bite. Artifacts pile up. Worse, the tools you use in a DAW (pitch shifting, time-stretching, heavy EQ, compression) don’t just process your audio. They exaggerate whatever the encoder left behind. That’s exactly what I ran into on that remix.
Where WAV Makes a Real Difference
Not every job needs it. If you’re just listening on the bus, MP3 is fine, and I’ll happily say so again later. But in these four situations I wouldn’t start with anything lossy.
Sampling and remixing
Sampling is controlled abuse. You chop a phrase, drop it an octave, stretch it to your tempo, then push it through saturation. Each move magnifies whatever artifacts already sit in the file.
Time-stretch a drum break from a compressed source and the transients often smear. The same break from a WAV usually holds together a lot longer.
Sound design
When you’re granular-slicing a field recording or feeding something into a spectral processor, you’re basically putting the audio under a microscope. Flaws nobody would hear at normal speed suddenly become the main feature. Give those tools clean material.
Podcast editing
People assume lossy is fine because the show ships as an MP3 anyway. It does, and that’s exactly the point: you want that compression to happen once, at the very end.
Noise reduction, de-essing, levelling and a few rounds of edits all behave better on uncompressed files. Do the work in WAV, then export.
Video production
Premiere Pro, DaVinci Resolve and Final Cut all take WAV without complaint, and it keeps another lossy generation out of the chain when you render. For music beds and dialogue references it’s the sensible default. It’s also what most audio post people expect to receive from you.
The Problem With Most YouTube Downloaders
Say you’ve found something on YouTube you genuinely need. An obscure drum break, a crowd ambience you can’t find in any pack, a reference track from a client. You search for a downloader and nearly every result hands you an MP3, often at 128 kbps, sometimes without even telling you.
That’s a double hit. YouTube already serves compressed audio (AAC or Opus, depending on the video and device), so the downloader grabs a lossy stream and squeezes it into another lossy format. Two rounds of compression before the file even reaches your drive.
I want to be straight about the limits here, because plenty of articles on this topic aren’t. Converting to WAV doesn’t bring back anything YouTube already removed. A WAV from YouTube won’t match the studio master, and a 24-bit label doesn’t change that.
What WAV gives you is a copy that doesn’t get any worse: exactly what YouTube served, in an uncompressed container, ready for whatever you throw at it. If you need true master quality, ask the artist or label for stems. Otherwise this is the best you can pull from YouTube, and it’s a clear step up from an MP3 rip.
Getting Clean Audio With YTtoWAV
After trying a handful of options, the one I keep pointing people to is YTtoWAV’s free converter. It’s a browser-based YouTube to WAV converter, so there’s nothing to install and no account to make. Paste, convert, download.
Going by the site and my own use, a few things stand out. It offers two output settings: CD quality (16-bit/44.1 kHz) and a studio option at 24-bit/48 kHz. It accepts regular links, short youtu.be links, Shorts, YouTube Music links and playlists. And title and artist info normally comes along in the file tags, which saves some typing later.
That 24-bit/48 kHz setting deserves a quick word. I use it when a clip is headed into a video project or a 48 kHz session, since it avoids a sample-rate conversion on import and leaves a bit more room when you process. It won’t add detail that isn’t in the source, as covered above. Think of it as a roomier container, not a better recording.
How to Convert YouTube to WAV in About a Minute
- Copy the link. Open the video, hit Share, and copy it. Grabbing it from the address bar works just as well.
- Paste it in. Go to YTtoWAV, drop the link into the box, and choose your quality. I pick 24-bit/48 kHz for anything going into a serious project and CD quality for quick references.
- Hit convert. A song usually finishes in a few seconds. A long DJ mix or podcast takes longer, though not by much.
- Download. Save the WAV and drag it straight into your DAW or sample folder. No import wait, no transcoding.
That’s the whole thing. If you’ve ever fought with a bundled desktop converter, the lack of steps feels almost suspicious. It isn’t. It’s a small tool doing one job.
Habits That Save You Later
Converting is the easy part. What you do with the files afterwards decides whether your sample library stays usable.
Name files like you’ll forget everything
Future you will not remember what “audio (47).wav” was. I use Artist_Title_Key_BPM and fill in the key and tempo as soon as I’ve worked them out. Sort folders by type (vocals, drums, textures) and add one called _To Clear for anything that might end up on a release.
Never edit the original
Treat the download as your master and work on a copy. Switch on your DAW’s “collect and save” option, or whatever yours calls it, so samples get copied into the project folder. Missing-file warnings six months later are the worst.
Match your project’s sample rate
If the session runs at 48 kHz, grab the 48 kHz file. Resampling on import is usually inaudible, but there’s no reason to add a step. Working at 44.1 kHz? Use the CD-quality setting.
YouTube Music and Shorts links
Both work. Paste the link exactly as it comes and don’t trim it. Shorts are handy for one-shots, vocal tags and small effects, though obviously they’re short.
Budget some drive space
Figure roughly 10 MB a minute at CD quality and around 17 MB at 24-bit/48 kHz. A two-hour mix adds up fast. Keep active projects on your SSD and push older files to an external drive.
Be sensible about rights
This applies to any downloader, not just this one. YouTube’s terms and copyright law still apply. Stick to material you own, have permission for, or that’s Creative Commons or royalty-free, or keep it for reference and study. If a sample ends up in a release, clear it. That part isn’t optional.
WAV vs. MP3 vs. FLAC vs. OGG
Here’s how the four stack up for everyday production work.
WAV
- Compression: None (uncompressed PCM)
- Quality: Identical to source, no loss
- File size per minute (stereo): ~10 MB at 16-bit/44.1 kHz, ~17 MB at 24-bit/48 kHz
- Best use: Editing, sampling, mixing, mastering, archiving
MP3
- Compression: Lossy
- Quality: Good at high bitrates, but degrades with re-encoding
- File size per minute (stereo): ~1 MB at 128 kbps, ~2.4 MB at 320 kbps
- Best use: Casual listening, sharing, final delivery
FLAC
- Compression: Lossless (compressed)
- Quality: Identical to source, no loss
- File size per minute (stereo): ~5-6 MB
- Best use: Portable lossless storage, high-end listening
OGG (Vorbis)
- Compression: Lossy
- Quality: Often better than MP3 at the same bitrate
- File size per minute (stereo): ~1-2 MB at typical bitrates
- Best use: Games, open-source projects, streaming
Two notes. FLAC is great for storage. For a deeper breakdown of these two formats, this WAV vs MP3 comparison goes into the technical details. but some DAWs decode it on import, which can add a small delay. OGG Vorbis is efficient but patchy in production software, so it’s mostly a game-audio thing.
And MP3 isn’t the villain here. It’s a perfectly good delivery format. The mistake is using it as a working format.
So Which Format Should You Use?
My rough rule: work in WAV, archive in WAV or FLAC, deliver in MP3 or AAC.
Choose WAV for sampling, remixing, sound design, podcast editing, video timelines and anything you want to keep. That covers most of what producers do all day. Choose FLAC when storage is tight and you still want lossless, as long as your software handles it smoothly. MP3 or AAC suits previews, final bounces and quick references for collaborators. OGG only really matters if your game engine or toolchain prefers it.
So why do so many people still start every project from an MP3? Habit, mostly, and convenience. A good free YouTube to WAV tool takes the convenience excuse away.
Worth the Extra Drive Space
WAV isn’t magic. It won’t turn a rough YouTube rip into a studio master. What it does is stop you from making a weak starting point worse, and every lossy step you skip is detail you keep for the mix.
If you regularly pull samples, references or clips from YouTube, switching from MP3 rippers to a tool that outputs WAV is one of the cheapest upgrades available. It costs nothing and takes a minute.
My recommendation: try it both ways. Convert one clip to MP3 and the same clip to WAV, drop both in your DAW, and beat them up with pitch shifting, time-stretching and heavy EQ. You’ll hear the difference quickly. Then keep whichever one makes your track sound better. I have a feeling you already know which that’ll be.