Are you thinking about installing a rectangular freestanding tub in your home? But you’re not sure where to start? Don’t worry; we’ve got you covered. In this blog post, we’ll walk you through the best step-by-step way to install a freestanding bathtub so that you can start your project immediately.
Items Needed for Installing a Freestanding Bathtub
Installing a freestanding bathtub is a big project, but it’s one that you can do yourself with a little bit of knowledge and the right tools. Here’s what you’ll need to get started with the project:
- A tape measure
- A level
- A drill
- A saw (if you’re planning on making changes to the existing plumbing)
- Pipe insulation (if you’re planning on making any modifications to the existing plumbing)
- An adjustable wrench
- A hammer
- Nail gun
- Caulking gun
- Bathtub
- Cleaning Materials
- Pipe pieces
Things to Consider While Installing a Freestanding Bathtub
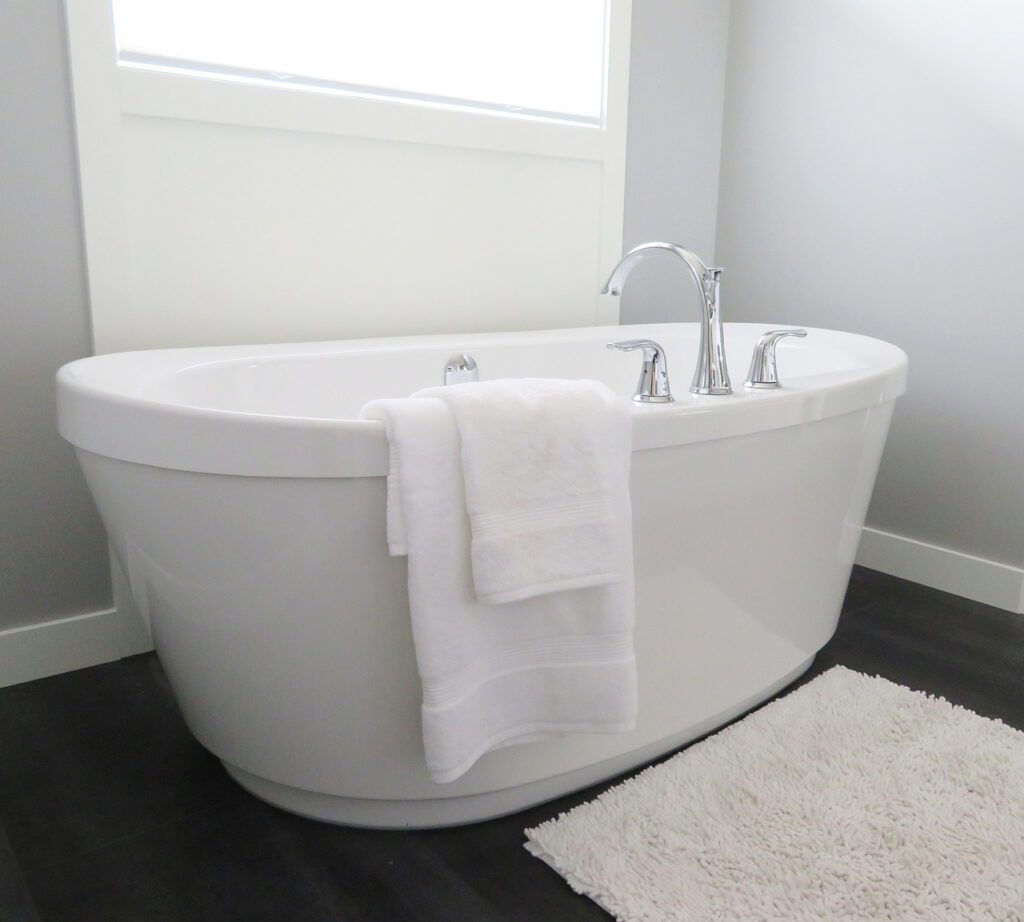
Installing a freestanding bathtub is a great way to add a touch of luxury to your bathroom. It can also help elevate the aesthetic of your space and make it feel more like a spa. If you plan on installing a freestanding bathtub, it can be a great focal point in your bathroom.
But there are a few things you should consider before you start your project. First, make sure that you have all of the necessary tools and materials for installing a freestanding tub. Otherwise, you’ll make multiple trips to the store, which will only prolong the project.
Second, take accurate measurements of both the space where the bathtub will go and the bathtub itself. This will ensure that your installation is level and secure. Make sure that you mark the placement of the bathtub on the floor so that you know exactly where to put it.
Third, if you’re modifying the existing plumbing, be sure to turn off the water supply before you get started. Failure to do so can cause serious damage to your home.
Lastly, always use caution when working with power tools, and be sure to follow all safety guidelines. While installing a freestanding tub is rather a safe project, there is always a risk of injury when working with tools.
Now that we’ve gone over some of the basics, let’s get started with the installation process:
Step-By-Step Process of Installing a Freestanding Bathtub
Here is a step-by-step guide on installing a rectangular freestanding bathtub:
Step 1: Choose the location for your freestanding bathtub
The first step is to choose the location for your bathtub. Keep in mind that a freestanding bathtub is usually larger than a standard bathtub, so you’ll need to ensure that you have enough space. Once you’ve selected the location, use a tape measure to make sure that it’s the right size.
Step 2: Turn off the water supply
If you’re making any modifications to the existing plumbing, the next step is to turn off the water supply. This will prevent any water damage to the plumbing system and your home while you’re working. You can find the main water shut-off valve in your home’s basement or utility room.
Step 3: Remove the old bathtub (If applicable)
If you’re removing an old bathtub, the next step is to disconnect the plumbing and remove the tub. Be sure to have a helper on hand to assist you with this step, as bathtubs can be very heavy. Once the tub is removed, clean up any debris or grime so that the area is ready for the new bathtub.
Step 4: Install the new freestanding bathtub
The next step is installing a freestanding tub. It is advised that you leave at least 2 feet of space around the perimeter of the tub. This will give you enough room to move around during the installation process. If you’re making any changes to the plumbing, now is the time to do it.
Once the plumbing is in place, you can position the bathtub in the desired location. The best way to do this is to have someone help you lift it into place. Once the tub is in position, use a level to make sure that the water won’t spill.
If the tub is not level, adjust it using shims. Once the tub is level, you can begin attaching it to the floor. You can do this with a drill and screws. Be sure to use screws that are long enough to reach the floor joists.
Step 5: Attach the plumbing
Once the bathtub is secured to the floor, you can begin attaching the plumbing. If you’re using a new freestanding tub, the plumbing will already be in place. However, if you’re using an old bathtub, you’ll need to reconnect the plumbing. Be sure to turn the water back on before you test the tub.
Step 6: Caulk the perimeter
The penultimate step is caulking the perimeter of the bathtub. This will prevent water leaks and other damage. To do this, start by running a bead of caulk around the edge of the bathtub. Use a damp cloth to smooth the caulk.
Step 7: Test the tub
Finally, it’s time to test the tub. Fill it up with water and let it run for a few minutes. If everything is working properly, you can now enjoy your new freestanding bathtub!
If there is some problem with the installation, you will need to troubleshoot it before using the tub. For example, if there are leaks, you’ll need to check the plumbing and caulking to see where the problem is. If the tub is not level, you’ll need to adjust it with shims.
And that’s it! You’ve now successfully installed your freestanding bathtub.
Freestanding Tub Options to Consider
There are several freestanding tub options available. The tubs come in different shapes, sizes, and colors. Moreover, some tubs offer basic functionalities, whereas some have extra features. Here is a look at some freestanding tubs that you can install in your home:
- Asher Acrylic Rectangular Freestanding Tub With Insulation
- Radnor Acrylic Slipper Freestanding Tub With Insulation
- 56″ Bandon Resin Freestanding Tub
- Crofton Acrylic Double-Slipper Freestanding Tub With Insulation
- 60″ Aldine Cast Iron Double-Ended Roll-Top Tub with Pedestal
Conclusion
Installing modern freestanding tubs is a big project, but it’s one that you can do yourself with a little bit of knowledge and the right tools. By following this step-by-step guide, you’ll be able to install your new bathtub in no time!