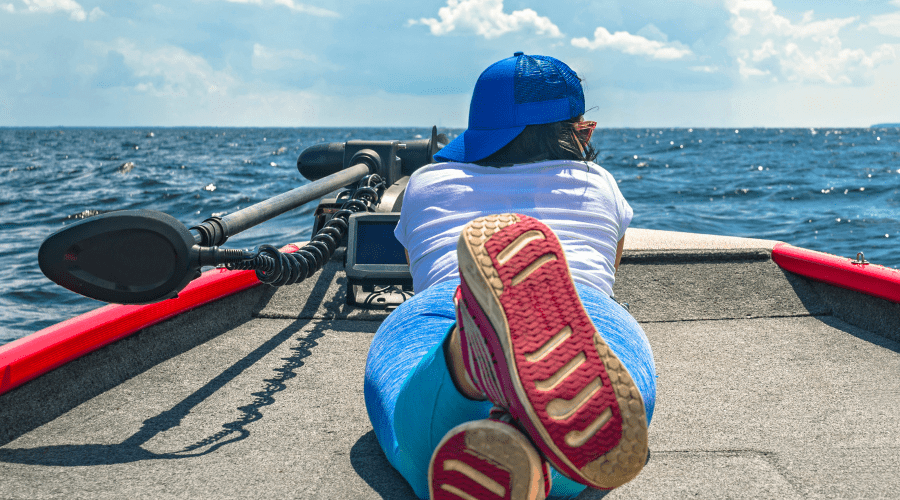
Fish finders have become a standard part of any fishing trip, and if you’ve finally decided to get one yourself, you’ll soon understand why. Portable fish finders are awesome and can make your fishing experience even more fun and increase your chances of getting closer to the fish you want.
Finding the best portable fish finders for beginners may take a while since there are so many cool options to choose from, but once you have one you like, the trickiest part is installing it.
Naturally, you’ll want it to be properly installed on your boat, so let’s look at how that installation process should go down and how to use your fish finder so you can make the most of it.
Install the Fish Finder Correctly
Installing your portable fish finder properly will ensure that you enjoy it as intended. What follows is a step-by-step guide on how to install yours on your boat, all you have to do is follow the instructions, and you’ll be good to go.
Decide Where It Should Go
You need to figure out where you want to install your fish finder and transducer. Ideally, your fish finder display should be somewhere it won’t obstruct you or your other equipment but can still be easily accessed. The dashboard is the best place, but if you have a kayak or other small boat, the fish finder can be mounted in front of you and close to where you’ll be sitting most of the time.
Install the Transducer’s Mounting Plate
Next, you have to install the transducer mounting plate, which should be mounted ¼” or ½” up from or flush with the hull’s bottom. This will ensure that there’s a minimal amount of drag. Ensure you position it safely away from the motor if you have an outboard motor so there won’t be any interference later on. Also, pay attention to other electronics and metal objects that could cause trouble.
To mount the plate, position it as you need to, then mark two holes on the hull so you can drill holes and use a screwdriver to screw it in place.
Mount the Transducer
For this step, it’s best to follow the tips and instructions provided by the manufacturer. Not all transducers are configured the same, and installing them can be slightly different from one model to the next. Just make sure you position the transducer correctly so it’s at the correct height.
Sort Out the Cable Wires
Now you must run the cable wires up to the fish finder console, making sure you keep them neat by using zip ties or cable ties. You can let the wires go through any housing on the boat for extra protection, or you can run it on the sides. Again, it’s best to adhere to the manufacturer’s instructions for best results.
Mount the Fish Finder
The last step is to finally mount the fish finder itself. You may have a model that comes with a gimbal bracket, in which case you’ll install the device on the dashboard behind the boat’s steering wheel. Ensure you position the bracket so it’s in the center and parallel to the wheel. Mark the screw holes and check for wires you may damage before you start drilling.
Fasten the screws tightly and mount your fish finder. You should follow the manufacturer’s instructions on where the different cables should be attached.
And that’s it! Now have fun fishing with your fish finder.


