According to the latest numbers, the Crime Severity Index is up by 2.1%, and the police-reported crime rate per 100,000 is up 2.5% Canada-wide. From responding to noises at night to checking who’s at the door while you’re away, surveillance systems give you immediate, useful visibility. But not all setups are equal. A poorly placed or outdated camera can create blind spots or lull you into a false sense of security. To get the full benefit, you need a system designed with strategy, not guesswork.
Here’s a step-by-step guide to help you with a residential surveillance camera installation that actually makes your home safer, not just look the part.
Start With a Security Assessment
Before you buy a camera or drill any holes, walk through your property and identify vulnerable points. These usually include front and back doors, ground-floor windows, garages, and blind spots in your yard. Think like someone trying to enter your home undetected. Where would they go? Those are your priorities.
If you live in a multi-unit building or community with shared areas, consider whether surveillance in common spaces is permitted and beneficial. Always check your local privacy laws to ensure your cameras aren’t recording areas where people have a reasonable expectation of privacy, such as neighbouring yards or shared hallways.
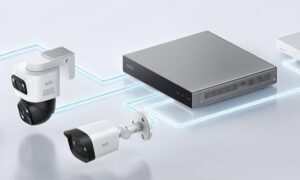
Choose the Right Type of Cameras
Surveillance technology has evolved far beyond grainy, black-and-white footage. The key is choosing the right camera for each location:
- Doorbell cameras. Ideal for monitoring packages, visitors, and entryways. Many include two-way audio.
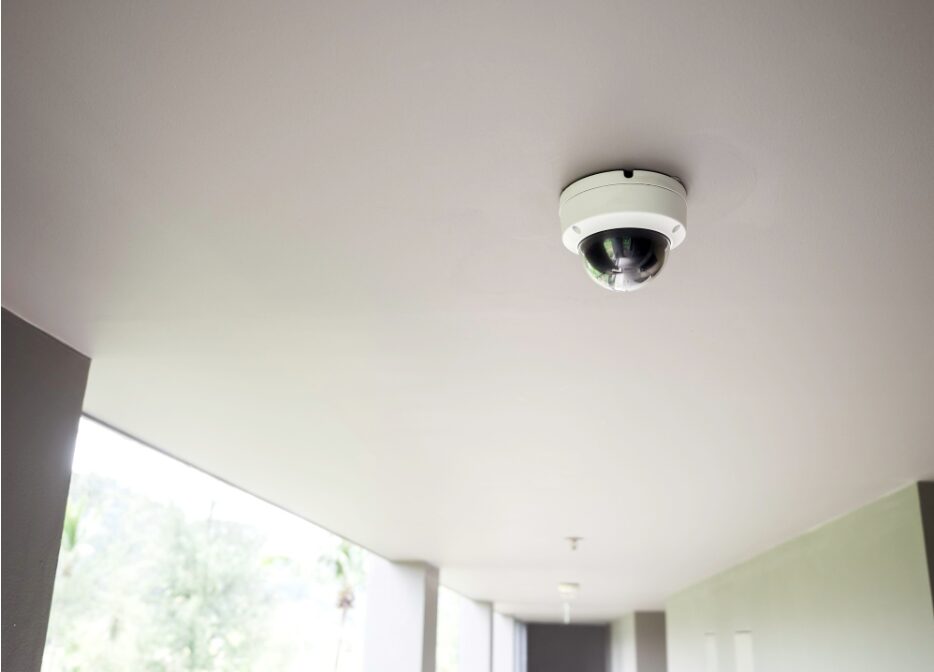
- Dome cameras. Discreet and difficult to tamper with, these work well indoors or in covered outdoor areas.
- Bullet cameras. Great for long-range viewing, such as across a driveway or backyard.
- PTZ (pan-tilt-zoom) cameras. Provide wide coverage and remote directional control, perfect for larger properties.
- Wireless vs. wired. Wireless cameras offer easy setup and flexibility, but wired options typically provide more reliable connections and don’t rely on batteries.
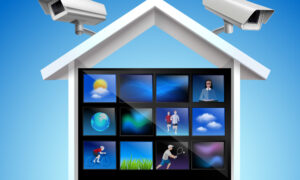
Must-have features generally include HD video quality, night vision, motion detection, cloud storage, and app connectivity. These add-ons help you respond effectively in real time.
Placement Matters
Mount cameras high enough to avoid tampering but low enough to capture clear facial features. Avoid direct sunlight, which can wash out images, and be mindful of glare from windows or reflective surfaces.
Angle your cameras to cover entry points without leaving gaps. It’s often better to have multiple cameras with overlapping views than one trying to cover too much on its own.
If you’re installing outdoor cameras, ensure they’re weatherproof and rated for your climate. Prairie winters, for example, might demand more durable builds than a temperate coastal climate might.
DIY or Hire a Professional?
Many modern surveillance systems are built for DIY installation and come with user-friendly apps. But if you’re wiring cameras through walls or integrating them with a broader home automation system, professional installation can save you time and frustration and optimize their effectiveness. Professional installers are better for advice on where not to place cameras, how long to retain footage, and how to ensure recordings are secure from hacking or unauthorized access.
Don’t Just Install, Monitor and Maintain
Installing cameras is only the first step. Regularly check camera angles, clean lenses, and test connectivity. Review footage from time to time, not just after an incident. The goal is to stay ahead of potential issues.
Make sure you have strong passwords, use two-factor authentication where possible, and keep the software up to date.
In a Nutshell
Real security comes from planning with purpose: choosing the right equipment, placing it strategically, and maintaining the system over time. Do it right, and your cameras won’t just record what happens; they may help you actively prevent it.