When planning a bathroom upgrade, selecting the right shower kit is a key decision that impacts both style and functionality. A well-chosen kit not only enhances daily comfort but also contributes to long-term convenience and cleanliness. This guide provides a comprehensive walkthrough—from types and components to installation tips and design trends.
Why a Quality Shower Kit Matters
Shower kits streamline bathroom renovations by offering all-in-one solutions. Unlike assembling components separately, a kit ensures compatibility and simplifies installation. Investing in a high-quality shower kit guarantees durability, ease of maintenance, and an improved bathing experience.
Understanding Modern Shower Kit Configurations
Contemporary kits offer more than just practicality. With a wide variety of designs, materials, and configurations, they cater to diverse aesthetic preferences and spatial needs, making them suitable for both small apartments and spacious master baths.
Types of Shower Kits
Standard Alcove Shower Kits
Designed to fit between three walls, these are ideal for space-efficient layouts. They often include a base, wall panels, and a door, offering a clean and cohesive look.
Corner Shower Kits
Perfect for maximizing space in smaller bathrooms, these kits utilize corner areas efficiently and often feature curved or angled doors for added style.
Linear Drain Shower Kits
These offer a sleek, modern look and allow for better water drainage. Ideal for contemporary bathrooms, they provide a seamless, barrier-free experience.
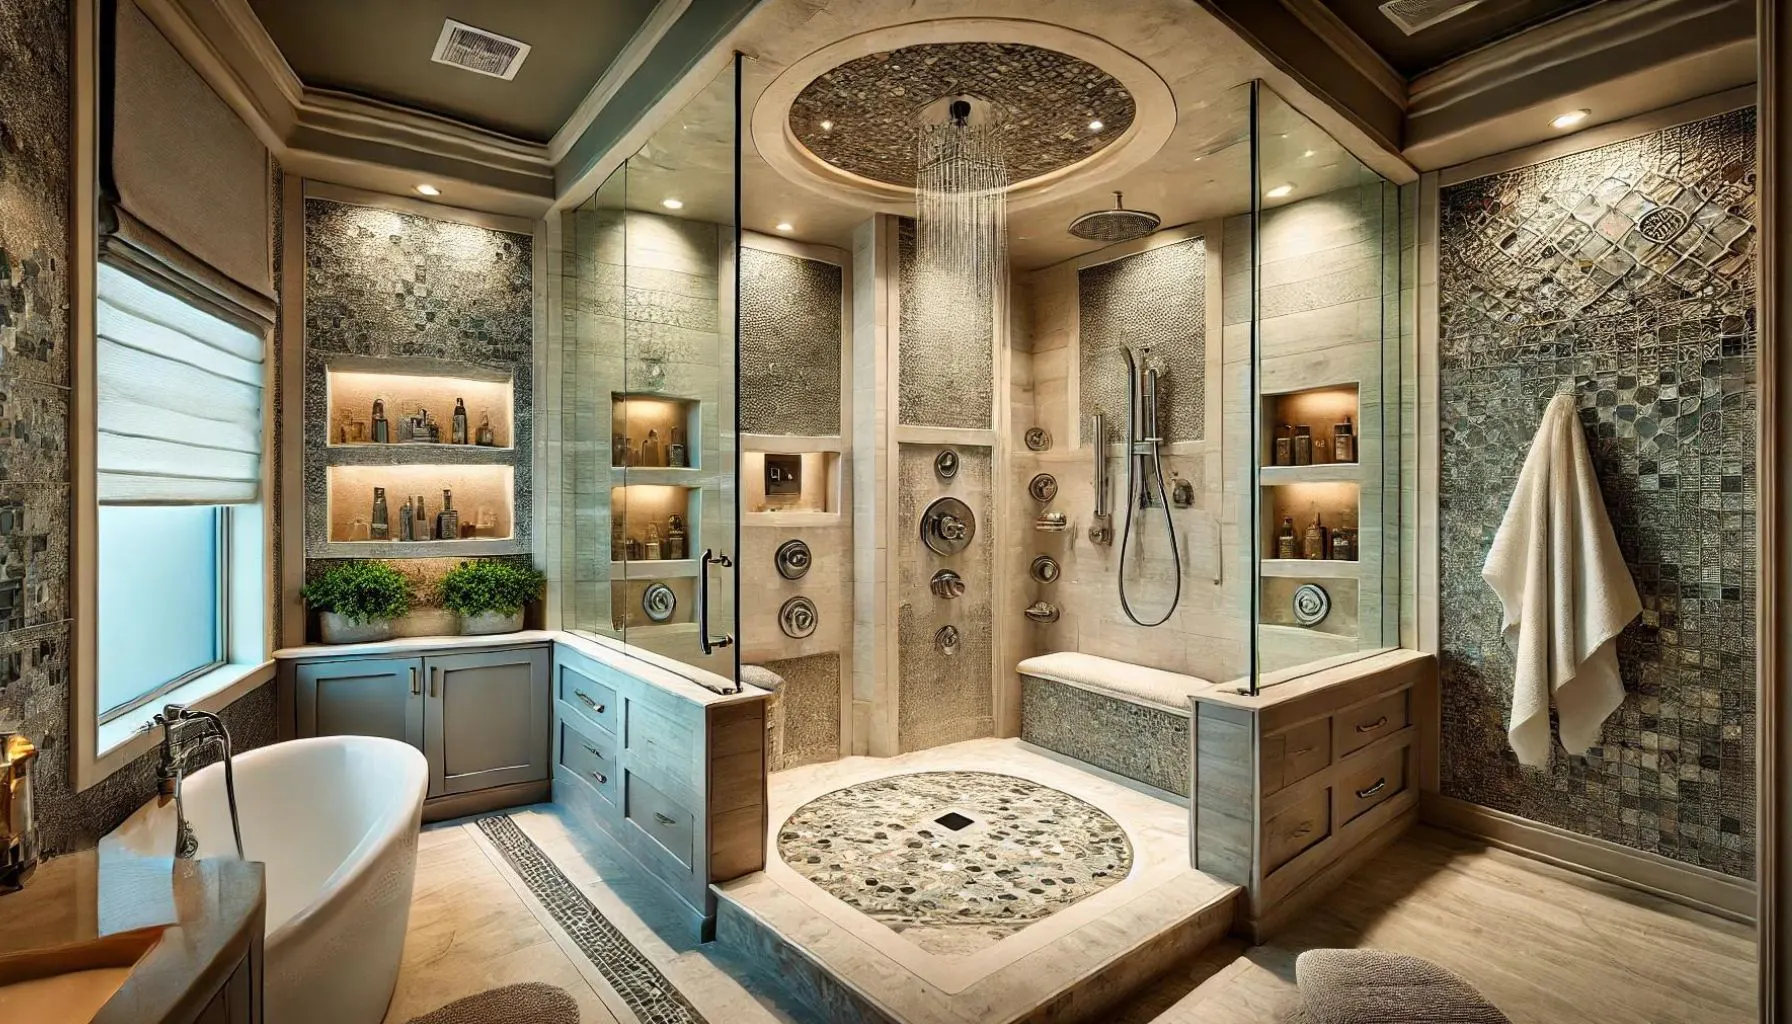
Walk-In Shower Kits
Walk-in configurations provide easy access, making them excellent for mobility needs or luxurious spa-like settings. Their open layout creates a sense of spaciousness. Click on the link for shower kits: https://gtdsupply.com/collections/shower-kits
Key Components of Shower Kits
Shower Bases and Trays
The foundation of any kit, trays must be waterproof, sturdy, and slip-resistant. Popular materials include acrylic, fiberglass, and composite stone.
Waterproofing and Drainage Systems
Waterproof membranes, seals, and integrated drains prevent leakage and mold buildup. Efficient drainage is essential for performance and hygiene.
Wall Panels and Enclosures
Panels come in various finishes and textures, from smooth high-gloss to matte stone looks. Enclosures provide structure and protection from splashing.
Glass Doors and Accessories
Framed, semi-frameless, or frameless glass doors affect both aesthetics and functionality. Accessories like shelves, handles, and hinges enhance convenience.
Material Considerations
Acrylic vs. Fiberglass
Acrylic is known for its glossy finish and durability, while fiberglass is lighter and more affordable but may require more maintenance over time.
Glass Options: Clear, Frosted, Textured
Clear glass maximizes light, frosted offers privacy, and textured designs add a decorative element while concealing water spots.
Metal Finishes: Chrome, Brushed Nickel, Matte Black
Your choice of metal can set the tone—chrome is sleek and reflective, brushed nickel is warm and understated, and matte black adds dramatic contrast.
Design and Aesthetic Options
Minimalist and Frameless Designs
Modern bathrooms often feature clean lines and open spaces. Frameless glass and integrated shelving support this minimalist trend.
Bold and Decorative Panels
Panels with patterns, color accents, or textured surfaces can turn a utilitarian area into a design statement.
Integrated Shelving and Storage Solutions
Built-in shelves, niches, and corner caddies eliminate clutter and improve the functionality of your shower space.
Installation Basics
Pre-Installation Planning and Measurements
Accurate measurements ensure a good fit. Consider door swing, wall alignment, and ceiling height during planning.
Step-by-Step Installation Overview
Installation usually involves leveling the base, securing panels, sealing edges, and installing doors. Follow manufacturer guidelines for best results.
Common Pitfalls to Avoid
Avoid skipping waterproofing steps or mismatching components. Ensure structural support for heavier materials like glass or stone.
Maintenance and Longevity
Daily Cleaning Routines
Use non-abrasive cleaners and soft cloths to keep surfaces spotless. Quick daily wipe-downs prevent buildup.
Long-Term Maintenance Tips
Check seals and joints periodically. Reseal grout or silicone as needed to maintain water resistance.
Mold and Mildew Prevention
Keep your bathroom well-ventilated. Use mildew-resistant caulk and clean corners thoroughly to prevent growth.
Waterproofing Best Practices
Membranes and Sealing Techniques
Use waterproof membranes beneath tiles or panels. Seal all joints, especially around the base and fixtures.
Managing Moisture and Condensation
Install a ventilation fan to reduce humidity. Wipe down walls after each use.
Drainage Optimization Tips
Slope the floor slightly towards the drain and keep it clear of debris for efficient water removal.
Accessibility Features
Barrier-Free Entries
Curbless entries allow smooth access and eliminate tripping hazards, ideal for individuals with mobility issues.
Built-In Seating and Grab Bars
Integrated benches and grab bars add comfort and safety, particularly useful for seniors or those with injuries.
Slip-Resistant Flooring Options
Textured bases or anti-slip coatings enhance traction and reduce fall risks.
Smart and Innovative Features
Digital Temperature Controls
Smart controls offer precise temperature management and memory settings for different users.
Built-In LED Lighting
LEDs illuminate shelves or showerheads, adding mood lighting or extra brightness where needed.
Water Efficiency Features
Eco-friendly showerheads reduce water usage without compromising flow, contributing to sustainability.
Space Optimization Strategies
Compact Designs for Small Bathrooms
Choose corner or neo-angle kits to maximize limited space. Use sliding doors instead of swinging ones.
Niche Shelving and Built-In Storage
Recessed niches keep toiletries handy without taking up space.
Visual Tricks to Enlarge the Space
Use glass doors and light colors to open up visual space. Vertical tiles can make ceilings feel higher.
Soundproofing and Thermal Comfort
Panel Insulation Tips
Insulated wall panels help retain heat and dampen noise from running water.
Choosing Quiet Fixtures
Select low-noise valves and water-efficient fixtures to reduce disturbances.
Maintaining a Comfortable Temperature
Use thermostatic mixers and pre-heated water systems for a consistent shower temperature.
Safety Considerations
Non-Slip Surfaces
Textured floors or anti-slip mats provide secure footing.
Tempered Glass Requirements
Always use tempered safety glass for doors to prevent injury from breakage.
Proper Ventilation
A well-ventilated bathroom reduces moisture-related damage and improves air quality.
Customization Possibilities
Mix-and-Match Components
Customize kits by choosing compatible components—combine your preferred doors, bases, and fixtures.
Personalized Fixture Placement
Install shelves and showerheads at custom heights for added convenience.
Adding Unique Design Elements
Consider mosaic inlays, accent walls, or decorative niches to make your shower unique.
DIY Installation vs. Hiring a Professional
Tools and Skills Required for DIY
A successful DIY install requires tools like drills, levels, caulk guns, and safety gear. Basic plumbing knowledge is also crucial.
When to Consult an Expert Installer
Hire a professional if your layout requires plumbing rerouting, or if you’re dealing with uneven walls and floors.
Hybrid Installation Scenarios
Some choose to prep the space themselves and bring in professionals for final assembly and waterproofing.
Common Installation Challenges
Uneven Subfloors
Level the floor before installation to avoid leaks or structural issues.
Out-of-Plumb Walls
Use shims or adjustable panels to accommodate misaligned walls.
Drain Relocation Issues
Plan in advance if your kit’s drain doesn’t align with existing plumbing.
Trends in Shower Kit Design
Emerging Materials and Finishes
Look for stone resin, matte textures, and eco-friendly composites as they gain popularity.
Space-Age Shower Features
Expect more voice control, Bluetooth speakers, and app-controlled lighting.
Blending Functionality and Style
Designers are integrating smart features without compromising aesthetics.
Environmental and Health Considerations
Low-VOC Materials
Choose kits made with low-emission adhesives and panels to improve air quality.
Recyclable and Sustainable Components
Look for components that are reusable or made from recycled materials.
Healthy Indoor Air Quality Tips
Ventilation and mold-resistant materials contribute to a healthier bathroom environment.
Frequently Asked Questions (FAQs)
Can I install a shower kit over an existing floor?
Yes, but ensure the floor is level and structurally sound.
What is the average installation time?
A standard installation can take 1–3 days depending on experience and kit complexity.
How do I maintain clear glass panels?
Use a squeegee daily and clean with a vinegar-water solution to prevent water spots.
Main Key Takeaways
- A quality shower kit simplifies bathroom renovation and enhances daily comfort.
- Selecting the right materials, features, and layout is crucial for functionality and aesthetics.
- Proper planning, installation, and maintenance ensure long-term satisfaction and safety.