Creating a beautiful, lush lawn is the dream of many homeowners. Whether you’re building a new home or renovating an existing landscape, achieving a green, healthy lawn quickly is often a top priority. This is where sod installation comes in. It offers an instant transformation, turning bare soil into a mature, thriving lawn in a matter of hours. But to get the most out of sod, it’s essential to understand the process, preparation, and aftercare involved.
In this guide, we’ll walk you through everything you need to know about sod installation—from understanding what sod is, to preparing your yard, the actual installation process, and long-term maintenance. By the end, you’ll have all the information needed to decide whether this is the right approach for your lawn.
What is Sod and Why Choose It?
Sod, also known as turf, is pre-grown grass that is harvested in strips along with a thin layer of soil held together by the grass roots or a biodegradable material. It’s cultivated on specialized farms and delivered in rolls or slabs, ready for immediate installation.
Advantages of choosing sod:
- Instant results: Unlike seeding, which takes weeks or months to fill in, sod offers immediate coverage.
- Erosion control: Ideal for sloped areas where seeds might wash away.
- Weed prevention: Thick sod can reduce weed growth by crowding out invasive species.
- Soil protection: Sod protects topsoil from erosion and compaction.
While more expensive upfront than seeding, sod installation saves time and reduces the uncertainty associated with growing grass from scratch.
Planning and Preparation Before Sod Installation
Success with sod begins long before the first roll is laid. Proper preparation ensures healthy root establishment and long-term lawn performance. Here’s how to get started:
1. Measure the Area
Determine how much sod you need by measuring the total square footage of your lawn. Break the yard into rectangles or squares to simplify the process, then add 5–10% to account for trimming and waste.
2. Test and Improve Soil
A soil test can help you understand pH levels, nutrient deficiencies, and soil structure. Ideally, soil pH should be between 6.0 and 7.0. Based on the test, you may need to amend the soil with lime, sulfur, compost, or fertilizer.
3. Remove Old Grass and Weeds
Use a sod cutter or shovel to remove existing grass, weeds, and debris. This helps the new sod establish roots without competition.
4. Till and Grade the Soil
Loosen the top 2–4 inches of soil using a rototiller. This encourages deeper root growth and better drainage. Grading is essential to direct water away from buildings and prevent pooling. Aim for a slight slope away from the house (about 1–2% grade).
5. Water the Soil
Moisten the soil lightly a day before sod installation. It should be damp but not muddy. This helps the sod roots make better contact with the soil below.
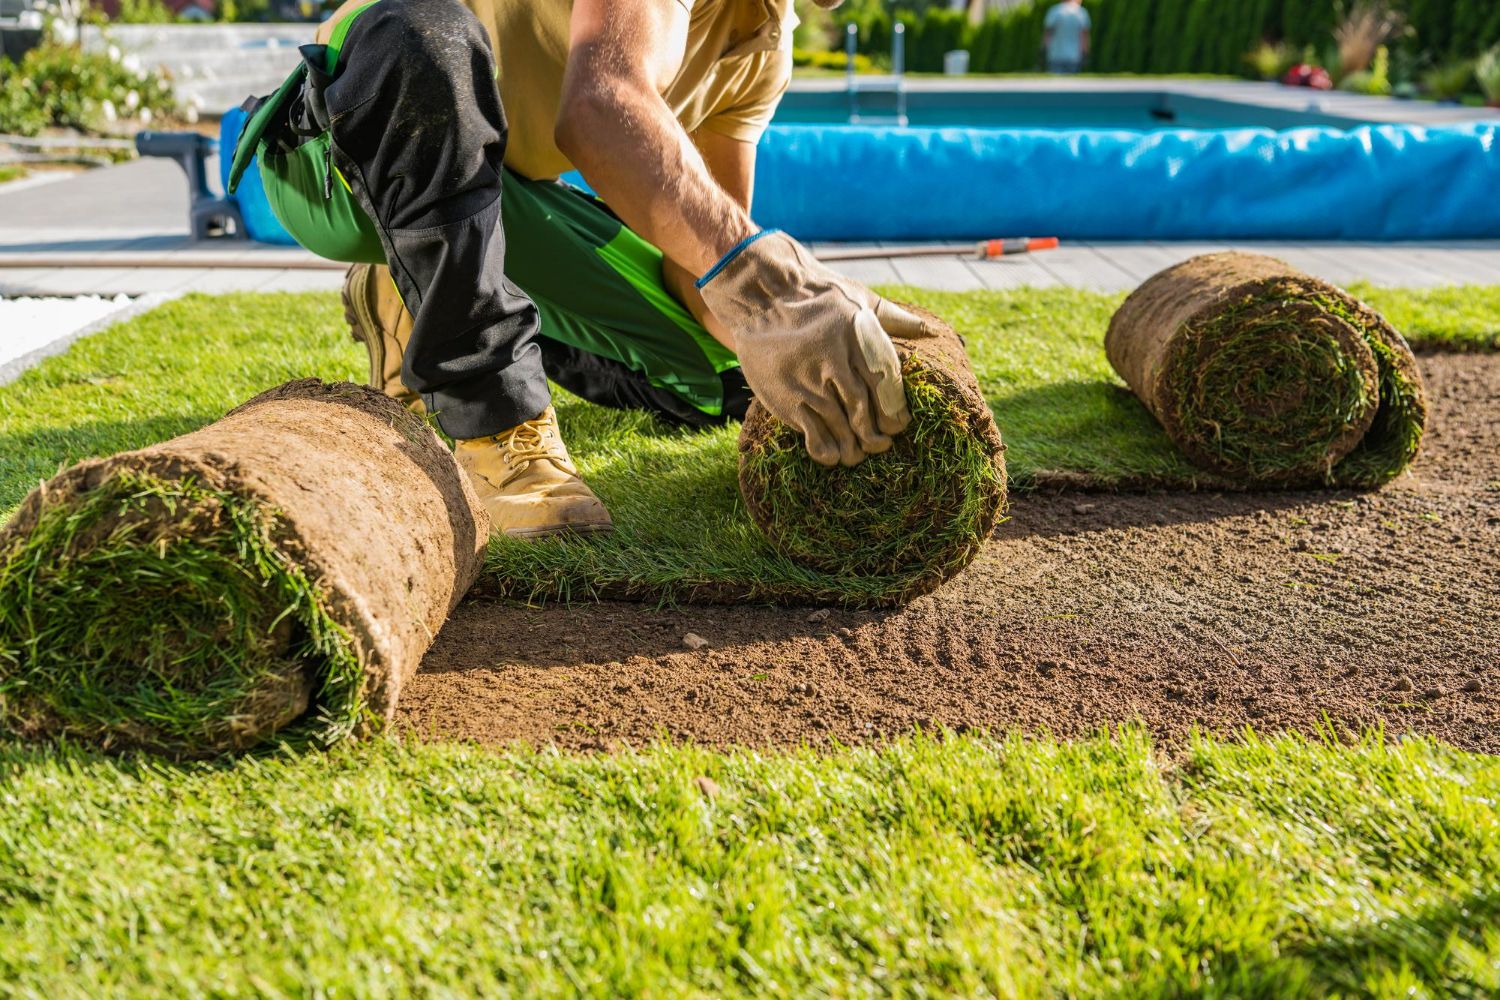
The Sod Installation Process
Once your yard is properly prepped, it’s time to lay the sod. This part of the process goes quickly, but precision is key.
1. Start Along a Straight Edge
Begin by laying the first row of sod along a straight edge, such as a driveway or sidewalk. This will serve as your guide. Make sure the edges fit tightly together with no overlapping or large gaps.
2. Stagger the Seams
Lay the next row so the seams are staggered, similar to laying bricks. This pattern reduces erosion and creates a more natural look.
3. Trim the Edges
Use a sharp knife or spade to cut sod pieces to fit around curves, trees, or pathways. Be sure every piece is snug against the others to minimize gaps.
4. Avoid Walking on New Sod
As you work, use plywood boards to walk on so you don’t compress the soil or damage the new sod. This helps ensure even rooting and prevents indentations.
5. Water Immediately
Water the entire area within 30 minutes of installation. The first watering should penetrate at least 6 inches into the soil to encourage deep root growth.
Post-Installation Care
Proper care in the weeks following sod installation is critical to success. This is the period when the roots are establishing themselves in the new soil.
1. Watering Schedule
- Week 1–2: Water daily (early morning is best) to keep sod moist but not waterlogged.
- Week 3–4: Water every other day.
- After 4 weeks: Transition to watering deeply but less frequently (1–2 times per week) to encourage deeper root systems.
Avoid overwatering, which can lead to disease and shallow roots.
2. Mowing
Wait until the sod is rooted and the grass blades reach about 3–4 inches in height before mowing. Set your mower to a high setting (about 2.5 to 3 inches) and avoid cutting more than one-third of the grass blade at a time.
3. Fertilizing
Apply a balanced fertilizer about 4–6 weeks after installation. Choose a product suited for your grass type, and follow the application instructions closely.
4. Traffic Control
Limit foot traffic and pet activity on your new lawn for at least 3–4 weeks. This gives the roots time to anchor into the soil.
Common Mistakes to Avoid
Even a small error during or after sod installation can affect the health and appearance of your lawn. Watch out for these common issues:
- Poor soil preparation: Skipping soil amendments or not leveling the ground can lead to uneven growth and drainage problems.
- Not watering enough: Underwatering is the most common reason sod fails to establish.
- Laying sod on dry soil: This prevents root contact and slows establishment.
- Inconsistent seams: Gaps between pieces can dry out and invite weeds or pests.
- Mowing too early: Premature mowing can pull up unrooted sod and damage young grass.
Long-Term Lawn Maintenance
Once your sod is established, maintaining a healthy lawn requires consistency.
- Regular mowing: Keep the grass height consistent based on your sod type.
- Fertilizing: Apply fertilizer 3–4 times a year based on seasonal needs.
- Aeration: Aerate your lawn once a year to reduce soil compaction and improve root development.
- Weed control: Use pre-emergent herbicides in early spring to prevent weed growth, and spot treat as needed.
- Pest monitoring: Keep an eye out for grubs, chinch bugs, or fungal diseases and treat promptly.
Is Sod Installation Right for You?
Sod installation is ideal if you’re looking for instant gratification, have erosion issues, or want to minimize weed intrusion. It’s especially beneficial in high-traffic areas or places where seeding would take too long or fail to establish properly.
However, it’s important to consider the cost. Sod is more expensive than seed, and installation requires more labor upfront. That said, the immediate transformation and lower maintenance in the early stages often outweigh the initial investment.
Final Thoughts
Whether you’re upgrading your existing yard or starting from scratch, sod can give you a beautiful lawn in less time than you think. The key to successful sod installation lies in careful planning, proper soil preparation, and dedicated aftercare. By avoiding common mistakes and understanding the full process, you can enjoy a vibrant, green lawn that boosts curb appeal and adds value to your property.
Choosing professional installation services can further ensure quality results, especially if you’re unfamiliar with grading, soil testing, or sod handling. But with the right knowledge, even DIYers can find success in this transformative landscaping project.