Richmond, VA, is known for its humid summers and unpredictable weather patterns. Homeowners in this region often face the challenge of keeping their homes cool while managing energy efficiency. One solution to tackle this issue is installing an attic fan. An attic fan helps regulate attic temperature, reducing the strain on your air conditioning system and extending the life of your roof. If you’re battling heat waves or dealing with moisture buildup, an attic fan can make a noticeable difference. However, the big question arises: should you install it yourself or hire a professional? This decision depends on your skill level, safety considerations, and budget.
Why Install an Attic Fan in Richmond, VA?
Before getting into the attic fan installation Richmond VA process, it’s essential to understand the benefits of having an attic fan:
- Temperature Regulation: Keeps your attic cool, reducing heat transfer to your living spaces. During Richmond’s hot summers, this can make a significant difference in indoor comfort.
- Moisture Control: Prevents mold and mildew caused by humidity. The humid climate of Richmond makes moisture management a priority for homeowners.
- Energy Efficiency: Lowers cooling costs by reducing the workload on your HVAC system. This is especially important given the rising costs of energy.
- Roof Longevity: Minimizes heat damage to shingles and roof structures, potentially saving you thousands in roof repairs.
Given Richmond’s climate, proper attic ventilation is not just a luxury—it’s a necessity to ensure a comfortable and energy-efficient home.
Steps to Install an Attic Fan
1. Assessment and Planning
Start by evaluating your attic to determine the type and size of fan you need:
- Measure the attic’s square footage to determine the necessary fan capacity. Larger attics require fans with a higher CFM (cubic feet per minute) rating.
- Check existing ventilation to ensure compatibility with the new fan. Richmond’s humid climate may require additional ventilation to prevent moisture buildup.
- Consider whether the attic fan will be controlled manually or automatically using a thermostat or humidistat.
2. Selecting the Right Fan
Choose a fan type that suits your attic layout and energy goals. Selecting the right fan is crucial for optimizing performance and efficiency. Richmond’s frequent sunny days make solar-powered options particularly attractive for environmentally conscious homeowners.
3. Gathering Tools and Materials
Ensure you have the following tools and materials:
- Attic fan unit: Choose a model with the appropriate CFM rating for your attic size.
- Electrical supplies: Wiring, connectors, and electrical tape.
- Safety gear: Gloves, goggles, a dust mask, and a sturdy ladder.
- Tools: Drill, screwdriver, reciprocating saw, and measuring tape.
Safety is paramount, especially when working in confined attic spaces or on a roof. Make sure to wear protective gear and follow safety guidelines throughout the process.
4. Preparing the Installation Site
For gable-mounted fans:
- Locate the existing gable vent or mark a new spot for installation.
- Measure and mark the area where the fan will be installed, ensuring proper alignment with the vent.
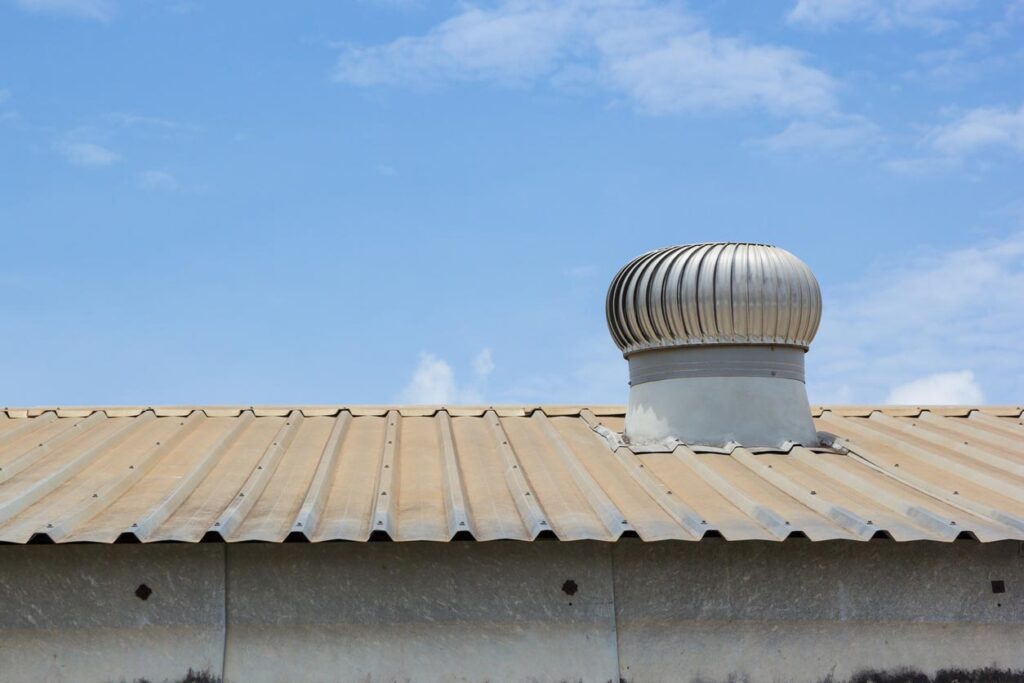
For roof-mounted fans:
- Select a spot near the roof ridge, where airflow is optimal.
- Ensure the chosen location is between rafters to avoid structural damage and simplify installation.
5. Creating the Opening
If no suitable vent exists:
- Use a reciprocating or circular saw to cut the marked area. Measure twice before cutting to ensure accuracy.
- For roof installations, take extra care to avoid damaging shingles or creating leaks. Consider using a waterproof sealant to reinforce the area.
6. Installing the Fan
- Position the fan securely in the prepared opening. For gable-mounted fans, align the unit with the vent frame.
- Use mounting hardware to secure the fan. Ensure it is stable and does not vibrate excessively.
- Apply weatherproof caulking or sealant around the edges to prevent air and water leaks.
7. Electrical Wiring
- Connect the fan to your home’s electrical system following the manufacturer’s instructions.
- Install a thermostat or humidistat for automatic operation based on temperature or humidity levels.
- Adhere to all local electrical codes and regulations to ensure safety and compliance.
8. Testing and Finishing Touches
- Turn on the fan to verify that it operates correctly. Test both manual and automatic controls if applicable.
- Inspect the installation for gaps or loose components and address them promptly.
- Clean up the workspace, dispose of debris, and store tools safely.
DIY vs. Professional Installation
DIY Installation
Pros:
- Saves labor costs, which can be significant.
- Gives you full control over the installation process.
- Provides a sense of accomplishment upon completion.
Cons:
- Increased risk of improper installation, which could lead to inefficiency or damage.
- Potential safety hazards, especially when working on roofs or with electrical wiring.
- Requires technical knowledge and specialized tools that you may need to purchase or rent.
DIY installation is best suited for homeowners with prior experience in electrical and home improvement projects. Gable-mounted fans are typically easier to install, making them a better option for DIY enthusiasts.
Professional Installation
Pros:
- Guarantees compliance with Richmond’s building codes and regulations.
- Reduces safety risks, particularly for roof-mounted installations.
- Ensures optimal performance and longevity of the attic fan.
Cons:
- Higher upfront cost, with professional installation fees ranging from $500 to $1,500 depending on complexity.
- Scheduling may require flexibility to accommodate contractor availability.
Professional installation is strongly recommended for complex setups, such as roof-mounted or solar-powered fans, or homeowners unfamiliar with electrical work. It also ensures warranty coverage for the fan and installation.
Local Considerations for Richmond, VA
When installing an attic fan in Richmond VA keep these factors in mind:
- Climate: Richmond’s hot, humid summers demand efficient attic ventilation to maintain comfort and protect your home.
- Building Codes: Check local regulations to determine whether a permit is required for attic fan installation.
- Energy Savings: Proper installation can reduce cooling costs by up to 30%, making it a valuable investment.
Cost estimates for professional attic fan installation Richmond VA electrician range from $975 to $2,700, depending on the fan type, attic size, and complexity of the project.
Conclusion
Installing an attic fan can dramatically improve your home’s comfort and efficiency, especially in Richmond, VA’s challenging climate. While DIY installation might save money upfront, professional installation offers peace of mind, compliance with codes, and long-term reliability. Assess your skills, safety concerns, and budget to make the best decision for your home.
For reliable attic fan installation Richmond VA, trust Above The Code Electrical. Our team of licensed professionals ensures safe, efficient, and code-compliant installations. If you need a gable-mounted fan or a solar-powered solution, we deliver quality service tailored to your home’s needs.