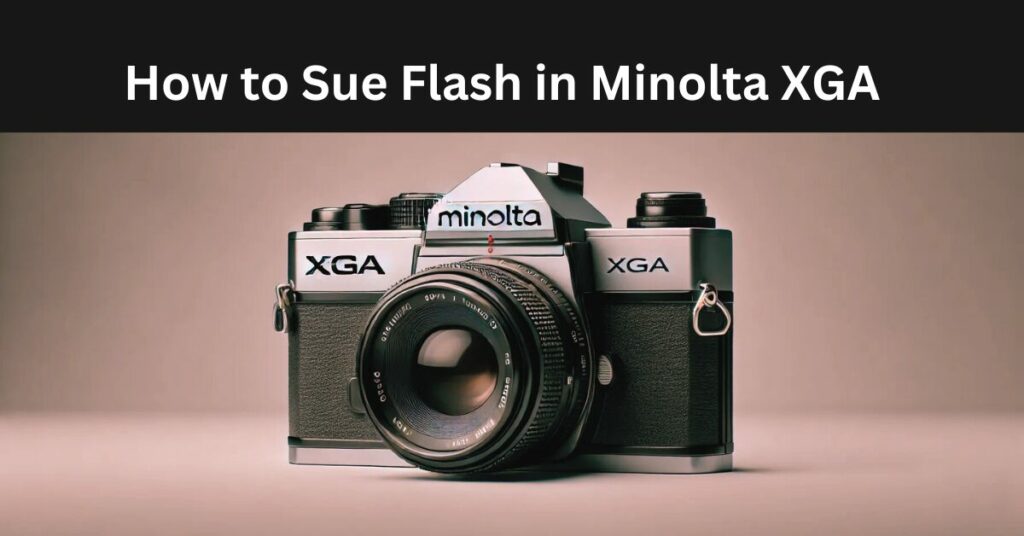
Mastering flash photography with the Minolta XGA can elevate your photos to professional quality. While natural light is often preferred, understanding how to effectively use flash will give you flexibility in any lighting condition. Let’s dive into some essential tips to help you make the most out of your Minolta XGA’s flash system and start shooting like a pro!
Introduction: Why Flash Mastery is Key in Photography
Whether you’re shooting in low-light environments or adding drama to a scene, knowing how to control flash is critical for great photography. With the Minolta XGA, learning to master the flash can help you create better-lit, more dynamic photos. Flash can highlight your subjects while balancing harsh shadows, giving your images a professional look. Moreover, it gives you control over the lighting environment, which is essential for achieving consistency in your shots.
Understanding the Flash System in Minolta XGA
The Minolta XGA camera offers a versatile built-in flash system designed for different shooting situations. It includes various flash modes such as fill flash, red-eye reduction, and slow-sync flash. Each of these modes serves a purpose, whether it’s to eliminate shadows, improve portraits, or enhance night photography. Knowing how to use these modes effectively allows you to adapt to different lighting conditions while maintaining control over your final image.
How to Set Up Flash in Minolta XGA for Beginners
Setting up the flash on the Minolta XGA is straightforward, but it’s important to follow a few key steps. First, access the camera’s flash settings through the menu. Choose the appropriate mode depending on your shooting environment—whether it’s indoors, outdoors, or in low light. Then, adjust the flash intensity for the right exposure. Once you’ve configured the settings, experiment with the flash to see how it affects your photos. By doing this, you’ll get comfortable using flash in different situations.
Common Flash Settings in Minolta XGA and When to Use Them
The Minolta XGA provides a variety of flash settings to enhance your photography. Fill flash, for example, is ideal for balancing light in bright conditions, while slow-sync flash works best in low-light environments to capture ambient light. Red-eye reduction is another important feature to use when photographing people in dimly lit rooms. By understanding when to use each setting, you’ll be able to choose the best option for any scenario and improve the quality of your shots.
Pro Tip 1: Adjusting Flash Power in Minolta XGA for Perfect Lighting
Learning how to adjust the flash power in your Minolta XGA is essential for achieving the perfect lighting balance. Start by accessing the flash power control in the camera’s menu. Lowering the flash power can soften harsh lighting, especially in portrait photography, while increasing it can help in poorly lit conditions. By adjusting the flash output, you’ll prevent overexposure and get more natural-looking results. Knowing how to use flash in Minolta XGA effectively ensures that your subjects are always well-lit without losing detail.
Pro Tip 2: How to Use Flash in Minolta XGA for Low-Light Photography
Low-light photography often requires precise control of flash to avoid dark or grainy images. When shooting in low light with your Minolta XGA, use the camera’s slow-sync flash mode. This mode keeps the shutter open longer, allowing more ambient light into the scene while still providing enough flash to illuminate your subject. Adjust the flash intensity based on the level of ambient light, ensuring that your images are well-balanced and not too harsh. With practice, you’ll master how to use flash in Minolta XGA in low-light situations.
Pro Tip 3: Balancing Natural Light and Flash in Minolta XGA
Balancing natural light with flash can make a big difference in the overall look of your photos. To do this effectively with the Minolta XGA, use fill flash in daylight conditions. This helps eliminate shadows on your subject’s face while maintaining the natural light in the background. By carefully adjusting the flash power and keeping an eye on the natural lighting, you’ll achieve well-lit, balanced photos. Remember, flash should complement the available light, not overpower it.
Choosing the Right Flash Accessories for Minolta XGA
While the Minolta XGA’s built-in flash is powerful, certain accessories can enhance its performance. Consider investing in a diffuser, which softens the light and reduces harsh shadows. An external flash unit may also be beneficial for more professional setups, giving you greater control over the angle and intensity of the flash. Reflectors can help bounce light back onto your subject, creating a softer and more flattering effect. With these accessories, your flash photography will be taken to the next level.
How to Avoid Overexposure with Flash in Minolta XGA
Overexposure can ruin an otherwise great shot, but with the right adjustments, it can be avoided. When using flash in your Minolta XGA, start by lowering the flash intensity to see if that resolves the issue. If not, try increasing the shutter speed or using the camera’s exposure compensation feature. These settings work together to control the amount of light that hits the sensor, preventing your images from looking too bright. Mastering how to use Flash in Minolta XGA will help you avoid this common problem and produce better photos.
Creative Flash Techniques to Try with Minolta XGA
One technique you can try is rear-curtain sync, which captures motion trails behind moving subjects. Another technique is bouncing flash off walls or ceilings to create softer, more diffused light. Experimenting with different angles and intensities can lead to more dynamic, interesting photos. Don’t be afraid to step outside the box and use flash in unconventional ways with your Minolta XGA.
Troubleshooting Common Flash Issues in Minolta XGA
Even with practice, flash photography can present challenges. One common issue is red-eye, which can be solved by enabling red-eye reduction mode. If your photos are coming out too dark, check the flash intensity or try increasing the ISO. Overexposure can be tackled by adjusting the exposure compensation or flash power. By troubleshooting these problems as they arise, you’ll quickly become proficient in flash photography with your Minolta XGA.
Flash in Action: Real-Life Examples of Minolta XGA Flash Photography
Real-life examples help you understand how flash impacts different photography scenarios. For instance, in a portrait, a gentle fill flash can eliminate harsh shadows on the face. In a night scene, a slow-sync flash brings out background details while keeping your subject in focus. Look for opportunities to experiment with flash in diverse situations, and you’ll begin to see the difference it makes in your photos.
How to Improve Portraits with Flash in Minolta XGA
Portrait photography often benefits from flash, especially in indoor or low-light settings. Use the flash to gently illuminate your subject’s face, reducing shadows and brightening the eyes. By adjusting the flash power and using a diffuser, you can create soft, natural lighting that flatters your subject. Learning how to use flash in Minolta XGA for portraits will make a significant impact on the quality of your photos.
Conclusion
Mastering flash photography with your Minolta XGA opens up a world of creative possibilities. Whether you’re shooting in low light or balancing natural and artificial light, understanding how to use flash effectively will elevate your photography. Practice these tips, experiment with your settings, and watch as your skills—and your photos—improve to a professional level.