Flowers have been a popular gift for centuries; there’s no denying the joy and beauty they bring. Whether it’s for a special occasion or brightening someone’s day doesn’t matter. A fresh composition can be the perfect gesture. But if you’re not familiar with how to wrap a bouquet of flowers properly, it can be a daunting task. That’s why we’re exploring how to wrap fresh blooms like a pro.
This topic will explore the steps and techniques to wrap a fresh arrangement like a pro. We will go from selecting the right materials to the actual wrapping process.
Whether you’re a florist or just someone who loves giving flowers as gifts doesn’t matter. This guide will give you the knowledge and skills to make your blooms look professional and beautiful.
What You Will Need
There are a few key materials that you will need to make the process go smoothly. Here are some of the essential items that you should gather before wrapping a flower bouquet:
- Flowers. Of course, you will need to buy fresh flowers for your arrangement. Choose a variety of blooms that complement each other in color and texture. Keep the stems long so you have plenty of material for wrapping.
- Water. To keep your flowers fresh and hydrated, you’ll need to keep them in water until you’re ready to wrap them. If you’re purchasing blooms from a florist, they will likely provide you with a small amount of water. It’s to transport them. If you’re picking blooms from your garden, place them in water. Do it immediately after cutting.
- Floral tape. Florists use this special type of tape to hold flowers and greenery in place. It’s flexible and stretchy, making it easy to work with. You can find floral tape at most craft stores or florist supply shops.
- Scissors. You will need a good pair of sharp scissors. They are to cut the stems of your blooms and trim any excess wrapping paper or ribbon for a flower bouquet.
- Wrapping paper. Choose a high-quality wrapping paper that complements the colors of your blooms. You can also use tissue paper or cellophane if you prefer.
- Ribbon. Ribbon is a decorative element that adds a touch of elegance to your arrangement. Choose one that complements the color of your blooms and wrapping paper. You can use a single ribbon or mix and match different colors and textures.
- Optional embellishments. If you want to add flair to your blooms, include other decorative elements. Those are beads, pearls, or feathers.
Also, remember about security measures. Be sure to exclude the presence of children and animals near you while wrapping. Animals can eat the ribbon, which will lead to stomach problems. And children can injure themselves with flowers like roses or accidentally cut themselves with scissors.
How to Wrap a Bouquet of Flowers
When wrapping an arrangement, it’s vital to remember the type of flowers you’re working with. Different flowers have different requirements when it comes to water and handling. Additionally, the occasion and the recipient can also influence the wrapping style. For example, a more formal occasion may require a more elaborate wrapping style. At the same time, simple wrapping may be enough for a casual gift.
DIY bouquet wrapping also involves choosing the right materials, such as:
- Paper.
- Ribbon.
- Other decorative items.
These materials can complement the blooms and make the gift more visually appealing. But it’s vital not to overshadow the flowers themselves. It’s because they should always remain the focus. Now, let’s look at the steps for wrapping.
Step #1: Cut Wrapping Paper to Size
Measure out your DIY bouquet wrapping paper and cut it to the appropriate size. The paper should be large enough to wrap around the blooms with extra room. But it must not be so large that it becomes difficult to handle.
Step #2: Arrange the Flowers
Start by arranging the flowers in your hand. Make sure they are evenly spaced and that the stems are straight. Use floral tape to secure the stems together.
Step #3: Wrap the Flowers
Place the arrangement in the center of the flower wrapping paper. And bring one corner of the paper over the blooms. Fold the paper tightly around the flowers, tucking in any excess paper as you go. Secure the paper with tape.
Step #4: Add Ribbon
Cut a length of ribbon and tie it around the paper just below the bouquet wrapped in paper. Make sure the ribbon is tight enough to hold the blooms in place but not so tight that it squeezes them. You can tie the ribbon in a bow or knot, depending on your preference.
Step #5: Finish with Embellishments (Optional)
If you want to add some extra embellishments, now is the time to do it. You can attach beads, feathers, or other decorative elements to the ribbon with glue or by tying them on. Just make sure they are secure and won’t fall off.
Bottom Line
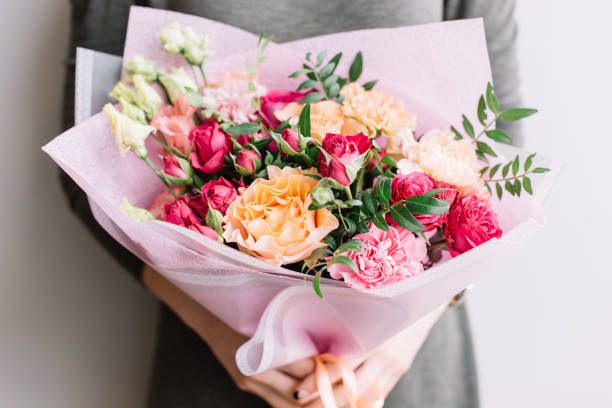
Whether you’re looking to surprise your partner with a special gift or want to express your gratitude to a friend or family member, we have the perfect selection of bouquets wrapped in paper. Our team of experts takes pride in selecting only the freshest and most beautiful blooms. We ensure that every arrangement is perfect down to the last petal.
At Rosaholics, we’re dedicated to making your flower-buying experience as easy as possible. From selecting the perfect arrangement to expertly wrapping it in beautiful paper and ribbon, we take care of every detail to ensure your gift is perfect.
So why wait? Visit our store today and discover the perfect composition for your special occasion. With our commitment to quality and exceptional customer service, you can trust Rosaholics to deliver your loved ones the freshest and most beautiful flowers.