In today’s digital age, having a reliable and high-speed internet connection is essential. While wireless connections have become popular, wired Ethernet connections still offer unparalleled stability and performance. If you want to ensure a robust and seamless network throughout your home, wiring your house with Cat5e or Cat6 Plenum Ethernet cables is an excellent solution. In this article, we will guide you step-by-step on how to wire your house with Ethernet cables and enjoy a fast and reliable network connection.
In this increasingly connected world, wired connections provide a stable and secure network environment. Ethernet cables, such as Cat5e (Category 5e) and Cat6 (Category 6), offer high-speed data transmission capabilities, making them ideal for homes with multiple devices and heavy internet usage.
Importance of Wired Ethernet Connections
While wireless connections have their advantages, wired Ethernet connections deliver superior reliability, speed, and security. Wired connections are less susceptible to interference, offering a more stable and consistent network connection. They also provide faster data transfer rates, which is crucial for activities such as online gaming, streaming high-definition videos, and transferring large files. Moreover, wired connections reduce latency and lag, ensuring a seamless online experience.
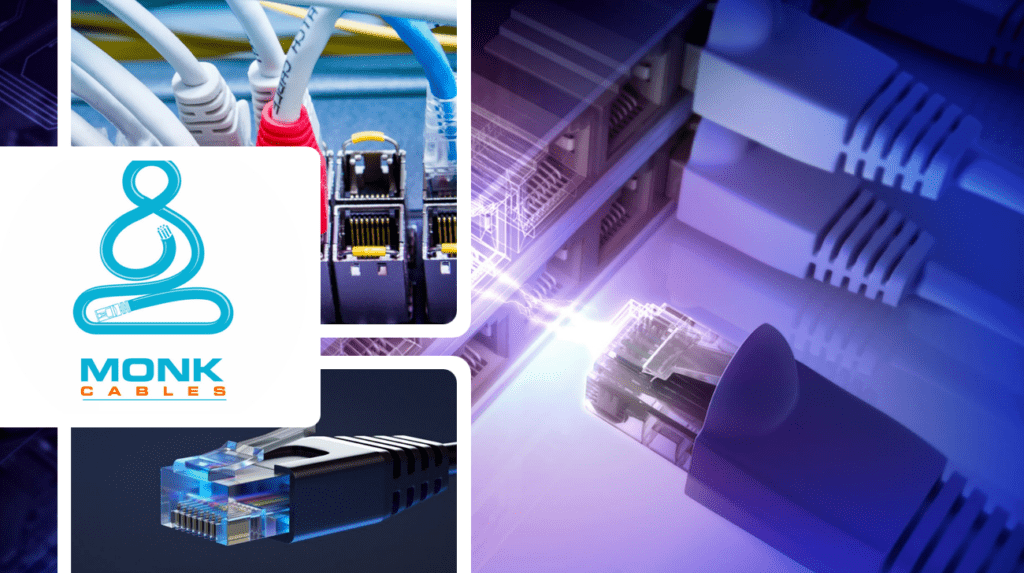
Understanding Cat5e and Cat6 Ethernet Cables
Before you start wiring your house, it’s important to understand the two main types of Ethernet cables: Cat5e and Cat6.
Cat5e Ethernet Cable
Cat5e is an enhanced version of the original Cat5 cable suitable for most home networking needs. It supports data transfer speeds of up to 1 Gbps (gigabit per second) and has a maximum cable length of 100 meters.
Cat6 Ethernet Cable
Cat6 Plenum Cable 1000ft is an upgraded version of Cat5e and offers improved performance and speed. It supports data transfer speeds of up to 10 Gbps and has a maximum cable length of 55 meters for 10 Gbps connections. Cat6 cables are backward-compatible with Cat5e and Cat5 devices, making them a future-proof option.
Tools and Materials Required
Before you start wiring your house, gather the necessary tools and materials to ensure a smooth installation process. Here’s what you’ll need:
- Cat5e or Cat6 Ethernet cables
- Ethernet wall plates
- RJ45 connectors
- Crimping tool
- Cable tester
- Fish tape or wire-pulling tool
- Screwdriver
- Drill and drill bits
- Cable staples or clips
- Labelling stickers or markers
Planning the Wiring Layout
To ensure an efficient and organized wiring process, start by planning the layout of your Ethernet cables. Consider the number of rooms or areas where you want to install Ethernet connections and determine the best routes to run the Cat6 plenum cable 1000ft. Consider any obstacles such as walls, floors, or furniture that may require drilling or other modifications.
Running Ethernet Cables through Walls
To run Ethernet cables through walls, follow these steps:
- Identify the locations where you want to install Ethernet wall plates and mark them on the walls.
- Use a stud finder to locate studs and avoid drilling into them.
- Drill a hole near the marked location, ensuring it’s large enough to accommodate the Ethernet cable.
- Use a fish tape or wire-pulling tool to guide the cable through the drilled hole and navigate it to the next location.
- Repeat the process for each wall plate location, ensuring the cables are hidden and securely placed.
Terminating Ethernet Cables
Once you have run the Ethernet cables to their respective locations, you need to terminate them properly. Follow these steps to terminate the cables:
- Strip the outer jacket of the cable to expose the individual wires.
- Untwist and straighten the wires, arranging them in the proper order according to the Ethernet standard (T568A or T568B).
- Trim the wires to a uniform length and insert them into an RJ45 connector.
- Use a crimping tool to crimp the connector onto the cable, ensuring a secure connection.
- Repeat the process for each cable end.
Testing and Troubleshooting
After terminating the cables, it’s crucial to test them to ensure proper connectivity and performance. Use a cable tester to check the integrity of each cable and verify that they are transmitting data correctly. In case of any issues, troubleshoot by rechecking the terminations and cable connections.
Best Practices for Wiring Your House
Here are some best practices to keep in mind while wiring your house with Ethernet cables:
- Label the cables at both ends to easily identify their respective locations.
- Avoid sharp bends or kinks in the cables as they can degrade performance.
- Keep Ethernet cables away from power lines and sources of interference.
- Use cable staples or clips to secure the cables along the walls and prevent tripping hazards.
- Consider installing a network switch to distribute the wired connections efficiently.
Conclusion
Wiring your house with Cat5e or Cat6 Ethernet cables is an intelligent investment that ensures a reliable and high-speed network connection. By following the steps outlined in this article, you can wire your house with ease and enjoy the benefits of a wired network, such as faster speeds, lower latency, and enhanced security.