Replacing the radiator in your Chevy Silverado can be a cost-effective way to ensure your vehicle’s cooling system functions optimally. By doing it yourself, you can save a considerable amount of money. Here are some tips and tricks to help you replace a Chevy Silverado radiator, particularly focusing on a 2005 Chevy Silverado radiator, including how to inspect if you need a replacement, the tools required, and step-by-step instructions for the replacement process. We will also discuss how to check if your new radiator is properly installed.
How to Inspect If You Need to Replace Your Car Radiator
- Overheating Engine: If your engine frequently overheats, it might indicate a failing radiator.
- Coolant Leaks: Check for coolant leaks under your vehicle. A puddle of coolant often signals a radiator issue.
- Rust and Corrosion: Inspect the radiator core for signs of rust and corrosion. These can weaken the radiator’s structure and efficiency.
- Discolored Coolant: Brown or rusty coolant can suggest internal rusting.
- Low Coolant Levels: If you constantly need to refill your coolant, there might be a leak in the radiator.
Tools Needed for Replacing Radiators
Before you begin, gather the necessary tools:
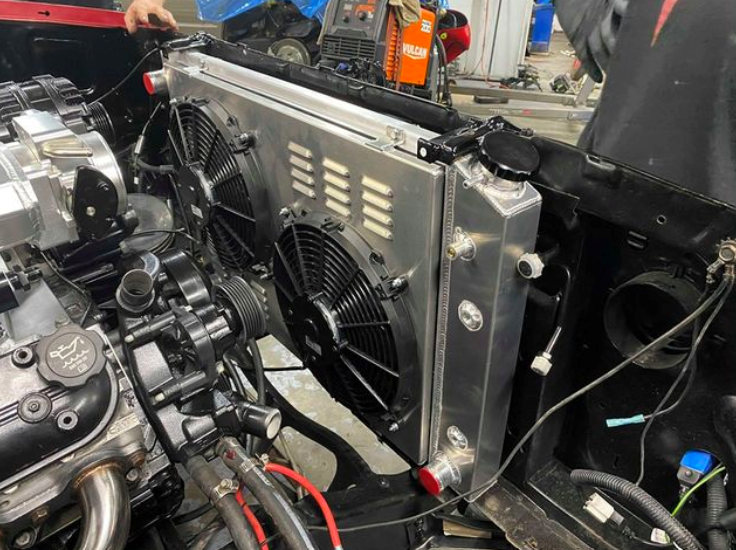
- New radiator (consider an Alloyworks radiator or all aluminum radiator for better performance)
- Socket set
- Pliers
- Drain pan
- Screwdrivers
- Coolant
- Hose clamps
- Safety gloves and goggles
Step-by-Step Instructions on How to Replace the Radiator
- Preparation:
- Park your Chevy Silverado on a flat surface and ensure the engine is cool.
- Disconnect the negative battery cable to prevent electrical shorts.
- Drain the Radiator:
- Place a drain pan under the radiator drain plug.
- Open the drain plug and allow the coolant to drain completely.
- Remove the Radiator:
- Remove the radiator cap.
- Disconnect the upper and lower radiator hoses using pliers to loosen the hose clamps.
- Disconnect any transmission cooler lines if your Silverado is equipped with an automatic transmission.
- Remove the fan shroud bolts and set the fan shroud aside.
- Remove any mounting bolts securing the radiator.
- Carefully lift the radiator out of the engine bay.
- Install the New Radiator:
- Position the new radiator in place (consider using an Alloyworks radiator or all aluminum radiator for enhanced durability and cooling).
- Secure the radiator with the mounting bolts.
- Reconnect the upper and lower radiator hoses and secure them with hose clamps.
- Reconnect any transmission cooler lines.
- Reattach the fan shroud.
- Refill the Cooling System:
- Close the radiator drain plug.
- Fill the radiator with a 50/50 mixture of coolant and distilled water.
- Reconnect the negative battery cable.
- Bleed the Cooling System:
- Start the engine and let it run until it reaches operating temperature.
- Turn on the heater to its maximum setting to allow air to escape from the cooling system.
- Check the coolant level and top off if necessary.
Tips for Inspecting If the Radiator is Properly Installed
- No Leaks: Check for any coolant leaks around the radiator, hoses, and connections.
- Stable Temperature: Monitor the engine temperature gauge to ensure the engine does not overheat.
- Proper Coolant Levels: After the engine cools, check the coolant level and top it off if needed.
- Secure Fittings: Ensure all hoses and fittings are securely fastened and there are no loose connections.
By following these tips and tricks, you can successfully replace your Chevy Silverado radiator and save money. Whether you opt for a 2005 Chevy Silverado radiator replacement or upgrade to a performance alloyworks radiator or all aluminum radiator, maintaining your vehicle’s cooling system is crucial for its longevity and performance.