Your circuit’s veins are the electric wires. One gets damaged, and everything gets disrupted.
As wires are mostly hidden inside the walls, tubes, ceilings, and underground, it’s hard to determine where the breakage happened. However, it can occur due to various reasons, such as bites from rats, moisture, heat, and metal fatigue.
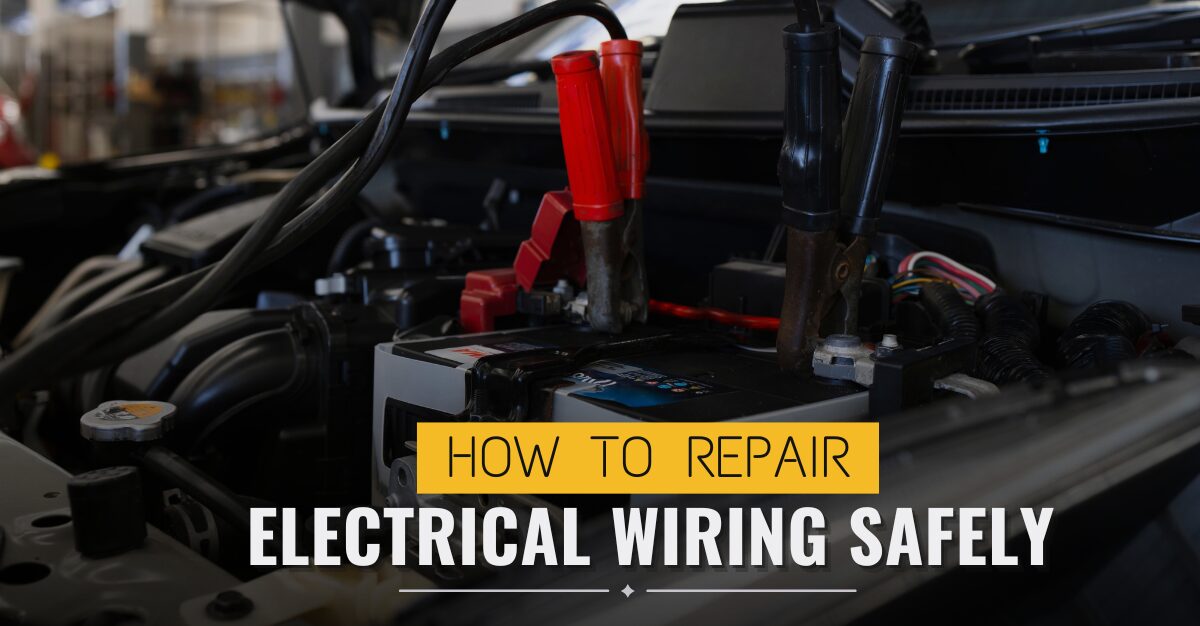
If you suspect any breakage or damage in the wires, we have a guide on how to repair electrical wiring safely.
Signs Of A Broken Wire
The most common sign of a broken wire is exposed, torn wires, and burn marks. Additionally, you may notice that there is no voltage at outlets in one area, but power is present in all other areas.
Moreover, you can detect it when the lights in one room are not turning on, but the lights in other rooms are still functioning fine.
Broken wires also often show signs, such as smoke or sparks. Additionally, blown fuses or tripped breakers also indicate potential issues with broken cables. However, if you don’t want to go through the hassle of finding it on your own, contact Best Price Electrician for assistance.
How To Find Broken Or Damaged Electrical Wire?
If you want to find your broken or damaged electrical wire easily to know how to repair home electrical wiring, here are some ways to go about it:
Using a Voltage Tester
A voltage tester is a handy tool to check for broken/damaged wires. You need to tap the probe into the wire, socket, outlet, or any metal part of electrical components. Using a non-contact voltage tester, such as the AKA NCV, you can hover the tool over the object to check if it is electrical.
As power runs through the normal wire, you will get the lights if you run the voltage tester over the other end of the normal wire. However, when the wire is broken, it won’t show any beeps or lights when you use the tester to check the other end of the wire.
With a Non-Voltage Tester
If you have a non-voltage wire tester, you can do the following to test the wiring:
- Step 1: First, locate the wire that you have been suspecting and identify both ends of it. Then, separate the wire from other cables.
Tips: If there are many wires, and you don’t know which one to test, cut the band or tire and separate them.
- Step 2: Now, turn the tester on. If your tester has an NCV mode, run the probe over both ends of the wire.
- Step 3: If your tester beeps, it means the wire has power in this part. However, if it doesn’t, that means the wire isn’t receiving any power and may be broken somewhere.
With a Multimeter
You can also use a multimeter to check the wire’s electrical continuity. Here are the steps:
- Step 1: First, disconnect the wire from the circuit and turn the multimeter to Ohms mode.
- Step 2: Next, test the probes by touching them together. If the value on the multimeter changes to 0.02-0.05, the probe is working fine.
- Step 2: Next, disconnect the wire from both ends. Then, attach one probe to one copper end and the other to another end. If you see the exact number, the wire is fine. However, if it doesn’t change or shows 0, it might be broken.
Finding a Broken Wire Underground or in the Wall
Now, if your broken wire is in the underground or the wall, you can’t just disconnect it and check it. For this, you need a broken wire detector tool. You can use the NF-826 underground wire tracker and proceed with the following steps:
- Step 1: First, connect the clamps to the Emitter device using suitable adapter cables.
- Step 2: Now, turn the wire’s power off by switching off the related circuit breaker.
- Step 3: Now, expose one side of the wire. Locate the switch that connects to the wire. Uncap it and stop when you can see the copper wire. Then, you have to attach the red crocodile clamp to it and set aside the black one on the ground or wall.
- Step 4: At this point, turn on both the Emitter and Receiver. Then press the Start button on the Emitter.
- Step 5: Now, run the receiver over the switch and move the device. If the Receiver beeps from the switch to the connected instrument, the wire works fine. Also, when the beeping becomes quiet in any direction except when heading backward, this indicates that the wire is broken.
How to Repair Electrical Wiring Safely?
A wire repair can feel intimidating, but it is pretty manageable as long as you use the steps outlined below. All that’s needed are some tools, attention to detail, and, most importantly, turning off the power. Now, let’s go through each step of the effective cable repair process.
Step 1: Locate the Damaged Section and Get the Wires Ready
Conduct a visual survey to identify the damaged section. If you have read the previous section, you already know which wire is the problem.
After locating it, carefully cut off 1-2 cm of broken copper from both ends. Then, peel back approximately 3 cm of insulation on each side so that fresh copper wire is visible.
Step 2: Bind the Exposed Wires Together
Take the copper strands that are now exposed and “connect” them by twisting to join them mechanically together.
Make sure that this bond is tight enough not to fail during subsequent manipulation of the wire bundles or mechanical vibrations later on in service. This can be easily done using either bare fingers or pliers for a better grip.
Step 3: Secure the Connection
Completely cover the twisted wires with electrical tape. Ensure that no copper wire is exposed. If you have a protective sleeve or tubing for wires, slide it over the place you repaired. This helps to keep the repair safe, clean, and prevents further damage.
Bottom Line
As you already know how to repair electrical wiring safely, you can understand that the process of fixing an electric wire is straightforward as long as safety measures are observed. Careful approaches can streamline repairs, but saving money stays out of mind when using electricity. Always ask experts if uncertain.