What’s an eSIM?
With eSIM io, you can get internet access in over 180 countries. All you need is an eSIM-compatible phone. You won’t have to replace physical SIM card.
Why use eSIM io?
eSIM io makes travel smarter for you! You can forget about looking for shops that sell SIM cards. You can now travel and open the eSIM io app on your phone to get instant access to the internet. There’s more:
Pay-As-You-Go – You can top up in the app, and you will only be charged for the mobile data you use. The app will connect you to local mobile networks.
Data Plans – This option allows you to purchase a package lasting from 30 to 360 days for a selected country or region. With no hidden charges, it’s perfect for travelers needing a fixed internet package.
Best of all, you can now use the OneSIM feature, which allows you to use just one eSIM for all your trips. You will not have to go through the hassle of removing and installing a new one every single time.
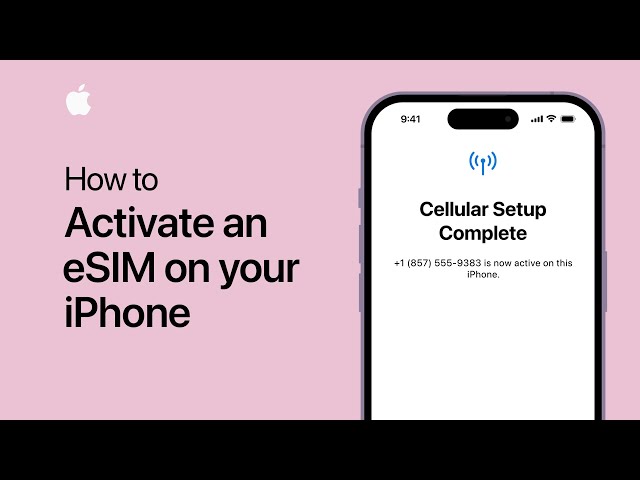
Activating and Installing Your eSIM on an iPhone
Be sure to have an iPhone XS, XR, or newer iPhone model.Confirm you are connected to Wi-Fi.
Step 1: Decide Your Setup Procedure
An eSIM can be configured using two methods:
Via QR Code (if accessible on an alternate device).
Manual Setup (if QR scanner or email is not accessible).
We shall discuss both methods.
Method 1: Using QR Code To Install
Prerequisites: Simply tap the ‘Activate eSIM’ button below the QR code to be redirected to settings, where the eSIM will activate automatically
Instructions
- Navigate to the QR code email from eSIM io to access your email on the secondary device.
- On your iPhone, head to:
Settings > Mobile Data > Add Data Plan.
- Scan the QR code using the camera.
- When “Add Cellular Plan” appears, select Continue.
- Once prompted, select Done.
Method 2: Manually Without QR Code
- Select Enter Details Manually.
- Insert the information given to you by eSIM io (check your app or email)
- Tap Next, and then select Add Data Plan.
- Complete by selecting Tap Done.
eSIM Installation Aftercare
Once your eSIM is installed, you will notice some additional steps. We’ll go through them together.
Label Your Plan: Save it as eSIM io travel for easy retrieval.
Set Default Line: Keep your primary number for calls and messages.
iMessage & FaceTime: Select your primary number.
Mobile Data: Choose “eSIM io” as your data.
Turn On Data Roaming – Keep your data roaming on as soon as you get to the travel destination.
eSIM Activation While Traveling
To start using your eSIM,
- Arrive at your destination.
- Go to your settings and click Mobile Data.
Go to the bottom and enable data roaming. Once activated, you will see the signal bars.
How to Know if It’s Working
Check these things:
Signal bars at the top of your screen
In Settings > Mobile Data > eSIM io, make sure Data Roaming is ON
Switching Between Physical SIM and eSIM
You can easily switch between your regular SIM and eSIM anytime:
- Go to Settings > Mobile Data
- Tap Default Voice Line or Mobile Data
- Choose the line you want to use
Bonus: OneSIM; Your Travel Superpower
With eSIM io’s OneSIM, you don’t need to install a new eSIM for every country. Just:
- Top up your balance
- Travel to any of 180+ countries
- Your eSIM will automatically connect to local networks
Need Help?
If anything feels confusing, the eSIM io support team is available 24/7 through the app or website. They can assist you with activating, installing, or addressing any other issues.
Start Your Journey with eSIM io! Download the eSIM io app and get connected in minutes anywhere in the world! Say farewell to physical SIM cards and embrace smarter travel.