A privacy fence doesn’t just serve as a barrier; it transforms how you use and experience your outdoor space. Whether you’re looking to enjoy more peaceful moments in your backyard, boost your home’s curb appeal, or enhance security, installing a privacy fence is an excellent investment. This blog will cover the essentials of privacy fence installation, from planning to completion. By the end, you’ll have a clear understanding of how to create a private and functional outdoor area that you’ll love.
Why Install a Privacy Fence?
Before we get into the details of how to install a privacy fence, let’s explore why so many homeowners opt for this upgrade.
Benefits of a Privacy Fence
1. Privacy and Seclusion
A privacy fence creates a sanctuary where you can relax without worrying about prying eyes. Whether you’re sharing meals on the patio or enjoying a dip in the pool, a privacy fence helps you maintain your personal space.
2. Enhanced Security
A well-built privacy fence can deter trespassers and protect your property, making it a valuable asset if security is a priority.
3. Noise Reduction
Certain fence materials, like wood or vinyl, can help muffle outside noises, creating a more serene environment.
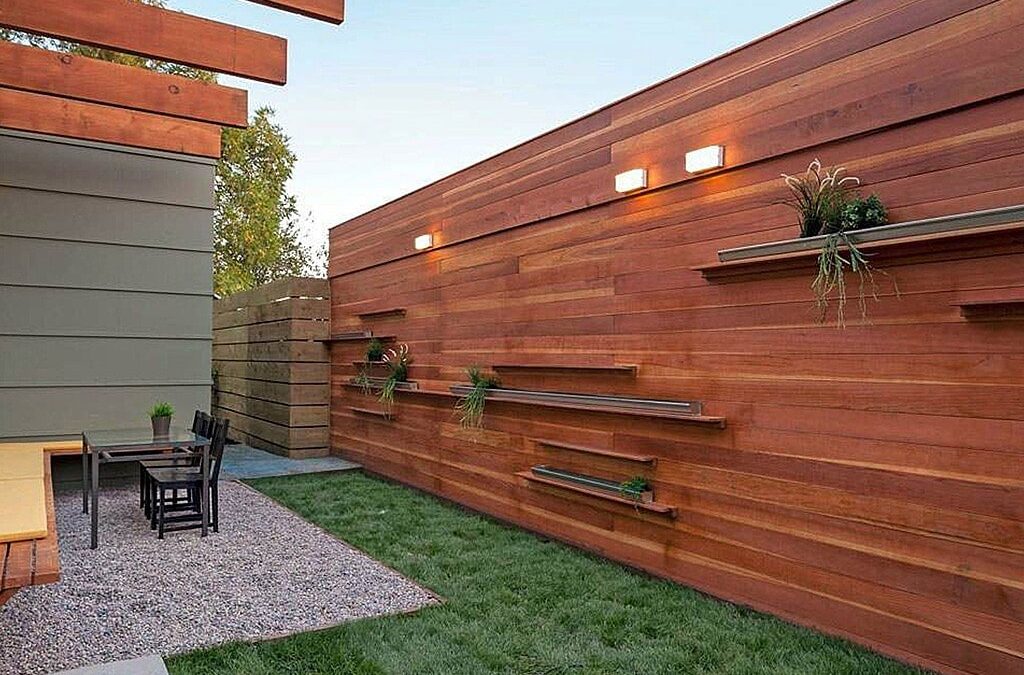
4. Aesthetic Appeal
With a variety of styles and materials available, a privacy fence can complement your home’s aesthetic and even boost its market value.
5. Defined Boundaries
A privacy fence clearly marks the limits of your property, preventing potential disputes with neighbors regarding boundary lines.
What You Need to Know Before Installing a Privacy Fence
Research Local Regulations
Before you get started, check your local building codes and homeowners’ association (HOA) regulations. These guidelines may specify fence height, style restrictions, and property line considerations. Avoid fines or disputes by doing your homework upfront.
Choose the Right Material
Your fence material can greatly impact its appearance, functionality, and maintenance requirements. Here are a few popular options to consider:
- Wood (e.g., cedar, pine): Offers a classic look but requires regular maintenance to prevent rot or insect damage.
- Vinyl: Low-maintenance and highly durable, though it can be more expensive upfront.
- Composite: A blend of wood fibers and plastic, composite fencing is durable and eco-friendly.
- Metal (e.g., aluminum): Provides excellent durability but offers less privacy unless paired with wooden panels or slats.
Determine Your Budget
The cost of a privacy fence depends on the material, height, and length, as well as whether you’ll install it yourself or hire professionals. Create a budget and factor in potential costs like post hole digging equipment, fasteners, and finishing treatments.
Plan the Design
Before setting a single post, sketch out how your fence will look. Consider the height and spacing of the panels, as well as access points for gates. Online tools and apps can help you visualize your fence in your yard.
How to Install a Privacy Fence in 6 Steps
Now that you’re ready to start, follow these step-by-step instructions to install your privacy fence successfully.
Step 1: Measure and Mark Your Property
The first step in the process is to define your fence’s layout clearly. Use stakes and string to outline where your fence will go. Measure the area to calculate how many panels, posts, and other materials you’ll need.
🌟 Pro Tip: Use spray paint to mark where each post will be placed. Keep in mind that posts are typically spaced 6 to 8 feet apart.
Step 2: Dig the Post Holes
Using a post hole digger or an auger, dig holes for your fence posts. Holes generally need to be about one-third the length of the post and set below the frost line to ensure stability. Add a few inches of gravel at the bottom of each hole for drainage.
Step 3: Set the Fence Posts
Place the posts into the holes, ensuring they’re vertical using a level. Pour quick-set concrete around each post to anchor them in place. Allow the concrete to cure for at least 24-48 hours before moving on to the next steps.
🌟 Pro Tip: If you’re using wood posts, consider treating the bottoms with a wood preservative to prevent rot.
Step 4: Attach Fence Panels or Boards
Once the posts are secure, start attaching your fence panels or boards. Use galvanized screws or nails, as they resist rust and weather damage. Make sure the panels are level before securing them to the posts.
If you’re creating a “board-on-board” style fence, overlap the panels slightly to eliminate gaps for maximum privacy.
Step 5: Install Gates and Hardware
Add gates to your fence where needed, ensuring they align correctly with the posts. Use sturdy hinges and latches to secure the gate panels. Test the gates to make sure they swing and close smoothly.
Step 6: Finish with a Protective Sealant
For wooden fences, apply stain or sealant to protect against moisture, UV rays, and pest damage. Reapply the finish periodically to keep your fence looking and performing its best.
🌟 Pro Tip: Vinyl, composite, and metal fences generally require less upkeep. A quick rinse with soap and water will remove most dirt and grime.
Tips for Long-Term Fence Maintenance
- Clean Regularly: Wash dirt and debris from the fence surface using a garden hose or pressure washer.
- Inspect for Damage: Repair loose boards, rusted hardware, or damaged panels as soon as possible to prevent further deterioration.
- Trim Nearby Vegetation: Keep bushes, vines, and trees trimmed to prevent them from damaging your fence over time.
- Check for Rot or Rust: Wooden fences should be inspected for rot, while metal fences should be examined for signs of rust.
Your Backyard Oasis Awaits
Privacy fence installation can enhance your space in more ways than one. From boosting your home’s curb appeal to creating a private retreat for your family, it’s an investment that pays dividends in comfort and utility.
If you’re handy, tackling this project yourself can be a rewarding challenge. But if you’d prefer expert help, hiring professionals ensures a flawless installation.
No matter how you approach it, a privacy fence is more than just a barrier; it’s an upgrade in how you experience your home.