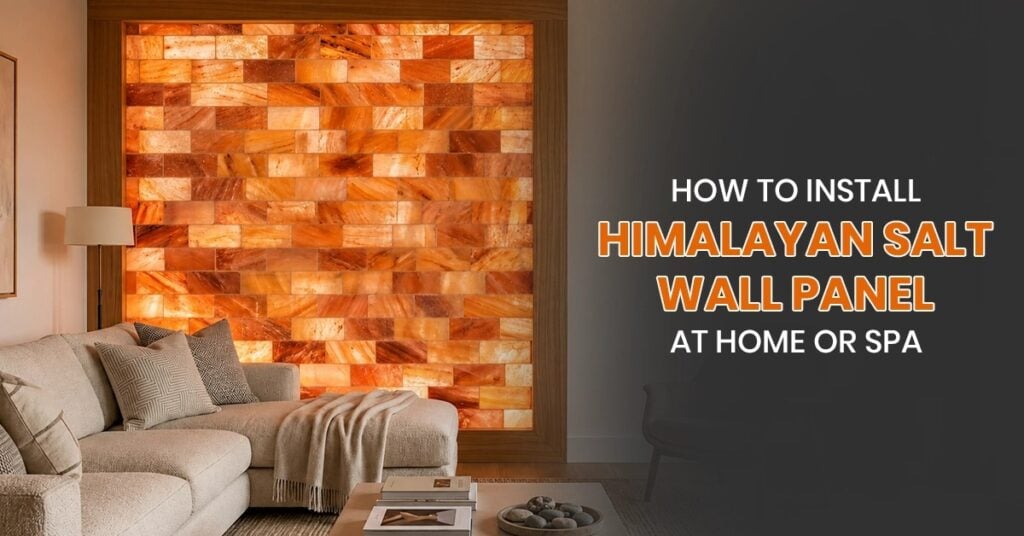
To install a Himalayan salt wall panel at home or in a spa, prepare a dry and level wall, build a sturdy support frame, install LED backlighting, securely mount the salt wall panels, and perform final safety and alignment checks. Proper ventilation and moisture control are essential to maintain the wall’s appearance and durability.
A salt wall panel is made using bricks crafted from real Himalayan pink salt from Pakistan’s Khewra Salt Mine. They are installed in homes or spas to create an impressive glowing wall. This guide covers how to install a panel by analyzing wall preparation, best installation sites, and maintenance practices to maximize performance.
What Is a Himalayan Salt Wall Panel?
A Himalayan salt wall panel consists of pink salt bricks structured into a convenient panel. The salt wall panel is mounted onto a wooden or metal frame to hold the salt and allow airflow around it. The salt wall panel is suitable for faster and neater installation compared to single salt bricks.
The salt wall panels are the best-suited decorations for home and spa owners. These salt wall panels create a captivating glowing effect by pairing with warm LED lighting.
Where Should You Install a Himalayan Salt Wall Panel?
A suitable location is a key factor when deciding to install a Himalayan salt wall panel at home or in a spa. The best locations include:
Best Locations at Home
- Living rooms
- Home spa
- Meditation room
- Yoga room
- Dry home sauna
- Bedroom
- Hallway feature wall
Best Locations in a Spa
- Reception
- Lounge
- Massage rooms
- Salt therapy room
- Treatment rooms
- Waiting area
What Are the Required Tools and Materials?
You need salt wall panels, a sturdy frame for support, and standard strips of LED lights. Having the right tools and materials helps the process go faster, ensures safety, and makes it easy.
Materials
- Himalayan salt wall panels
- Moisture-resistant backing board
- Metal or treated wooden support frame
- Warm white LED strips
- LED power supply
- Mounting brackets
Tools
- Measuring tape
- Spirit level
- Electric drill
- Screwdriver
- Gloves
- Safety glasses
- Soft cleaning cloth
Many professional Himalayan salt wall installers prefer to purchase complete salt wall panel installation kits that provide all the necessary materials and tools required during the process.
How Do You Install a Himalayan Salt Wall Panel?
The step-by-step installation guide below demonstrates how to hang a salt wall panel and achieve a professional finish.
Step 1: Prepare the Wall
The wall should be dry, even, stable, and clear before installing the salt wall panel. The salt panel installation requires a leveled and clean wall with no cracks or loose particles.
Before mounting salt wall panels, make sure to:
- Remove loose particles and dirt
- Fix all cracks properly
- Attach a moisture-proof backing when needed
- Mark the wall panel layout using a spirit level
- Double-check the measurements to ensure accuracy
A well-prepared wall ensures a stable and leveled salt wall panel installation.
Step 2: Construct the Support Frame
The next step is to build the frame that will hold the Himalayan salt wall panels. The frame must be sturdy enough to bear the salt panels’ weight.
The support frame should also:
- Attach tightly to the wall
- Stay level during the whole installation
- Match the size of the panel
- Leave space for wires
- Leave space for air to flow through
Taking extra time to verify frame alignment helps prevent uneven panel installation later.
Step 3: Mount the LED Backlighting
The LED light strip installation is vital during the salt wall panel installation because it determines the lighting quality provided by the wall.
For the best lighting results:
- Ensure the LED strips are mounted on the frame evenly
- Keep the strips hidden behind the salt panels
- Test the backlighting before completing the salt wall panel installation
- Double-check all the wiring
- Test the power source to confirm it meets the recommended voltage
Testing the LED strips before installing the salt wall panels makes it easier to detect faults and fix them before completing the process.
Step 4: Mount the Salt Wall Panels
The next step is to mount salt wall panels onto the support frame. Each panel should be mounted according to the manufacturer’s guidelines
During installation:
- Mount the first salt panel, ensuring it is firm and aligned
- Tighten all the screws and mounting brackets
- Make sure to maintain an equal gap between the panels
- Check the alignment of the second panel before tightening the brackets
- Avoid over-tightening the brackets to ensure the panels remain flexible
Proper adjustment of the salt wall panels will prevent future issues and adjustments after the whole panel installation is completed.
Step 5: Final Checks
The final step is to carry out a quality check to confirm everything about the salt wall panel installation is okay.
The final inspection should include:
- Ensuring the salt wall panels are mounted evenly on the frame
- Checking if the LED lighting is providing an appropriate amount of lighting
- Examining the wiring system behind the panels to ensure it is not faulty
- Confirming there is enough space for air circulation
- Cleaning dust on the salt wall panels using a dry cloth
- Ensuring there are no unsecured brackets or screws
How Much Does It Cost to Install a Himalayan Salt Wall Panel?
The amount spent on Himalayan salt wall panel installation mainly depends on a variety of factors. These factors include the size of the salt wall panel, the type of LED, the preparation work, the frame, and expert help.
| Cost Factor | Estimated Cost |
| Himalayan salt wall panels | $35–$55+ per sq. ft. |
| Professional Installation | $45–$75+ per sq. ft. |
| LED Backlighting | $75–$250+ |
| Support Frame | $150–$500+ |
| Custom Design or Finishing | $300–$2,000+ |
It is always advisable to get an accurate estimate of the amount spent on salt wall panel installation.
How Do You Maintain a Himalayan Salt Wall Panel?
Proper maintenance and cleaning practices should be carried out according to the given instructions to maximize the performance of a salt wall panel.
Routine maintenance includes:
- Regular dusting of the salt wall panel using a dry microfiber cloth
- Keeping the humidity level at 40% – 55%
- Avoiding exposure to water and steam
- Periodically inspecting the LED lighting system
- Checking the mounting brackets during maintenance
- Replacing damaged lighting components
Many installers recommend inspecting the wall every six to twelve months to ensure it remains secure and evenly illuminated.
What Common Installation Mistakes Should You Avoid?
Avoiding the given mistakes will help you achieve an impressive salt wall panel installation with no damage.
Common mistakes include:
- Installing panels on damp or uneven walls
- Skipping the support frame inspection
- Poor LED strip alignment resulting in an uneven lighting effect
- Blocking ventilation behind the panels
- Failing to test the lighting before mounting the panels
- Overtightening mounting hardware
- Ignoring humidity control after installation
Following the guidelines can help you avoid mistakes while installing the Himalayan salt wall installation mistakes achieving a quality finish.
Conclusion
A Himalayan salt wall panel is the best upgrade to any home or spa. Following the guidelines on how to install a salt wall panel makes it easy to achieve a quality finish while maximizing performance. Choosing the right location, maintaining the right humidity, and practicing proper cleaning should be done in order to enjoy the benefits of a salt wall panel for a long time.
Whether you are looking to add a unique feature to a meditation room, home, bedroom, home sauna, or yoga room, a salt wall panel is perfect for you. It creates a captivating look in a home spa or a professional spa treatment room. This guide will assist you in achieving the best salt wall panel installation possible.
FAQs
Where is the best place to install a salt wall panel at home?
The best places to install a salt wall panel at home include the living room, home spa, meditation room, dry sauna, and bedroom.
Can I install the salt wall panel myself?
While small salt wall panel installations can be achieved by an experienced DIY homeowner, more complex jobs such as electrical connections and large salt panels should be left to professionals.
Do Himalayan salt wall panels require LED lighting?
LED lighting is not mandatory, but it leads to a better visual effect compared to other lighting options
How long does it take to install a Himalayan salt wall panel?
Most home salt wall panel installations can be completed in a single day. Larger installations in commercial buildings may take longer depending on the size of the wall panel.