We are working hard to overcome the same issue that many Windows 11 users are facing when upgrading to Windows 11. A common technical issue that users face when upgraded to Windows 11 is slow SSD performance. We have recently experienced a problem with a brand new SSD, and Newscutzy tech specialists are working hard to overcome the same.
This Windows 11 SSD performance issue is frustrating for all users alike. Microsoft has released a new update to fix this issue, but it is still in preview. Anyway, in addition to the new update, we have collected a few fixes to exiting from the same article. So go through this article keenly and clear up the Windows 11 slow SSD performance issue. Let’s have a look.
Solution 1: Update Windows 11 KB5007262:
If you have problems with your computer using pages that are much faster than what is available on the market now, then you should try the KB5007262 update. It will help to quickly overcome the same problem. Simply download the KB5007 262 update and get rid of the same problem.
- First, press Windows + I simultaneously to open the Settings app. Then select Update Checker from the right side of the screen, and click on Check for updates button.
- KB5007262 is now available and can be installed on your system. It helps to restart the system and see if your computer is running smoothly or not.
If you have an update available from the Microsoft Update Catalog, but it is not that update, please go to the following site and type the update number in the search box and download the 64x file. Once done, install it on your system and the said issue might resolve for you.
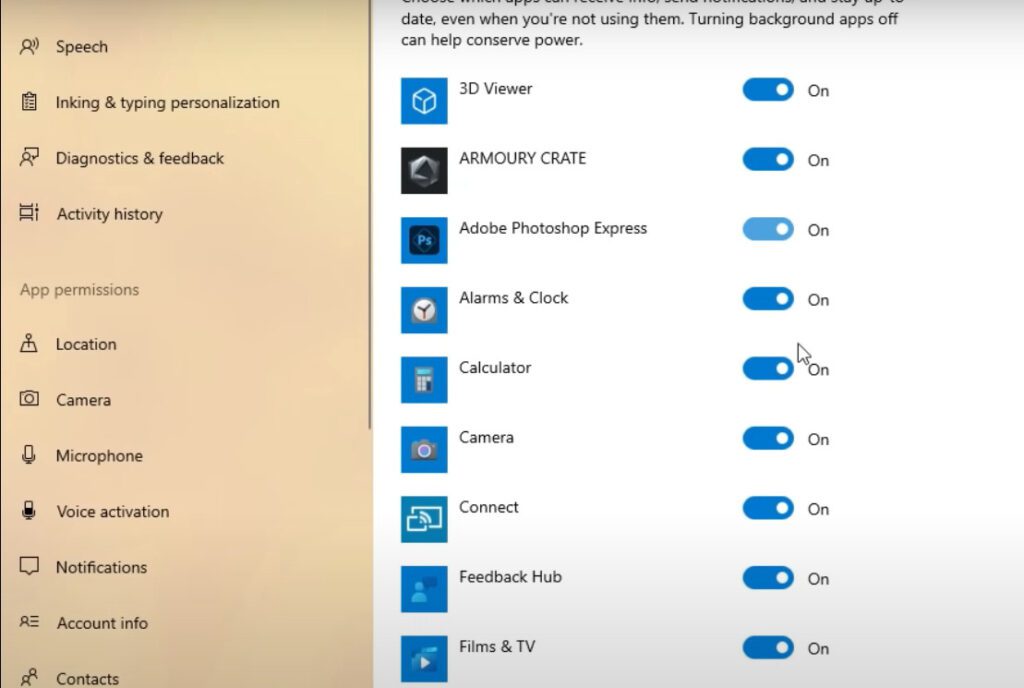
Solution 2: Turn Off Unnecessary Services:
If you are experiencing a slow Windows 11 SSD performance issue and you want to disable the several startup services that are being activated on your system, you can use the following command to disable them.
- The Task Manager window will appear on your screen as soon as you open it from the task manager feature in the search results. The Task Manager can be used to manage all your tasks and ensure that your work is completed.
- If you want to quiet your system and disable some of its supporting services, click on the Disable button from the Startup tab. This will take you to a screen where you can see your system’s performance now.
Solution 3: Enable Quick Start:
Another solution to fix Windows 11 slow startup issue is activating the QuickStart feature on your Windows 11. The QuickStart service helps you to save time when your system startup.
To do so: we will have a Hybrid Sleep Mode and help you to save time when your system startup. To do so: it works as a Hybrid SleepMode and helps you to speed up your system startup process.
- Under related settings, select the ” extra power settings ” tab. Here, you can add more than just the standard ones like battery life and memories. You can also use Power Options to adjust your computer’s energy usage and choose between different clock behavior options.
- Now, click on the Choose what the power buttons can do option from the left pane menu, and you will be able to select which settings are currently unavailable.
- The following are the results of tickling the check box beside the Turn on fast startup (recommended) option. Finally, click on the Save button and see the result.
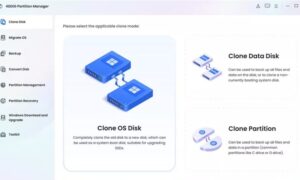
Solution 4: Set 4K Performance:
When you first create a new SSD, sometimes SSDs may not be fully functional because the installation has a new number of sectors. Additionally, when you have an old installation, often the SSD can’t with poor performance. Here you can also deploy the 4K alignment feature to invest in 4K sectors. You can do all these with the help of a trusty third-party tool.
Solution 5: System Cleanup on SSD:
If you have SSD storage mounted with data files and installed programs, it affects the performance of your SSD and causes it to slow down its speed. Here you need to free up drive space which might help you to resolve the same issue. To do so:
- First, drag and drop the disk cleaning program into your Search box. Then, tick the check box beside all the files you need to clean. Now from the window, click on the Cleanup system files button from the bottom of the screen.
- After cleaning the disk, we will see a message telling us to click on the OK button. Then in the new prompt, we are asked if we want to delete files that were cleaned earlier. If we answer No more than 2 files will be created, but if we answer Yes more than a page will be created. We can check for the result later by restarting the system and checking for the result.
Solution 6: Extend Virtual Memory:
If any of the solutions above do not help you, then you need to increase your virtual memory to speed up Windows 11 performance. We recommend it as many users have applied this trick and helped them. To do so:
- First, press the Windows key and then the R key to open the RUN dialog box. Type sysdm.cpl and click on OK. In the System Properties window, select the Advanced tab and click on Settings under the Performance section.
Conclusion
Toward the finish of this article, we are certain you have gotten away from the ‘Slow Windows 11 SSD Performance’ Issue. On the off chance that not, then, at that point, you can debilitate the recently introduced application which utilizes the greatest SSD asset and check whether it helps or not.
I hope this article has helped you. However, if you have any queries or doubts, please leave a comment in the below-given box.