Transforming your home doesn’t always require hiring contractors or breaking the bank. Many interior upgrades can be completed in a weekend with basic tools and a little patience. These DIY projects deliver maximum impact while keeping costs low and giving you the satisfaction of completing the work yourself.
Start with Lighting Changes
Lighting makes the biggest difference in how a room feels. Swapping out old fixtures for modern alternatives instantly updates any space. Pendant lights over kitchen islands, stylish chandeliers in the dining rooms, or sleek track lighting in living areas can completely change the atmosphere.
Installing new light fixtures typically requires only basic electrical knowledge. Turn off the power at the breaker, remove the old fixture, and follow the manufacturer’s wiring instructions. Most fixtures come with clear diagrams showing which wires connect together. If you’re uncomfortable with electrical work, this might be worth hiring a professional, but many homeowners find it surprisingly manageable.
Don’t forget about specialty areas that often get overlooked. A garage ceiling fan not only improves air circulation in this often-stuffy space but also helps with temperature control when you’re working on projects or storing temperature-sensitive items. These fans install similarly to indoor ceiling fans but are designed to handle dust and temperature fluctuations better.
Paint Creates Instant Drama
Fresh paint remains one of the most cost-effective ways to transform any room. Today’s paint technology makes the job easier than ever, with low-odor formulas that dry quickly and provide excellent coverage.
Accent walls create visual interest without overwhelming a space. Choose one wall to paint in a bold color while keeping the others neutral. Dark colors work well behind beds or entertainment centers, while bright colors energize kitchens and bathrooms.
Preparation makes all the difference with paint projects. Clean walls thoroughly, fill holes with spackling compound, and use painter’s tape to protect trim and fixtures. Quality brushes and rollers prevent streaks and ensure smooth coverage. Most rooms need two coats for best results, but the transformation is worth the extra effort.
Update Hardware Throughout Your Home
Cabinet pulls, drawer handles, and door knobs might seem like small details, but replacing them creates a surprisingly big impact. This upgrade works especially well in kitchens and bathrooms where hardware gets used constantly.
Modern hardware comes in countless styles and finishes. Brushed gold adds warmth, while matte black provides contemporary appeal. Stainless steel works well in kitchens, and oil-rubbed bronze complements traditional decor.
Most hardware replacements require only a screwdriver. Measure existing holes before shopping to ensure new pieces will fit properly. If hole spacing doesn’t match, wood filler can hide old holes before drilling new ones.
Install New Flooring
Luxury vinyl plank flooring has revolutionized DIY floor installation. These planks click together without glue or nails, making installation straightforward for beginners. The finished product looks remarkably like real wood or stone but costs significantly less and handles moisture better.
Preparation involves removing existing flooring and ensuring the subfloor is level and clean. Most luxury vinyl can be installed over existing floors if they’re in good condition. Start installation along the longest, straightest wall and work across the room systematically.
Laminate flooring offers another DIY-friendly option with similar installation methods. Both materials come with detailed instructions and online video tutorials that make the process clear even for first-time installers.
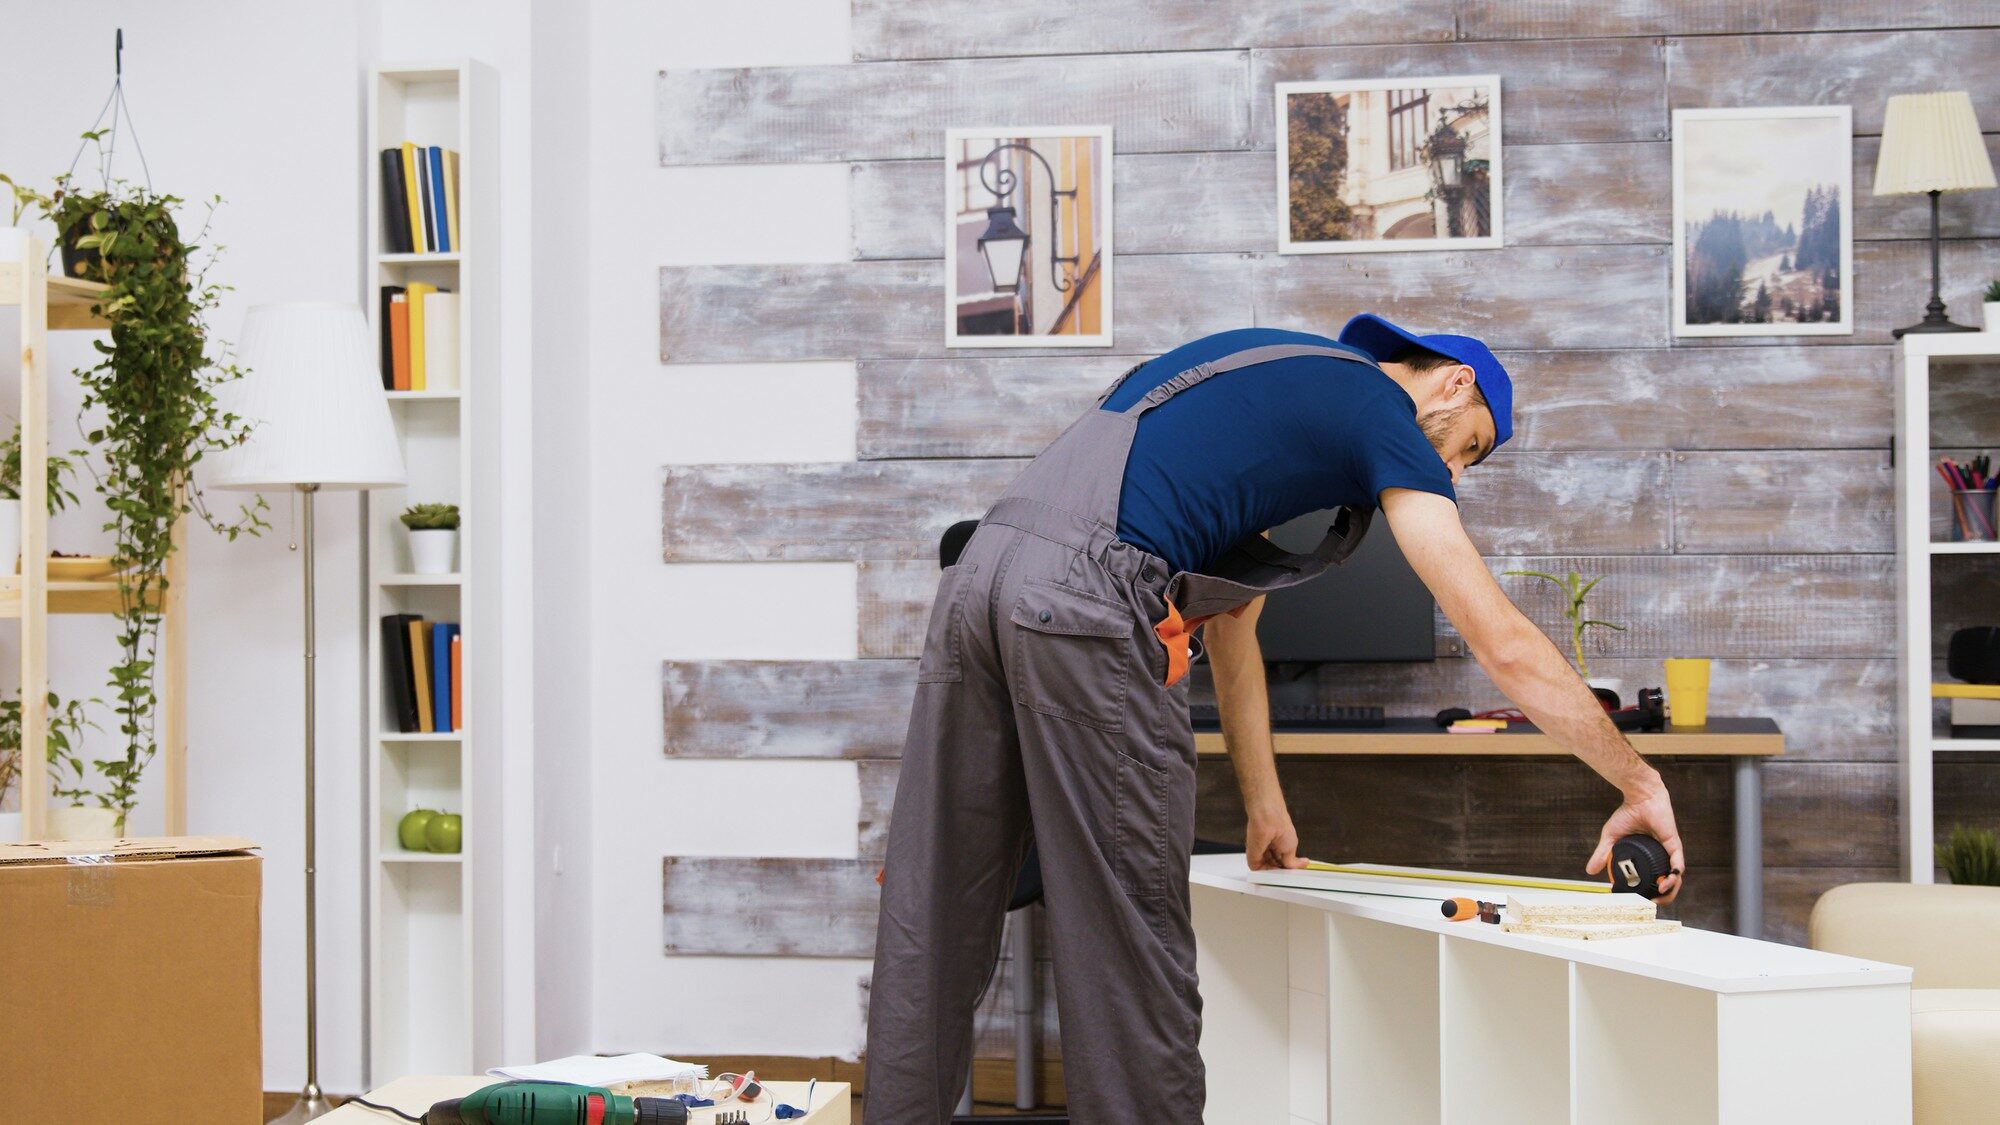
Add Built-in Storage Solutions
Custom storage doesn’t require custom prices when you install it yourself. Floating shelves provide display space and storage in any room. Kitchen wall organizers keep utensils and spices accessible. Bedroom closet systems maximize space efficiently.
Most storage solutions mount to wall studs for security. Use a stud finder to locate these structural elements, then mark mounting points carefully with a level. Pre-drill holes to prevent splitting, especially in trim work or delicate areas.
Closet organization systems transform chaotic spaces into functional areas. Many companies offer DIY-friendly systems with adjustable components that adapt as storage needs change. These systems typically hang from top rails and require minimal cutting or complex assembly.
Upgrade Windows and Doors
New window treatments change room ambiance while improving privacy and light control. Modern options include cellular shades that provide insulation, motorized blinds for convenience, and custom curtains that add personality.
Interior door replacement updates the entire home’s appearance. Hollow-core doors can be replaced with solid wood or composite alternatives that look more substantial and reduce noise transfer between rooms. Most doors come pre-hung, making installation easier than traditional methods.
Weather stripping around windows and doors improves energy efficiency while being virtually invisible. This upgrade pays for itself through reduced heating and cooling costs while making homes more comfortable year-round.
Finish with Decorative Details
Crown molding adds elegance to any room and hides imperfections where walls meet ceilings. Pre-cut corner pieces simplify installation, while paint-grade materials keep costs reasonable. A miter saw makes cutting easier, but many home centers will cut pieces to length.
Wainscoting creates visual interest on lower walls while protecting surfaces from damage. Panel kits include everything needed for installation and come in various styles from traditional to contemporary.
Tile backsplashes in kitchens and bathrooms provide both function and style. Subway tiles offer timeless appeal, while mosaic patterns create focal points. Adhesive tiles eliminate the need for mixing grout and mortar, making installation accessible to beginners.
These interior upgrades prove that significant home improvements don’t require professional installation. With basic tools, careful planning, and weekend dedication, any homeowner can create dramatic changes that increase both comfort and home value. Start with one project and build confidence for tackling larger renovations in the future.