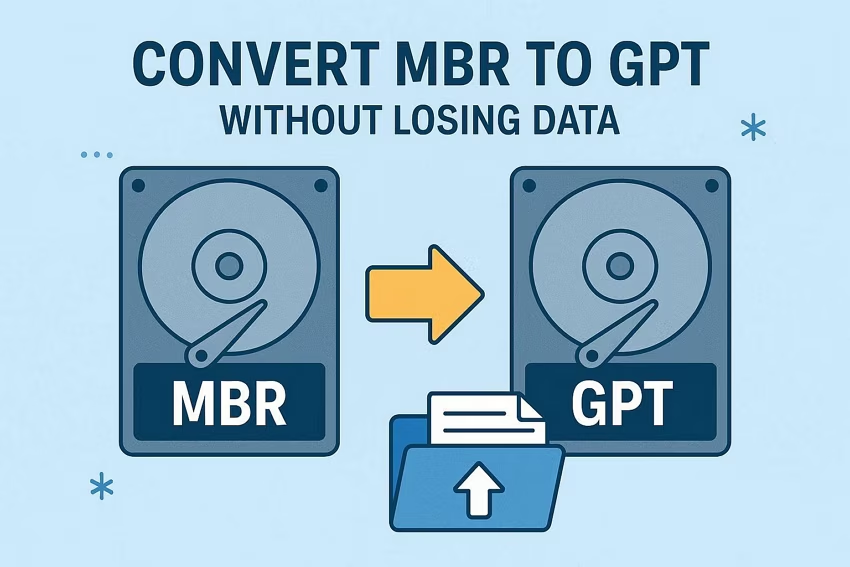
Modern Windows systems use UEFI firmware, while older PCs often rely on legacy BIOS with MBR disks. If you are preparing for Windows 11, learning how to convert MBR to GPT without data loss can help you move to a modern partition layout without reinstalling Windows. GPT supports UEFI and larger drives, while MBR has older structural limits.
Why Convert MBR to GPT?
GPT is the modern partition style designed for UEFI-based systems. Windows 11 requires UEFI firmware that is Secure Boot capable, so a PC using legacy BIOS and MBR may need configuration changes before an upgrade.
Converting the system disk can also improve compatibility with modern boot features and large-capacity drives. However, conversion alone does not make unsupported hardware compatible with Windows 11. You should still check the processor, TPM 2.0, Secure Boot capability, RAM, and storage requirements.
MBR vs GPT: What Is the Difference?
MBR and GPT organize disk partitions differently. Their main differences affect capacity, firmware compatibility, and partition management.
| MBR | GPT |
| Older partition style | Modern partition style |
| Common with legacy BIOS | Designed for UEFI systems |
| About 2 TB practical disk limit | Supports disks larger than 2 TB |
| Supports up to four primary partitions | Supports many partitions |
| Less suitable for newer systems | Better suited to modern PCs |
MBR can still work well on older computers. GPT is generally the better choice when your hardware supports UEFI, and you are preparing for newer Windows versions.
Check Your Current Partition Style
Before changing anything, confirm whether the target disk actually uses MBR. Windows provides a simple way to check this through Disk Management.
- Open the Start menu, search for “Disk Management,” and select “Create and format hard disk partitions.”
- Locate the disk containing Windows, usually Disk 0. Right-click the disk label on the left side and select “Properties.”
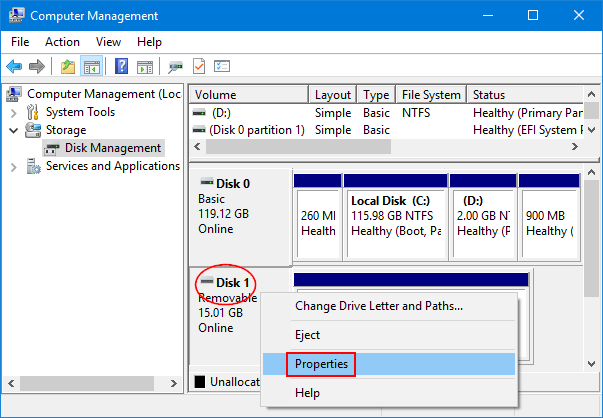
- Open the “Volumes” tab and check “Partition style.” It will show either “Master Boot Record (MBR)” or “GUID Partition Table (GPT).”
You can also open PowerShell as administrator and run Get-Disk. The “Partition Style” column shows the partition format used by each disk.
Method 1: Convert MBR to GPT Using Built-in Windows Tools
Windows includes MBR2GPT, a Microsoft utility designed to convert MBR to GPT without data loss. It is different from DiskPart’s standard “convert gpt” command, which requires the disk to be empty.
Before conversion, MBR2GPT checks the disk layout. A supported system disk generally needs no more than three primary partitions, no extended or logical partitions, and enough suitable space for the GPT structures and EFI system partition. The computer must also support UEFI.
- Open Command Prompt as administrator and validate the system disk first by entering “mbr2gpt /validate /allowFullOS”.
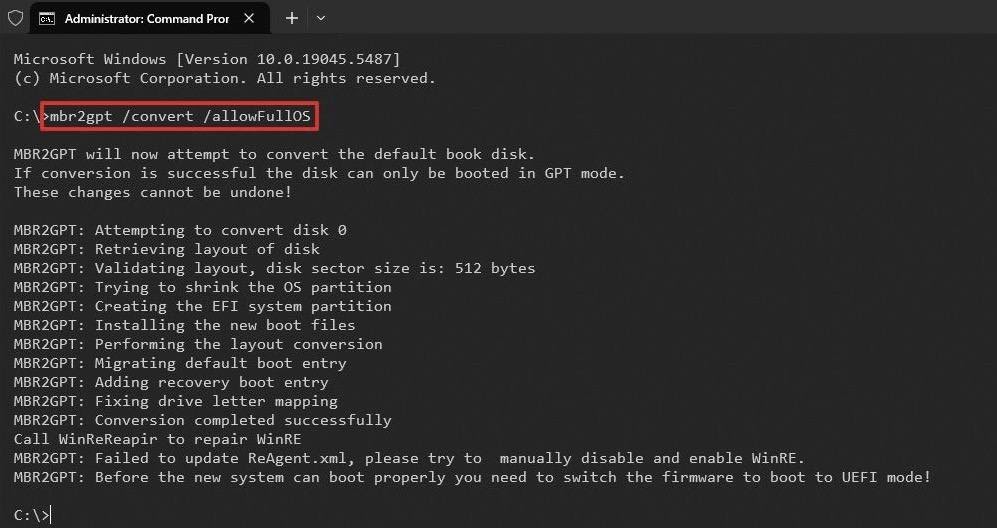
- If validation succeeds, run “mbr2gpt /convert /allowFullOS”. If you are targeting another disk, specify its correct disk number.
After conversion, restart the computer and enter the firmware settings. Change the boot mode from Legacy BIOS or Compatibility Support Module to UEFI. Save the changes and start Windows again. Do not skip validation. If the disk fails the requirements, resolve the reported issue before attempting conversion again.
Method 2: Convert MBR to GPT Without Complex Commands
Command-line conversion can be difficult when a disk contains multiple partitions. A graphical MBR to GPT converter, such as 4DDiG Partition Manager, provides a simpler interface for users who prefer visual controls.
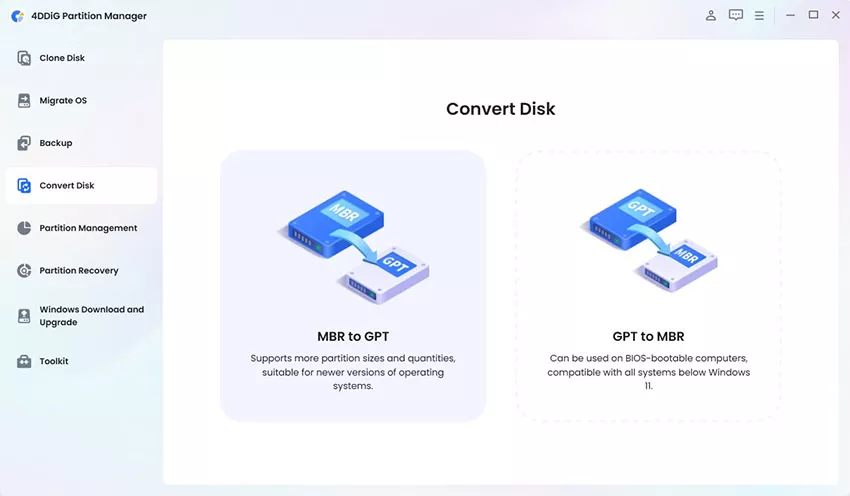
- Open the partition manager and go to “Convert Disk,” then choose “MBR to GPT”.

- Identify the disk that currently uses MBR. Select the “Continue” option to convert the disk from MBR to GPT and click “Sure”, then carefully review the selected disk before confirming the operation. The software prepares the conversion and applies the pending changes.
- The program runs in a PE environment where you need to select “MBR to GPT” again, then choose your disk and click “Continue”.

- Wait for the process to finish, then click “Reboot”.
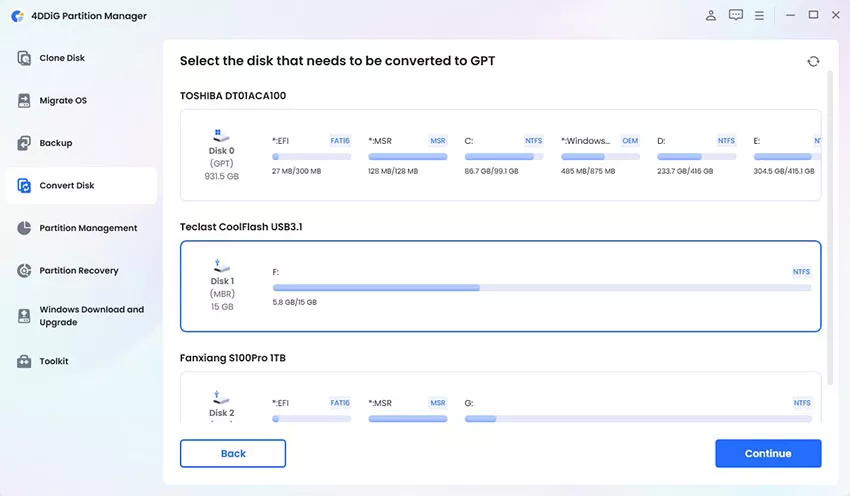
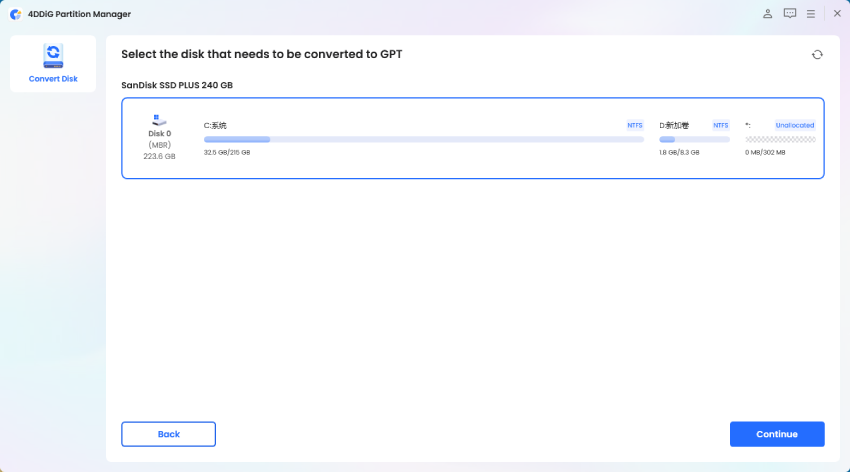
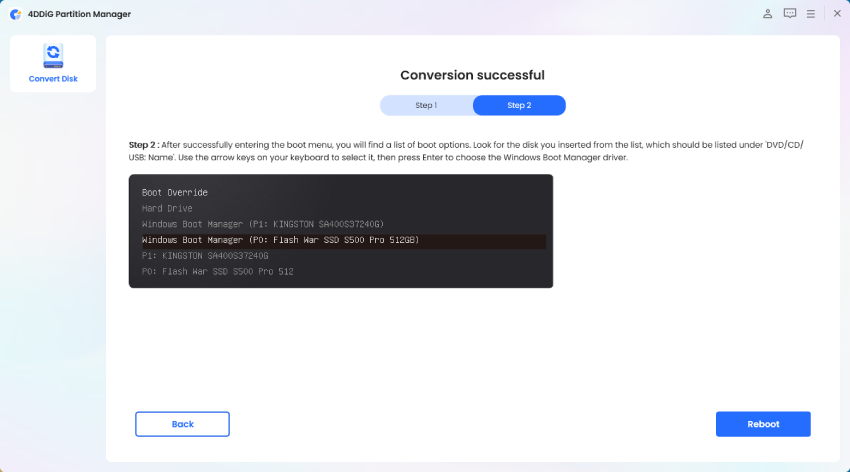
This approach reduces the need to remember command syntax and makes the target disk easier to identify. However, a backup is still recommended before making partition changes.
Things to Do Before Conversion
- Even when a conversion method is designed to preserve data, partition operations should be treated carefully. A backup provides a recovery option if a hardware problem, power interruption, or unexpected partition error occurs.
- Before starting, copy important documents, photos, projects, and other valuable files to another drive or reliable backup location. Check that the computer supports UEFI and meets the requirements for your planned Windows upgrade.
- If BitLocker is enabled, review its protection status and follow the appropriate conversion procedure. Close unnecessary applications and keep the computer connected to stable power. Laptop users should keep the charger connected throughout the operation.
- Avoid interrupting the computer once the conversion has started. Afterward, verify the partition style and make sure Windows boots correctly.
Conclusion
Knowing how to convert MBR to GPT without data loss is useful when preparing an older Windows installation for modern UEFI-based hardware. MBR2GPT provides a built-in option for supported system disks, while a graphical partition manager can simplify the process. Always validate the disk, back up important files, and switch the firmware to UEFI after conversion.