If you’ve ever walked into an older home and felt instantly charmed by its warm, honey-coloured timber floors, you’ve experienced the magic of well-maintained wood underfoot. But here’s the thing—those same floors don’t always stay that way forever. Years of furniture scraping, muddy shoes, pet claws, and life in general can leave them scratched, dull, and looking more like a relic than a feature. That’s where floor sanding comes in—not just as a cosmetic quick fix, but as a genuine restoration process.
I’ve seen floors go from “Are we going to have to replace this?” to “Wow, I didn’t know it could look this good!” in a matter of days. And the truth is, floor sanding is part craftsmanship, part patience, and part knowing how far to push the timber without damaging it.
What Floor Sanding Really Is (And Isn’t)
A lot of people think floor sanding Sydney is just “rubbing the floor down with a machine until it’s smooth.” In reality, it’s a multi-stage process designed to strip away the worn-out surface, expose the fresh timber underneath, and prepare it for sealing.
Done well, it not only improves how your floors look but also extends their life. Done poorly, you can end up with uneven surfaces, visible swirl marks, or even gouges that can’t be easily fixed. I’ve heard more than one horror story of a “budget job” gone wrong—trust me, you don’t want to save money at the expense of your floors.
The First Step: Assessing the Floor
Before anyone even switches on a sander, a good tradesperson will take time to assess the condition of your timber.
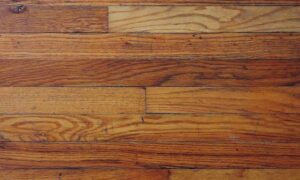
- Type of timber: Hardwood like Blackbutt, Spotted Gum, or Jarrah behaves differently from softer timbers like Pine.
- Age and wear: Older floors might have gaps, loose boards, or nails sitting proud of the surface.
- Previous coatings: Varnish, paint, or oil will dictate what kind of sanding grit you start with.
Skipping this step is like painting a wall without checking for cracks—you’ll end up with a nice finish that hides problems for about five minutes.
The Sanding Process (And Why It’s More Than Just “Dust Everywhere”)
Let’s get real—yes, floor sanding can be dusty. But modern machines with vacuum attachments have made a massive difference. You’re no longer wading through clouds of fine timber dust for weeks after the job.
The actual sanding usually happens in three phases:
- Rough sanding – Using coarse grit (24–40) to remove the old finish and flatten the boards. This is where uneven edges or cupping in the timber are levelled out.
- Intermediate sanding – Medium grit (60–80) smooths the surface and removes any deep scratches left from the coarse sanding.
- Fine sanding – A high grit (100–120) prepares the floor for sealing, giving it that silky, uniform feel.
Corners and edges are done separately with hand-held or edging sanders, which is fiddly but essential for a seamless look.
Choosing the Right Finish
Once your floors are sanded back to bare timber, you have a blank canvas. This is where you decide how you want them to look and feel underfoot.
- Water-based polyurethane: Low odour, fast drying, and leaves a natural look without yellowing over time.
- Oil-based polyurethane: Rich colour, high durability, but takes longer to cure and has a stronger smell during application.
- Hardwax oils: More natural, easy to maintain, and allow the timber to “breathe.”
Your choice depends on lifestyle. For example, a busy family with pets might go for a tough polyurethane finish, while someone restoring an old Queenslander might prefer the warm glow of oil.
Common Mistakes People Make
I’ve noticed a pattern over the years when people DIY floor sanding or hire someone inexperienced:
- Rushing the process – Skipping grits or sanding too quickly leaves swirl marks that show up under light.
- Not sealing quickly enough – Bare timber is vulnerable to moisture. Delay sealing and you risk warping or staining.
- Choosing the wrong finish – A high-gloss coat might look spectacular in a showroom, but it will show every scratch in a high-traffic hallway.
- Ignoring preparation – Leaving nails sticking up or boards loose will tear sanding belts and leave uneven results.
Why It’s Worth Getting a Professional
Sure, you can hire a sander from the local hardware store. But here’s the catch—without the experience to control the machine, you can easily sand too deep or leave visible ridges. Once that timber’s gone, you can’t just “add it back.”
A professional doesn’t just sand; they restore. They know how to deal with problem boards, blend repairs, and choose the right finish for your home’s specific conditions. Plus, they have industrial-grade equipment that works faster and more evenly than hire gear.
Aftercare: Keeping That Freshly Sanded Look
You’ve invested in beautiful, freshly sanded floors—don’t undo it by neglecting them. Here’s what works:
- Use mats at entryways to catch grit before it scratches the surface.
- Lift furniture when moving it—no dragging chairs across the room.
- Regular sweeping or vacuuming to prevent dust from acting like sandpaper.
- Refresher coats every few years depending on wear and tear, to maintain the protective finish.
The Reward
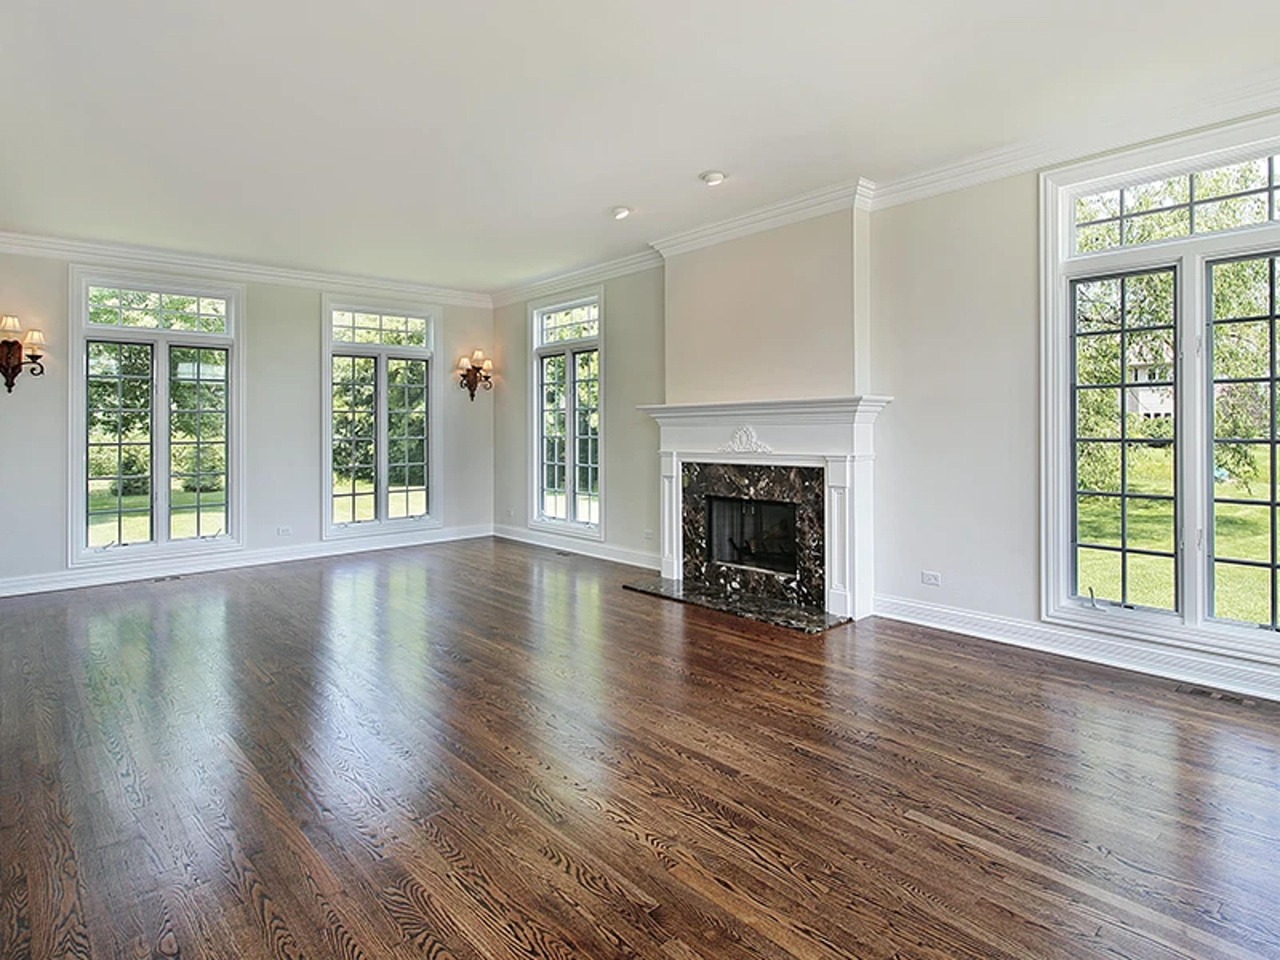
There’s something incredibly satisfying about walking barefoot on a floor you’ve brought back to life. The timber feels smoother, the colour richer, and the whole room seems brighter. More than just an aesthetic upgrade, a proper sanding job adds value to your home and lets the character of the wood shine through again.
If your floors are hiding under rugs because you’re embarrassed by scratches and stains, it might be time to uncover their potential. Floor sanding isn’t just a renovation—it’s a revival. And like any good revival, it’s about respecting the old while giving it a fresh start.