Bathrooms are one of those rooms where design is as much about function as it is about style. You can have the most beautiful tiles in the world, but if the lighting makes the room feel like a dim cupboard or a hospital ward, it won’t feel inviting. On the flip side, the perfect lighting can’t make up for tiles that clash with the rest of your space. The magic happens when the two work together.
Over the years, I’ve seen countless bathrooms where tiles and lighting weren’t considered as a pair, and the end result was… well, let’s just say “functional but not fabulous.” Let’s break down how to get them both right.
Step One: Understanding the Role of Tiles
Tiles are more than just a waterproof surface—they set the tone for your bathroom’s entire look.
- Colour: Light-coloured tiles, like whites, creams, or pale greys, reflect light beautifully, making small bathrooms feel more spacious. Darker tiles can look luxurious and dramatic, but they absorb more light, so they need thoughtful illumination to keep the space from feeling closed in.
- Texture: Glossy tiles bounce light around the room, adding brightness, while matte finishes create a softer, more grounded look.
- Size & layout: Large-format tiles reduce grout lines, creating a sleek, modern feel. Smaller tiles—like mosaics or penny rounds—add texture and visual interest.
A bathroom tiles Sydney choice often comes down to lifestyle. For example, someone who wants low maintenance might lean toward mid-tone matte tiles to hide water spots, while someone designing a luxury ensuite might choose high-gloss marble-look porcelain.
Step Two: How Lighting Changes the Game
Lighting in bathrooms isn’t just about being able to see in the mirror—it shapes the mood of the whole space.
The Three Layers of Lighting:
- Ambient lighting: This is your overall room illumination—usually from a central ceiling light or recessed downlights. It needs to be bright enough for safety but not so harsh that it feels clinical.
- Task lighting: Focused lighting for activities like shaving or makeup application. The most common example is lighting around or beside the mirror.
- Accent lighting: This is where you get creative—think LED strips under vanities, wall sconces for atmosphere, or niche lighting in a shower recess.
When lighting is layered correctly, you can shift the bathroom’s feel from “wake-up-and-get-ready” bright to “evening soak in the tub” cosy with just a switch or dimmer.
Step Three: Making Tiles & Lighting Work Together
This is where a lot of bathroom designs fall short—tiles and lighting need to be chosen with each other in mind, not as separate decisions.
- Glossy tiles & light placement: Because glossy finishes reflect light, you need to be careful where Wall lights Sydney are placed to avoid glare or visible “hot spots.” For example, a row of downlights directly over a shiny wall can create distracting bright patches.
- Matte tiles & brightness: Matte finishes absorb light, so you may need more lighting (or brighter bulbs) to achieve the same level of illumination.
- Highlighting feature tiles: If you’ve invested in a bold patterned wall or textured tile, consider directional lighting or wall washers to enhance the effect.
- Colour temperature matters: Warm white light (around 2700–3000K) softens the look of earthy tones and natural stone. Cool white (around 4000K) works well with crisp whites, blues, and greys.
Design Ideas to Try
- Backlit mirrors + large-format marble tiles: Creates a spa-like atmosphere with even, flattering light.
- Warm LED strips under floating vanities + mid-tone matte floor tiles: Adds depth and warmth to modern designs.
- Pendant lights over a freestanding bath + herringbone wall tiles: Makes a statement and adds texture without overwhelming the space.
- Niche lighting in the shower + patterned encaustic tiles: Highlights your design feature while providing practical light in the shower area.
Practical Tips for Both
- Think about maintenance: Lighter grout can stain more easily, so pair it with sealed or easy-clean finishes. Similarly, lighting fixtures in bathrooms need to be moisture-resistant—look for the right IP rating.
- Plan early: Tile layouts and lighting positions should be finalised before any renovation work starts. It’s much easier to run wiring for niche lighting before walls are tiled.
- Balance brightness: If your bathroom has no windows, you’ll need to make up for the lack of natural light with higher lumen output or reflective finishes.
- Dimmers are your friend: A bright bathroom in the morning and a relaxing retreat at night? A dimmer switch lets you have both.
Why This Matters
Bathrooms aren’t just for brushing teeth and rushing out the door—they’ve become spaces where we relax, reset, and take time for ourselves. The right combination of tiles and lighting transforms them from purely practical to something genuinely enjoyable to spend time in.
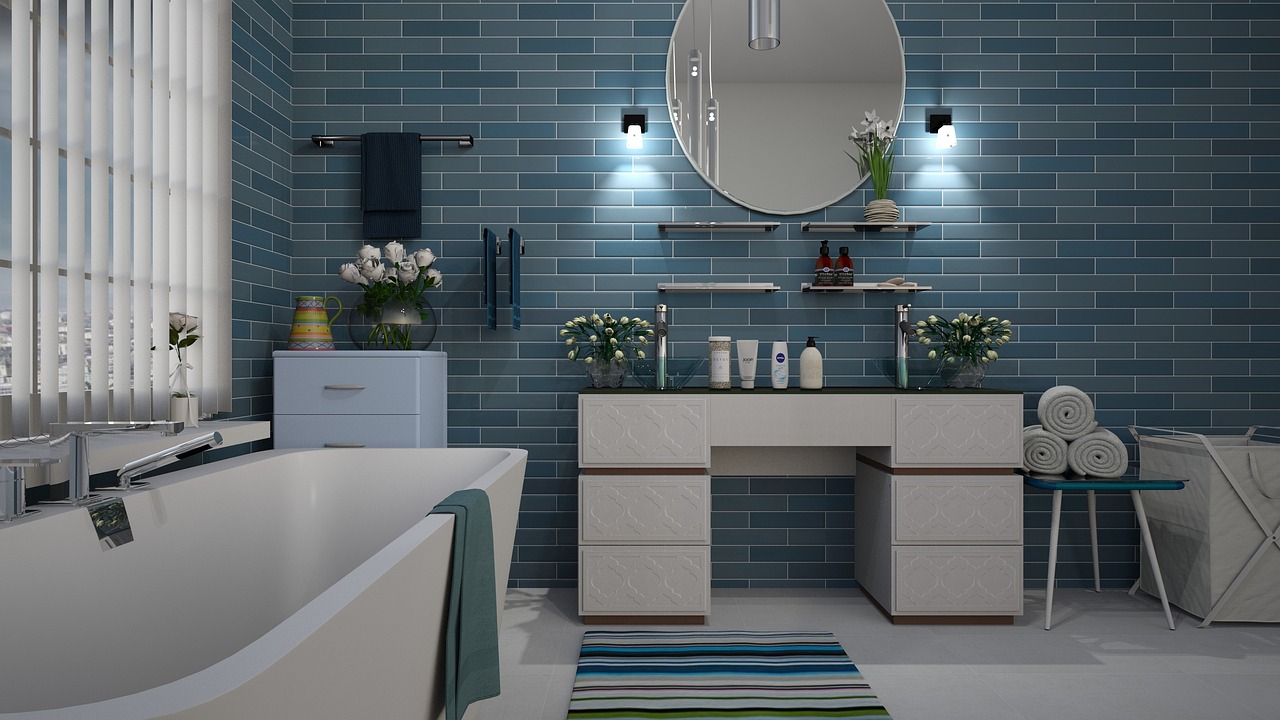
I’ve seen the difference firsthand—two bathrooms with the exact same layout can feel completely different depending on how tiles and lighting are handled. In one, the tiles were dark and the lighting was stark—functional but unwelcoming. In the other, light tiles reflected soft, layered lighting, and the result was a warm, inviting space that felt like a mini day spa.
Your bathroom should make you feel good every time you walk in. Getting the tiles and lighting right is how you make that happen.