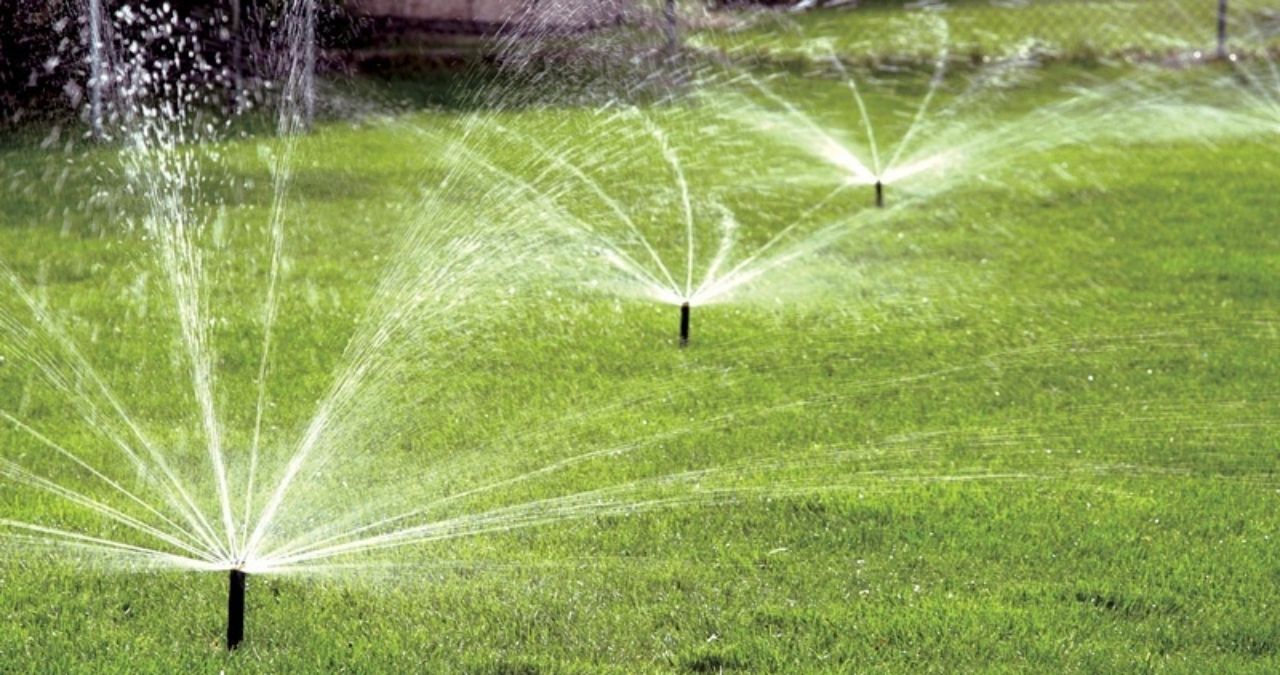
Planning to transform your yard into a lush, green oasis? An irrigation system can make all the difference. Not only does it save water and ensure your plants thrive, but it also spares you from the hassle of manual watering. But where do you start with irrigation system installation? This guide will walk you through everything you need to know, from planning to turning on your sprinklers for the first time.
Why Invest in an Irrigation System?
Before jumping into the installation, it’s important to understand why installing an irrigation system is worth the time and investment. A well-designed irrigation system provides the following benefits:
- Water Efficiency: Automated systems deliver the right amount of water directly to your plants, reducing waste.
- Time-Saving: You can set it and forget it. No more dragging hoses or manually watering every corner of your lawn.
- Healthier Plants: A consistent watering schedule ensures healthier roots and a more vibrant garden.
- Flexible Options: Whether you want to hydrate delicate flower beds or evenly water a wide lawn, irrigation systems are customizable for your yard’s needs.
If any of these benefits resonate with you, you’re ready to start your installation project!
Step 1: Plan Your Irrigation System
A successful installation begins with thorough planning. Follow these steps to create a blueprint for your system:
Assess Your Lawn or Garden
Take a good look at the space you want to irrigate. Measure your yard and note any slopes, plants with different watering needs, or hard-to-reach areas. If you’re working with both grass and garden beds, you might need separate zones.
Check Your Water Supply
Determine the water pressure and flow rate at your property using a pressure gauge and a gallon-per-minute (GPM) test. These factors will influence what kind of system you can use and how many sprinkler heads or drip lines you’ll need.
Choose the Right Type of System
There are three main types of irrigation systems to consider based on your needs:
- Sprinkler Systems: Great for lawns and larger areas, sprinklers provide uniform water distribution across open spaces.
- Drip Irrigation: Ideal for gardens, flower beds, or planters, this system uses less water by targeting specific plant roots.
- Hybrid Systems: Combine sprinklers and drip irrigation for gardens with diverse watering needs.
Sketch a Layout
Create a simple map of your yard, marking plant zones, sprinkler placements, and pipeline paths. Be sure to account for obstacles like trees, driveways, or patios.
Step 2: Gather Your Supplies
Once your plan is ready, it’s time to collect the tools and equipment for your irrigation system. Here’s what you’ll need:
- PVC or Polyethylene Pipe: These act as the system’s veins, carrying water throughout your yard.
- Sprinkler Heads or Drip Emitters: Customizable to suit different watering needs. Rotating, fixed, and pop-up sprinklers serve different purposes.
- Valves: Control the flow of water to various sections of your yard.
- Timer/Controller: Automates the watering schedule for efficiency.
- Backflow Preventer: Protects your clean water supply from contamination.
- Trenching Tools: A spade or trenching shovel to create paths for your pipes.
Pro Tip: Purchase extra parts in case you need replacements during the installation process.
Step 3: Installing the System
Now comes the hands-on part! Stay patient and methodical as you move through each step to ensure everything works correctly.
Lay the Pipes
- Mark the trench locations using your yard layout as a guide.
- Dig trenches 6-12 inches deep for the pipes. Use care around trees or existing utilities.
- Lay PVC or polyethylene pipes into the trenches, connecting them with fittings and elbows as needed to create a complete circuit.
Install Sprinklers or Drip Emitters
For sprinklers, attach the heads to risers connected to the main line. Ensure the sprinklers are leveled to the surface. For drip systems, place emitters or drip hoses near the base of each plant or row of your garden.
Add Valves and Connect the Controller
Install valves at the start of the system to manage water flow to each zone. Connect the valves to the control box, then program the timer for your desired watering schedule.
Test the System
Turn on the water and run the entire system. Check for leaks, uneven water distribution, or any areas left dry. Make necessary adjustments to the sprinkler heads or drip emitters to fine-tune coverage.
Fill and Cover Trenches
Once you’re satisfied with the system’s performance, fill in the trenches with soil and clean up the area.
Step 4: Maintenance for Longevity
A well-installed irrigation system still requires occasional upkeep to maintain efficiency:
- Regular Inspections: Check for leaks, clogs, or misaligned sprinkler heads quarterly.
- Seasonal Adjustments: Adjust watering schedules based on the weather or growing seasons.
- Winterization: If you live in a cold climate, drain the system before the first frost to prevent freeze damage.
Red Flags to Watch Out For
Even with careful planning, some issues may arise during or after installation. Here are common problems and solutions:
- Uneven Coverage: Adjust sprinkler head angles or add extra heads as needed.
- Low Water Pressure: Ensure your system isn’t overloaded by reducing the number of sprinklers per zone.
- Leaks: Repair damaged pipes or fittings immediately to avoid wasted water and soil erosion.
Bring Your Yard to Life Today
Irrigation system installation may seem daunting, but with proper planning and some effort, it pays off with a thriving, vibrant yard. Whether you’re refreshing your garden or transforming a large lawn, the satisfaction of an efficient and effective watering system is unbeatable.
Looking for more tips or assistance? Contact a local irrigation professional or landscaping expert to help you design a system tailored to your needs.


