
How Small Ecommerce Sellers Can Prepare Product Photos in Batches

A supplier sends 24 photos for a new range of glass bottles. Some show the bottles against a cluttered workbench. Others have clean backgrounds but blurry labels. One photo shows an older cap that the supplier no longer ships.
Putting all 24 images through the same edit would save a few clicks and create a bigger review job. The workbench can go. A slightly soft image might be usable after enhancement. The old cap makes that photo unsuitable for the listing, however sharp it looks.
Batch product photo editing works best when the team groups images by the problem they need to solve. The following fictional example shows how a small ecommerce seller can turn a mixed supplier folder into a consistent set of listing images without losing details shoppers need.
Sort the Supplier Photos Before Editing
Open the supplier folder beside the current product specifications. Match each photo to a SKU, bottle size, and cap style. Keep the source files intact and give the working copies names that identify the product and view, such as B250-front and B250-cap-detail. Two nearly identical bottles are easy to swap once their backgrounds are gone.
Next, sort by the action each image needs:
| What you see | What to do |
| The correct bottle is sharp, but the background is cluttered | Add it to the background removal batch. |
| The bottle and cap match the SKU, but the image looks slightly soft | Set it aside for enhancement and comparison with the source. |
| The cap is outdated, the label is unreadable, or part of the bottle is cut off | Request a better source image or reshoot the product. |
| The photo already shows the correct product clearly against a suitable background | Keep it as a reference for framing and color. |
If one image has both a messy background and slight blur, keep a copy after each edit. That makes it easier to tell whether a damaged edge came from the cutout or became more obvious during enhancement.
Test a Glass Bottle Before Removing Backgrounds in Bulk
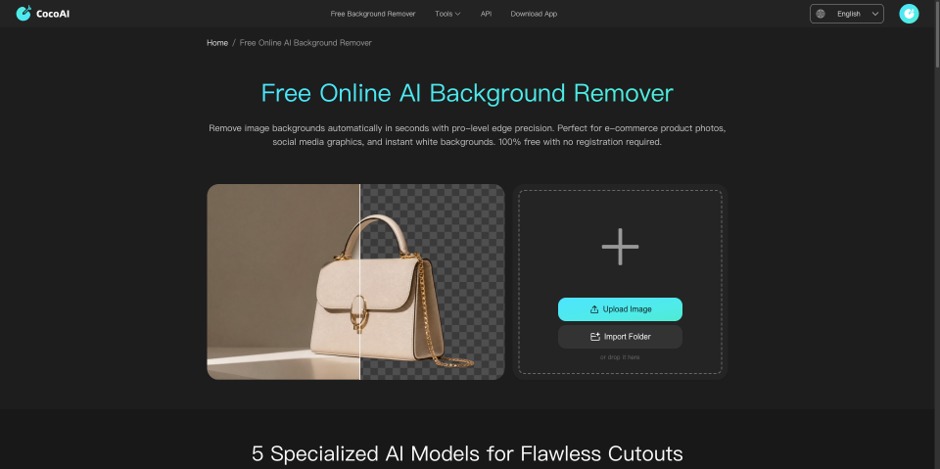
Start with one clear bottle and one tinted bottle. Pick at least one photo with an edge that’s hard to separate from the background, such as a narrow glass rim or a transparent shoulder against a cluttered workbench. If you test only the easiest photos, you won’t know which ones need a closer look before you process the whole catalog.
CocoAI’s background remover lets you export a transparent PNG or replace the background with white or a custom color. Free users can process up to 10 images per batch, run unlimited batches, and export watermark-free results at up to 4K. AI MAX members can upload up to 50 images per batch.
Once the test images look right, group photos that need the same dimensions and background. You can apply both settings to the whole batch at once, for example by using the Amazon white-background template for a set of front-facing product shots. Keep cap and label close-ups in a separate group if they need a tighter crop.
Check the transparent cutouts on both light and dark backgrounds. A pale halo can disappear on white and stand out against charcoal. For clear glass, look through the shoulder and sidewalls: can you still see traces of the old workbench, or has the glass turned into a solid patch? A clean outline is only half the job when the material itself is transparent.
If a photo still shows traces of the old background, take it out of the batch. Reshooting that bottle against a plain backdrop is often quicker than trying to hide the problem with a different background color.
Enhance Only the Product Photos That Need It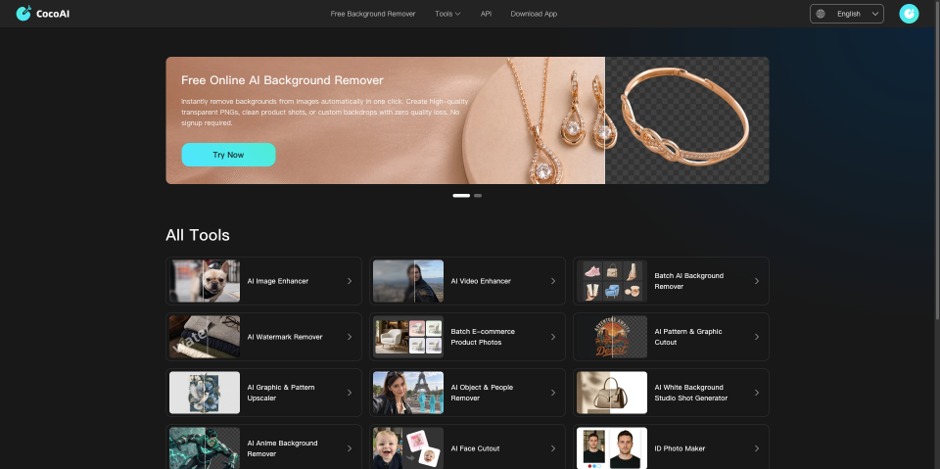
A slightly blurry photo is worth enhancing if the key product details are still visible in the original. Start with one image and decide what needs to improve: a sharper cap edge, a clearer bottle outline, or a label that’s easier to read at the size shoppers will see.
CocoAI’s photo enhancer supports image enhancement and upscaling up to 4K. Its built-in before-and-after comparison lets you check the enhanced image directly against the original without opening a separate editor. Free users have a daily image enhancement allowance, while members can enhance up to 20 images per batch. Test one photo first, then batch only the images that need the same kind of improvement.
Use the comparison to check whether the edit makes important details easier to see without changing them. Review the image at its intended listing size, then zoom in on the label. If a capacity marking looks sharper but no longer matches the original photo or the approved label artwork, reject the edit. If you can’t verify the marking, use a clearer source photo.
Review the Photos as a Product Listing
An image can pass on its own and still look wrong beside the rest of the gallery. Put the main images next to each other in a test layout and check them at mobile thumbnail size. Compare the space above the caps, the position of the bottle bases, and the apparent scale across sizes. If a 250 mL bottle looks larger than its 500 mL counterpart because of the crop, adjust the framing or use a separate comparison image that makes the size difference clear.
Keep one export for the listing and, where useful, a transparent PNG for future banners or campaign graphics. Check the destination’s image requirements before exporting. The largest file is rarely the right default for every placement.
For the next shipment of supplier photos, note which images passed the first review, which needed individual edits, and which had to be replaced. If most rejections came from old packaging or unreadable labels, revise the supplier photo instructions before spending more time on editing.
Frequently Asked Questions
Should I remove the background or enhance the image first?
If the product is sharp and the background is the only problem, remove the background first. If softness makes the edge hard to distinguish, try enhancing one source photo before cutting it out, then compare the result with a cutout made from the original.
Can I use a 4K export when the original label is unreadable?
Don’t use the enhanced image as evidence of what the label says. Verify the wording against approved artwork or the physical product. If you can’t confirm the details, use a clearer source photo.
What should I check when removing the background from glass?
Inspect the rim, the translucent areas, and any reflections that reveal the old background. Try the cutout on two contrasting backgrounds before approving it for the listing.






Comment