To make your own custom Mylar bags, start with blank Mylar pouches or film, design your artwork, and apply it using printed labels or direct printing. Fill the bag with your product, then use a heat sealer to create an airtight seal. For food storage, you can add oxygen absorbers before sealing to extend freshness.
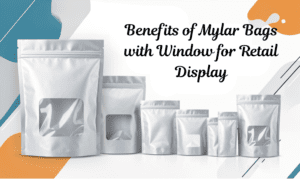
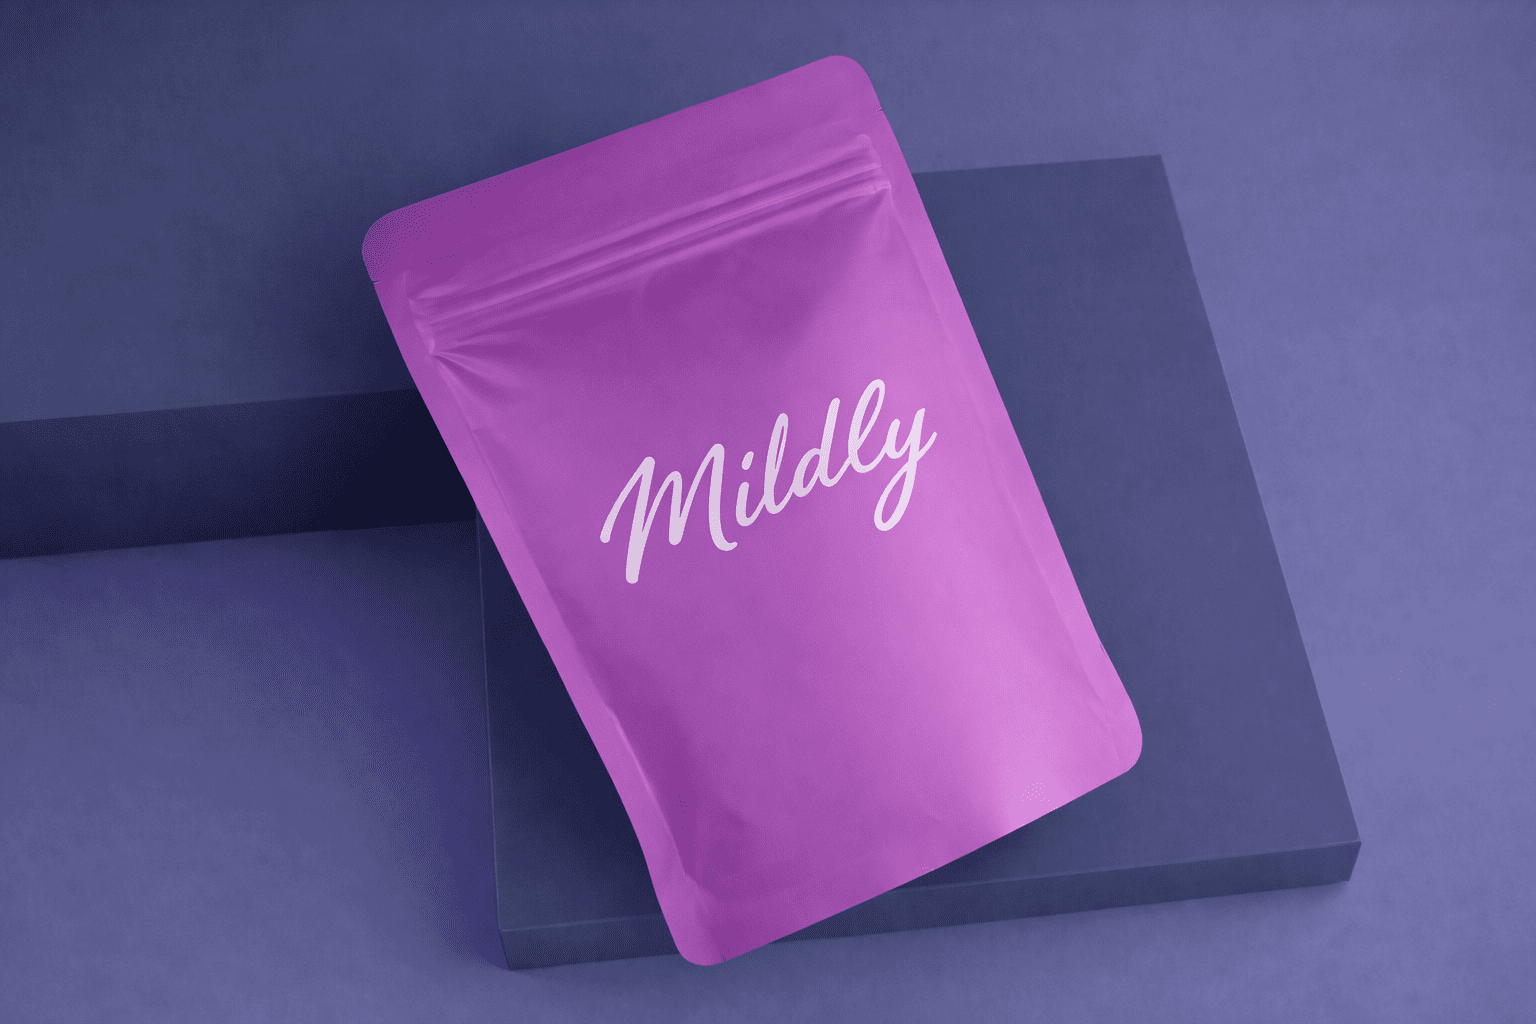
Custom Mylar bags are an excellent means of packaging products for businesses, artists and hobbyists who want a well-defined visual brand along with air-tight protection. These types of high-barrier pouches are ideal for all types of products, including snack food, coffee, cosmetics and a variety of small retail items. Mylar bags keep products fresh, and provide a billboard for displaying products on retail shelves. The good news is that anybody with the proper materials, minimum factory requirements, as well as engineered design and sealing techniques may produce very professional custom Mylar bags in small quantities.
Learn About the Composition of Mylar Bags
Mylar is often referred to as a polyester film material (commonly made of polyethylene terephthalate (PET) material) that typically has been laminated with additional layers of materials including aluminum foil, and/or polyethylene. The layering of the various materials in a Mylar bag make it strong, puncture-resistant and able to contain odors & moisture. Foil on the outside of the bag is usually printable, the middle layer of the film prevents light and oxygen from entering the bag, and the inner layer of the film allows the bag to be sealed with heat.
Understanding the materials used in making Mylar bags is important because they all affect how you design and construct your Mylar bags. For example, multiple layers of film will provide superior protection than single-layer film. When using an increase in the layers of a Mylar bag, you will need to apply more heat to the film in order to properly seal the bag. If you need to store food in the Mylar bag, then you will need to use film that has been rated for food contact and long-term food storage.
Gather the Proper Materials And Supplies
Prior to producing a custom Mylar bag, you need to have at least 3 main components gathered and on hand. The main components or materials that comprise your custom Mylar bags will greatly affect how durable and professional looking that the custom Mylar bags become.Some key components are used in the creation of custom packaging. This includes blank mylar pouches or rolls of film, a heat source to seal the bags and tools to cut the bags such as scissors or rotary cutter as well as a ruler or measuring guide and labels, or stickers (if applicable). This is the equipment you will need to create your packaging.
If you were to make bags from flat film instead of purchasing pre-made bags, you will also need a sealing surface to make side seams; many small operations start with a plain stand-up bag because they can be more easily cut using minimal equipment.
Design & Branding for Mylar Packaging
Branding converts a plain storage bag into an original package with your label and logo on it. First, determine your bag’s printable area, measure your front panel and allow for seams and/or zippers and/or tear notches when measuring.
Your design should include the following:
- Your logo and brand name,
- Product name,
- Required information (i.e., ingredients or warning labels),
- Net weight/quantity of product,
If you are selling your product to consumers the necessary regulatory information must be printed on your packaging.
To ensure your graphics remain sharp on any size of packaging, please use a vector design software application. High contrast colors and simple typography are usually printed the best on flexible packaging. If you desire to create a more professional appearance, consider using either matte finishes, metallic foils, or spot gloss effects, when applying a label to the bag.
Transfer your Graphics to the Bags.
There are multiple methods available for transferring your graphic(s) to the mylar film; please consider what method(s) would be cost-effective for your operation or business, based on your budget and quantity needed.
- Adhesive Labels:
The easiest way to create product packaging is by printing professional quality adhesive labels and placing them on a blank bag. This method is ideal for small quantities and product testing.
- Direct Printing:
More experienced users can print directly to a film that is designed for printing, that is compatible with their equipment. This process eliminates the “label” look and requires more precision than using an adhesive label.
- Heat Transfer Method:
There are some creative methods (such as heat transfer to vinyl or sublimation) that can also be used; however, these techniques are not very common for barrier packaging, and may require some experimentation.
Professionally printed labels for the majority of small businesses will provide the best balance of cost, speed, and appearance.
Sealing and Assembling Bags
After you have applied your design, add the product to the pouch and properly seal the product. It is important to use heat seals because they create an airtight barrier that keeps the Mylar packaging products fresh and safe from spoilage.
A few steps to properly seal your product are:
- Make sure the area for sealing is clean, with no debris hanging from the seal area.
- If it is for food storage, place oxygen absorbers in the bag.
- Place the opening of the bag flat down inside the heat sealer.
- Gentle pressure should be used on the bag for the specified sealing time.
- Allowing the seal to cool down before handling is advisable.
The finished seal should look consistent, without gaps or wrinkles. One way to test the quality of the seal, is to take both ends of the seal and pull them apart. If the seal pulls apart easily, increase the time or heat used.
Adding Professional Touches
The small details can really add to the perception of quality and reliability of your custom Mylar bags. Some things to consider would be:
- Retail display hang holes
- Tear notches
- Resealable zippers
- Batch numbers or date codes
- Tamper-evident seals
Adding these features to your custom Mylar bags, will give your customers a signal of reliability, quality, and safety even if you are making the bags by hand yourselves.
Testing Before Large-Scale Production
After testing your seal and assembling your bags, it is important to test your bags in real life conditions before you create a large amount of bags. Store your bags for several days or weeks to check if they continue to hold air and freshness of your products. It is also important to check if there are any issues with delamination, fading, or label adhesion.
When to Move to Professional Production
Creating your own Mylar bags is a great option when creating a new product, limited edition packaging, or small product testing runs. However, as your orders grow, you may not be able to produce your bags using manual methods. Using a professional company to manufacture your bags will allow you to create professionally printed, specialized finished, less expensive reverse printing, and provide consistency in the quality of thousands of bags.
Creating your own Mylar bags first, will provide you with valuable knowledge in sizing, materials and designs for your first large order.
Custom Mylar bags can be made by sourcing plain pouches, adding your branding with stickers or printable film, and sealing the top with a heat sealer. Choose thick, multi-layer bags for better protection and test the seal to ensure it is airtight. This method works well for small batches, samples, or startup packaging.