Learn how broach metalworkingdelivers unmatched precision for internal shapes. Get expert tips on tool selection, SFPM parameters, and surface finish.
Want to achieve perfect internal keyways or splines in seconds? You’ve probably seen high-speed CNC milling, but nothing matches the raw efficiency of broach metalworking. In this guide, I’ll show you why top-tier manufacturers rely on this process for high-volume precision.
We’ve integrated these exact techniques at Baosheng Industry to cut cycle times by 40%. You’re about to learn the specific parameters, tool types, and common pitfalls to avoid when scaling your metal components using professional broach metalworking standards.
Internal vs. External Broaching: The Real-World Choice
Most people think broaching is only for internal holes, but that’s a rookie mistake. The choice depends entirely on your part’s geometry and the structural integrity of the material.
- Internal BroachingStarting with a pilot hole is non-negotiable. The broach tool enters and finishes the shape—be it a square, hex, or spline—in one single pass. It’s the go-to for gear hubs and steering components.
- External (Surface) BroachingThis is where you remove material from the outside surface of a workpiece. Think of it as a super-powered planer. It’s exceptionally fast for flat surfaces or contoured slots on heavy-duty castings.
The “Sweet Spot” for Cutting Speeds
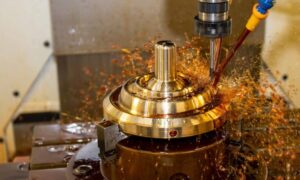
Surface finish isn’t just about the tool; it’s about the physics of the cut. If you go too slow, you get “chatter”; too fast, and you’ll burn the teeth.
- Steel Alloys:10–25 SFPM (Surface Feet Per Minute).
- Aluminum & Brass:30–50 SFPM.
- Stainless Steel:Drop to 5–10 SFPM and use high-sulfur cutting oil.
Never skip the lubricant. For high-volume runs, a flood coolant system is essential to wash away chips instantly. If chips get trapped between the teeth and the workpiece, you’ll end up with gouges that ruin the tolerance.
DFM: Designing Parts for the Broach
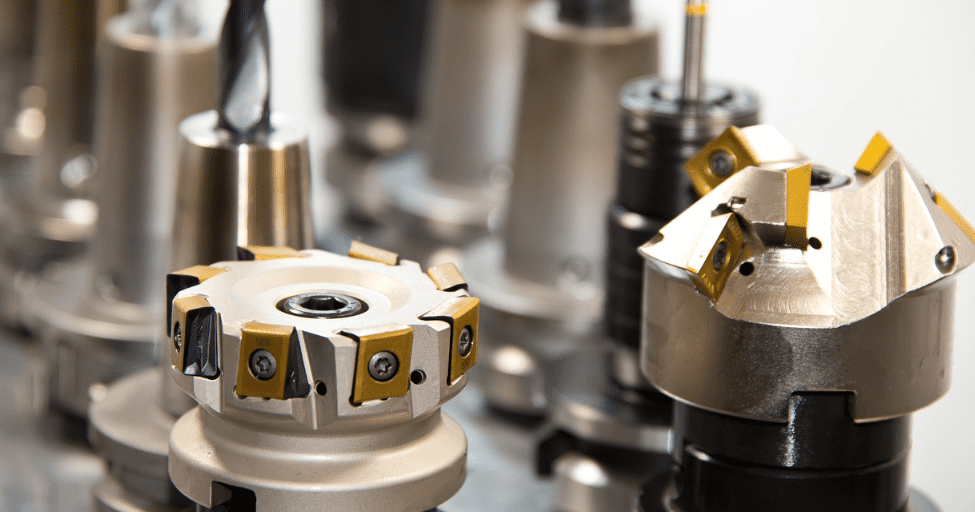
To get the most out of broach metalworking, your part design must accommodate the tool’s movement.
First, always include a “chip relief” or a recess if the broach doesn’t pass completely through the part. Second, maintain a minimum of two to three teeth in contact with the workpiece at all times. This prevents the tool from “dropping” into the cut, which causes jagged edges and premature tool wear.
Avoiding the “Tooth Breakage” Trap
The most expensive mistake in broaching is snapping a custom-made tool. This usually happens because of “chip packing.”
Every broach tooth has a specific chip space (the gullet). If you try to take too deep a cut on a material that produces long, stringy chips, the gullet fills up. The pressure builds until snap—there goes a $2,000 tool. Always ensure the “rise per tooth” is calibrated to your material’s hardness. For hardened steel, a smaller rise with more teeth is the safest play.
Why Broaching Beats Multi-Axis CNC for Volume
If you’re making 10 parts, use a CNC mill. If you’re making 10,000, broach metalworking wins every time.
The initial tool cost is higher, but the cost-per-part drops significantly because the cycle time is measured in seconds, not minutes. Plus, the surface finish (often reaching 32 micro-inches or better) frequently eliminates the need for secondary grinding operations.
Get Precision Right
Broach metalworking remains one of the fastest ways to achieve complex geometries with extreme repeatability. Whether you are designing aerospace fasteners or automotive gears, matching the right tool type to your material is the key to a flawless production run.