3D printing continues to advance rapidly, and expectations for fast, reliable prints are higher than ever. Whether you’re a hobbyist, rapid-prototype designer, or running a small production workflow, reducing print time without losing functionality is essential. Prusa Slicer’s Fast Mode provides a strong foundation, but real efficiency comes from understanding how to enhance it.
Let’s explain how Fast Mode works, why it matters, and the best proven techniques to minimize print duration safely while maintaining print integrity.
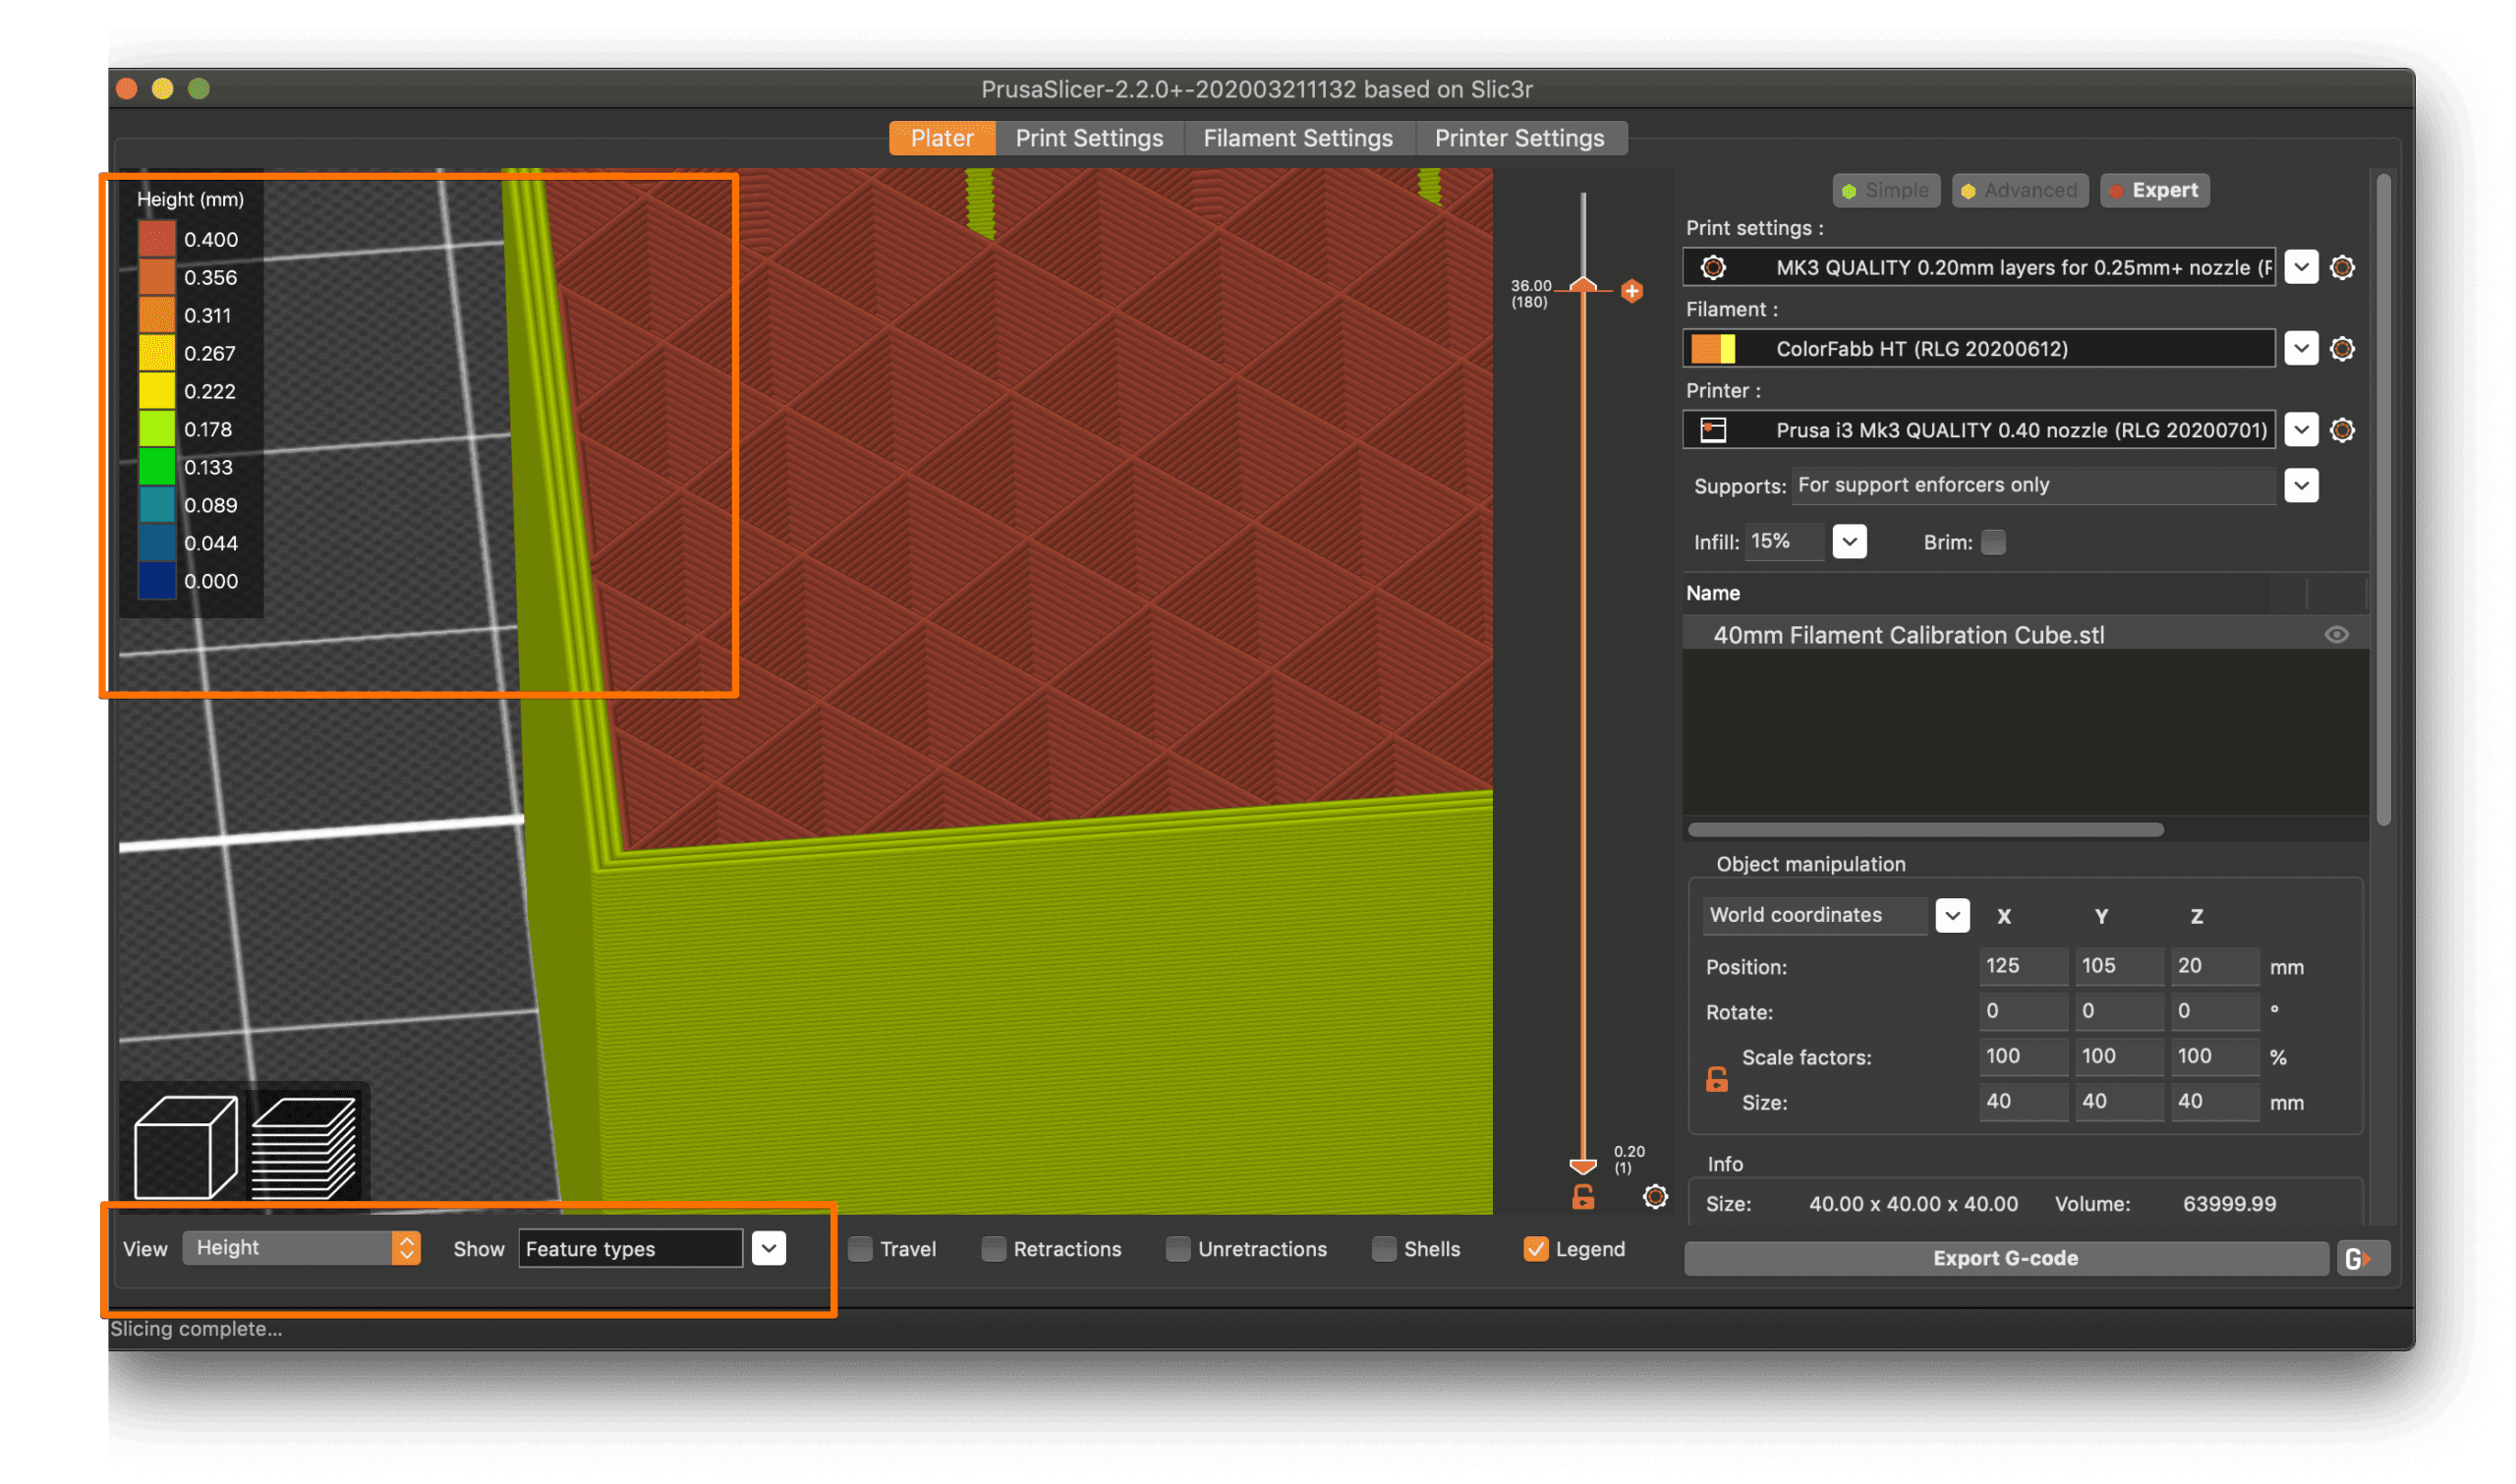
What Is Fast Mode in PrusaSlicer?
Fast Mode is a preset developed to shorten print durations by modifying:
- Layer height
- Speeds for perimeters, infill, and travel
- Line widths
- Cooling behavior
- Acceleration and jerk (depending on firmware)
Fast Mode is ideal for functional prototypes, testing geometries, and situations where speed outweighs visual precision.
But Fast Mode alone won’t deliver maximum reduction, you must optimize orientation, infill strategy, perimeters, and layer logic.Moreover you must have know how to fix if prusa slicer is not working properly.
How to Reduce Print Time Using PrusaSlicer Fast Mode?
Below are the most effective, real-world methods used by advanced PrusaSlicer users to achieve faster print times without compromising structural reliability.
1. Increase Layer Height Strategically
Fast Mode typically uses 0.20–0.30 mm. You can push further depending on the printer:
- MK3 / Mini: 0.28–0.32 mm
- MK4: up to 0.24 mm with high-flow nozzles
Higher layers = fewer layers = shorter print time.
Use this approach for straight walls and functional parts where surface detail is not critical.
2. Increase Line Width for Faster Coverage
Wider extrusion lines cover more area with fewer passes.
Recommended adjustments:
- Perimeters: 0.48–0.52 mm
- Infill: up to 0.60 mm
This reduces printing passes, improves adhesion, and shortens overall print time.
3. Choose Faster Infill Patterns
Some infills are slow by design. Avoid complex patterns like gyroid or honeycomb when speed is your priority.
Use these instead:
- Lines (zig-zag)
- Rectilinear
- Grid
For prototypes, 5–10% infill is usually enough.
4. Reduce Top, Bottom, and Perimeter Counts
Solid layers significantly increase time because they require dense, slow printing.
For faster prints:
- Top Layers: reduce from 3 to 2
- Bottom Layers: reduce from 3 to 2
- Perimeters: 2–3 are usually enough
This alone can cut total print time by 20–35%.
5. Increase Infill and Travel Speeds
Fast Mode increases speeds automatically, but you can tune further:
- Perimeters: 60–80 mm/s
- Infill: 120–150 mm/s
- Travel: 180–200 mm/s
Ensure your printer frame and firmware can handle higher accelerations.
6. Optimize Travel Behavior
Avoiding unnecessary travel paths reduces both time and stringing.
Two strategies:
- Enable “Avoid crossing perimeters” for reduced stringing
- Disable it if the model is simple to allow faster direct travel
Experiment per model for best results.
7. Adjust Cooling for High-Speed Conditions
Cooling impacts extrusion efficiency and top-layer smoothness.
Optimal settings:
- PLA: 70–100% fan
- PETG: moderate cooling to avoid brittleness
Cooling that is too high can cause poor adhesion; too low can cause sagging.
8. Use Variable Layer Height for Smart Optimization
PrusaSlicer allows automatic detection of curved vs straight areas.
Benefits:
- Thick layers on vertical surfaces reduce total print time
- Thin layers only where detail is required
This produces a “high-detail where needed” model without long print durations.
9. Orient the Model to Reduce Z-Height
Z-axis movement is the slowest component of 3D printing.
Whenever possible:
- Lay models down to reduce height
- Rotate cylindrical parts horizontally
- Identify angles that eliminate supports
Lower Z height = fewer layers = dramatically faster prints.
10. Reduce Supports Whenever Possible
Supports drastically slow a print due to extra layers and material.
Use the following techniques:
- Support blockers
- “Support on build plate only”
- Model re-orientation
- Chamfers to replace bridging areas
Less support = faster and cleaner prints.
When Should You Avoid Fast Mode?
Fast Mode is highly effective for rapid prototyping, but there are several situations where it can compromise quality, dimensional accuracy, or mechanical reliability. Avoid Fast Mode in the following cases:
Miniatures
Small-scale models with fine geometric details require thinner layers and slower speeds to preserve accuracy. Fast Mode’s thicker layers can blur facial features, textures, and sharp edges, resulting in a loss of definition.
Mechanical Parts with Tight Tolerances
Functional components such as gears, housings, brackets, and interlocking pieces depend on precise dimensional accuracy. High-speed printing increases vibration and can slightly distort dimensions, making such parts unreliable or incompatible.
Models Requiring Perfect Surface Finish
Showcase models, product prototypes, or prints intended for painting need smooth, consistent surfaces. Fast Mode’s larger layer height produces visible stepping and may require extensive post-processing.
Threads, Snap-Fits, or Press-Fits
Mechanical joints depend heavily on exact geometry. Fast Mode can soften edges and alter small profile features, causing threads to bind or snap-fits to lose their locking strength or become too tight.
Highly Detailed Curved Models
Organic shapes and sculpted surfaces display imperfections more easily at high layer heights. Fast Mode may introduce banding, stepped curves, and visible artifacts, reducing the visual appeal of artistic or sculptural prints.
For all of these scenarios, use 0.12–0.16 mm layer height profiles to preserve sharp detail, accurate dimensions, and optimal surface finish.
Final Thoughts
PrusaSlicer Fast Mode is one of the most efficient and reliable ways to reduce print time on Prusa hardware. While not the fastest among all slicer ecosystems, it offers exceptional stability, predictable extrusion, and powerful customization. With the optimizations outlined in this guide, you can reduce print duration by up to half while maintaining structural performance.
FAQs
How much time can Fast Mode actually save?
Most users see a reduction of 30–60% in print time, depending on the model’s height, infill density, and complexity.
What layer height should I use for Fast Mode?
Layer heights around 0.28–0.32 mm work well for speed-focused printing. These heights significantly reduce the total number of layers while still keeping the print strong enough for testing and functional use.
Why does orientation matter when using Fast Mode?
The model’s height (Z-axis) directly determines the number of layers. Reducing Z height by tilting or laying the model flat can cut hours off the print time.
Can increasing speed cause mechanical issues with my printer?
It can, especially on older or less rigid printers. High-speed movements increase vibration, which may cause ringing, layer shifts, or loss of detail. Always increase speeds gradually and avoid exceeding the printer’s acceleration limits.
Is Fast Mode safe to use for mechanical or moving parts?
Usually no. Parts with tight tolerances, like gears, hinges, or snap-fit joints, require precise dimensions. Fast Mode may round off corners or alter fine details, causing poor fit. Use a standard or fine quality profile instead.
What is the best infill pattern for reducing print time?
The fastest options are Lines (zig-zag) and Grid because they require minimal nozzle movement and print extremely quickly.
Do I need a special nozzle for Fast Mode?
Not necessarily, but larger nozzles (0.6 mm or above) can make Fast Mode significantly faster while keeping the print sturdy.