Digital cameras and mobile devices let you take pictures and save them as RAW files. A RAW image file is an uncompressed, unprocessed “digital negative” of the photo taken by the camera’s image sensor. It preserves 100% of the photo’s original detail and data without changing or modifying anything. That is why photographers and graphic designers prefer RAW photo files. The quality transfers much better to print, graphics, advertisements, and other creative projects.
Recovering Deleted RAW Photos from a Memory Card
Most people save their RAW image files to memory cards, such as SD and microSD cards, because they offer more storage than the internal storage capacity of digital cameras and mobile devices. After all, RAW files are incredibly larger files than common image formats like JPG, JPEG, and GIF.
What if you accidentally delete the RAW photos from a memory card? It happens all the time when people are organizing their RAW image files. The common assumption is that the files are lost forever. Well, fortunately, they are not.
Below is a list of methods to recover deleted photos in RAW file format from your memory card.
1) Stop Using the Memory Card
Deleting files on a memory card doesn’t mean they are gone forever. In most cases, the data representing those files still exists on the card. The only thing the delete function does is tell the file system to allow new files to overwrite the data sectors where the old data files are stored. Until you save new files to the memory card, the old data will remain in those sectors because it has not been overwritten yet.
Therefore, the first thing you must do is stop using the memory card. Do not save or delete anything else on the card. That will preserve the hidden RAW photo data on the card, giving you a good chance of recovering it.
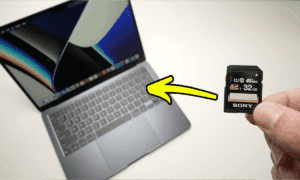
2) Connect the Card to a Computer
The next step is to connect the memory card to your computer. If it is still in the digital camera or mobile device, remove it and connect it to your computer.
Most computers made within the last five years have a built-in SD card slot. If your computer doesn’t have an SD card slot or a compatible slot for your memory card, you will need to buy a USB adapter.
For instance, you can find SD card readers with USB support on Amazon or at any electronics store. Once you have the card reader, slide the memory card into the reader, then plug the USB end into your computer. That will allow you to access the memory card’s files and folders in a window on your computer.
3) Choose a Quality SD Card Recovery Tool
Search for a reliable SD card recovery software program like Disk Drill from Clever Files. It is a special tool designed to find lost or deleted files on many types of memory cards, such as SD Card, SDHC Card, microSD Card, miniSD Card, MMC Card, xD Picture Card and CF Card.
Disk Drill is available for Mac and PCs. Download and install the most compatible version of the tool onto your computer. Start running the software after you have installed it.
4) Search for the Lost Data
Now that you have Disk Drill running on your computer, select your connected memory card from the disk list in the window. Once it is selected, click on the button labeled “Search for Lost Data.” You may need to wait a few minutes for the tool to search through all the lost data information.
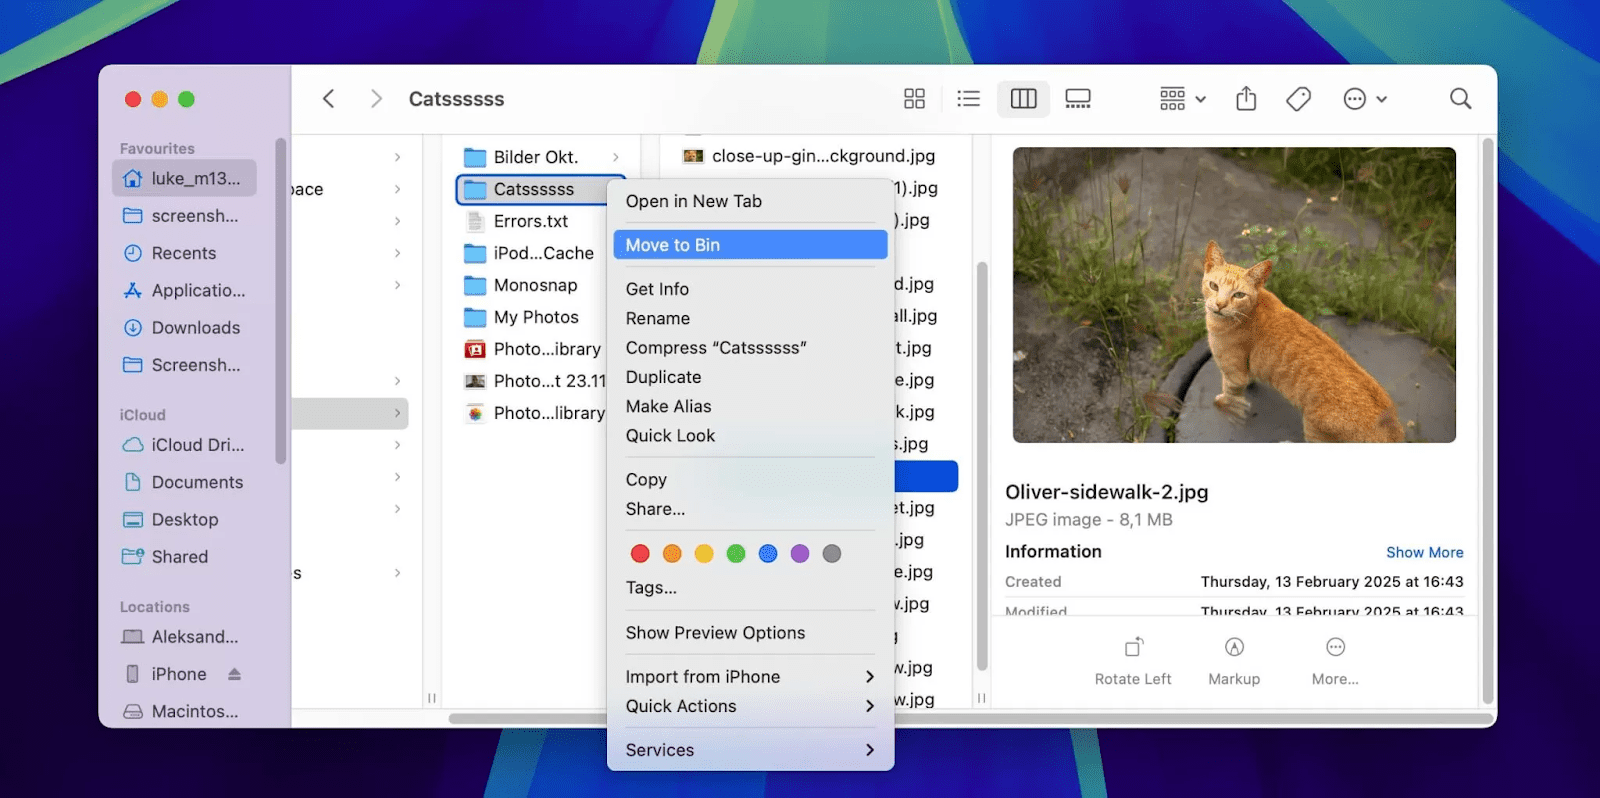
5) Preview the Photos
When the search for lost data is over, you will see a list of recoverable files and folders in the preview section of the window. Go to the folder where you saved your RAW files. Once you see the RAW photo file names, click any one to preview what it looks like. You will see the preview image come up on the right-hand side of the window.
6) Recover the Photos
Check the box next to each RAW photo file listing that you wish to recover. After you have checked all the boxes, click on the “RECOVER” button. The tool will ask you where you want to save the files. Choose a storage location separate from your memory card, such as your computer’s internal hard drive or an external USB hard drive.
The tool will begin retrieving all the RAW photo files that you have selected. You may need to wait several minutes for this process to complete. All the files will be saved to the storage location you chose.
Additional Tips and Suggestions
Have you recovered your RAW photo files? If so, you can have peace of mind in knowing that you did not lose your precious RAW files forever. Now all you need to do is take steps to ensure you never risk losing those files again.
Here are some helpful tips and suggestions moving forward:
1) Back Up Your RAW Photo Files
It is best to back up your RAW photo files by saving them to multiple storage locations. Some ideal backup locations include cloud storage, an external HDD, an external SSD, a USB flash drive, or another memory card. That way, if you accidentally delete the RAW photo files again, you will still have backup locations to retrieve them quickly.
2) Automated Photo Backup to Cloud
There are cloud backup solutions like iCloud (for iOS devices) and Google Photos (for Android devices) that automatically upload newly taken photos to your cloud account. It is just one more way to back up your photos without having to do it manually.
3) Organize Before Delete
Get in the habit of organizing the photo libraries on your memory card. Don’t delete a large RAW file just because it takes up too much space on your memory card. Instead, your first instinct should be to transfer it to another storage location. Then, you can delete it from your memory card if necessary.
Conclusion
Recovering deleted RAW photos from a memory card is easy. All you need is the right software program to make it happen. Disk Drill for Windows and Mac is highly recommended for its speed, free pricing, and convenience.