Fresh paint, fitted wardrobes, new tiles—the upgrade looks amazing until sunlight hits the air and you see that tell-tale haze. Post-renovation dust is ultra-fine, settles in tracks and vents, and keeps reappearing if you treat it like ordinary dirt. Here’s how to remove it properly, protect finishes, and stop the endless cycle of re-cleaning. For a clear, construction-aware checklist and fast booking, start with Cleaning service Dubai and request a post-reno scope.
Why Construction Dust Is Different (and Easy to Spread)
Sanding, grinding, and drilling generate micro-particles that a standard cloth smears. Those particles lodge inside window and balcony tracks, A/C grilles, extractor fans, door frames, and ledges. Every time the A/C kicks on or you open a slider, they fall back to freshly mopped floors and glossy furniture.
Renovations also leave residue on “new” surfaces: haze on tiles, fine grit on freshly painted skirtings, dust in cabinet corners, and cloudy film on glass. Kitchens pick up micro-grease and silica from cutting; bathrooms collect powder in grout lines and silicone edges. If you go straight to wet mopping, you create a dusty slurry that dries streaky and traps grit in grout.
Proper removal follows a sequence: first, HEPA vacuum, then microfiber dusting from high to low, and finally, targeted wet work with surface-appropriate solutions. This locks particles away before moisture hits them.
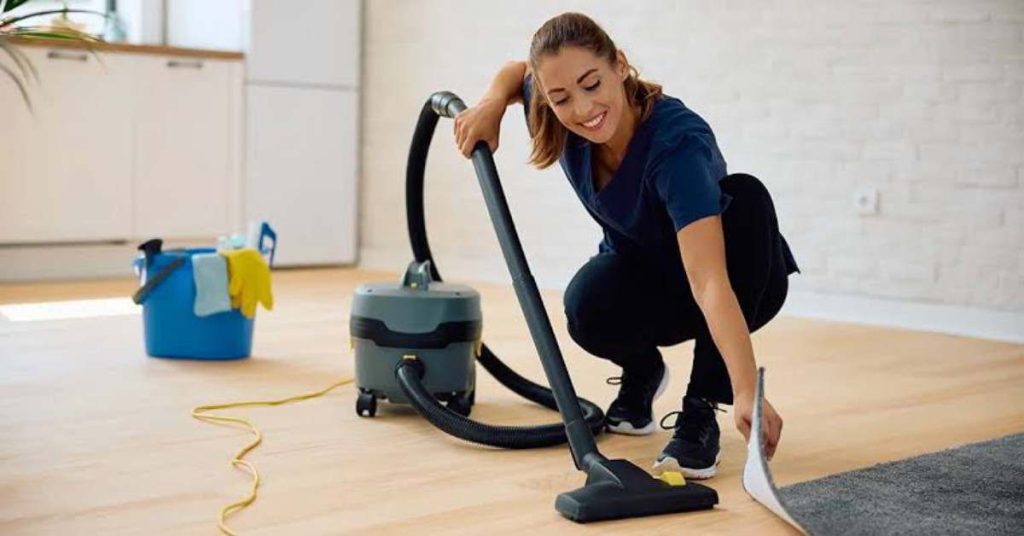
A Step-by-Step Plan That Clears the Air
- HEPA edge vacuuming — Before any wiping, use a true HEPA vacuum with crevice tools on skirtings, corners, wardrobe tops, door frames, vents, and ledges. Vacuum window and balcony tracks thoroughly; brush first if caked.
- High-to-low microfiber dusting — Lights, fan blades, A/C grilles, frames, shelves, then surfaces. Microfiber traps fine dust; avoid feather dusters that recirculate it.
- Glass and partitions — Use a two-towel method: one damp microfiber to lift residue, one dry to polish. Replace cloths frequently; saturated cloths just smear.
- Kitchen detail — Degrease hob and hood edges; wipe cabinet fronts and new hardware; sanitize handles and the sink. If appliances were installed, pull forward carefully (if safe) to clear edges and the narrow gap where grit hides.
- Bathroom reset — Descale taps and shower glass, scrub grout in splash zones, wipe extractor grills, sanitize toilet touchpoints, and polish mirrors to remove film.
- Cabinet interiors (selective) — Vacuum crumbs and dust from corners, then wipe and dry shelves. Don’t trap moisture by closing doors immediately.
- Floors (two-pass method) — First pass: damp mop with frequent water changes to pick up residue. Second pass: a fresh solution to polish and remove streaks. Use a neutral pH on stone; never use acidic products on marble.
- Final checks — Re-vacuum tracks if the A/C blows dust back; run an empty dishwasher cycle if grit enters the lines; replace or clean A/C filters according to manufacturer’s guidance.
Common pitfalls: starting with wet work, skipping tracks and vents, using harsh chemicals on natural stone, and cleaning before installers are truly finished. If you need upholstery or carpet care (they trap renovation dust), add steam or shampoo by a trained tech.
For a specialist team that follows this exact sequence—and brings the right tools—book a post-renovation scope via Cleaning service Dubai. One thorough pass beats weeks of dust chasing.