With online shopping, subscription, and work-from-home on the rise, individuals are looking to find safer and more convenient methods to integrate payments. The instant virtual card is one of the best solutions currently in the business. It takes a few seconds to create these cards and can be used in the moment, and offer a safe layer of protection regarding your finances. Interested in knowing how to make one? This step-by-step tutorial will help you get started.
Step 1: Choose a Reliable Provider
Choosing an instant virtual cards provider is the initial step: a bank, fintech company, or payment mobile application. The most popular providers are Revolut, Wise, Payoneer, PayPal, Capital One, and Brex. Your decision will have to depend on your needs. As an example, freelancers may find Payoneer to send international payments, and ordinary customers may prefer Revolut or PayPal.
Step 2: Open an Account
Once you have settled on a provider, you are required to develop an account. This normally involves standard personal details like your name, email address, and phone number. Depending on the requirements of specific financial regulations, some providers may require their customers to provide more identification (usually a government-issued ID).
Step 3: Link Your Funding Source
Before you can use your virtual card, you will be required to connect it to a source of funds. It can be an existing debit or credit card, a digital wallet balance, or your bank account. Have an example, by using PayPal, your virtual card will be connected to your PayPal account balance or bank account.
Step 4: Generate Your Instant Virtual Card
After verification and topping up your account, your card can be produced instantly via the web-based and/or mobile app of your provider. The system will offer you.
- A special code of 16 digits
- Expiration date
- A CVV code
These data are used in a similar way to a physical debit or credit card.
Step 5: Customize Card Settings
A majority of providers enable you to create rules and controls on your virtual card. You may select:
- Set max spend per transaction or per day
- Limit the card to some merchants
- Create disposable cards for one-time transacting
- Stop or wipe the card whenever you want
This customization guarantees your financial stability and affords you freedom in usage.
Step 6: Start Using the Card Online
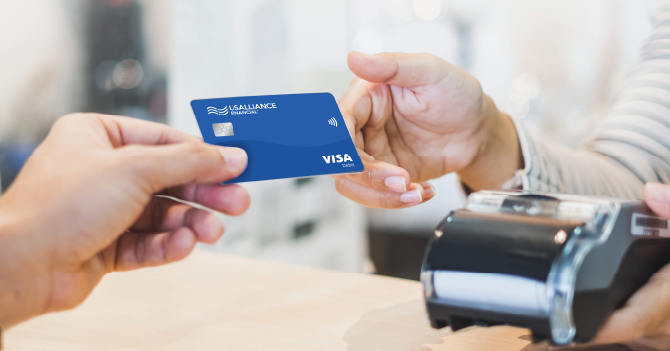
With your card now activated, you can start using it immediately to shop online, subscribe, and make payments. It can be used simply like any other card to enter card details at the time of checkout. Other suppliers even provide the possibility of connecting your virtual card to the mobile wallet Apple Pay or Google Pay to pay in stores.
Conclusion
The instant virtual card is an easy and powerful means of having ownership of the online spending. After these steps, by selecting a provider, creating an account, linking a source of funding, printing the card, and configuring the settings, you can start experiencing safer, faster, and more flexible payments.
In modern conditions of a digital-first world, access to an instant virtual card is not only convenient but also safe in terms of finances and stress-free living.