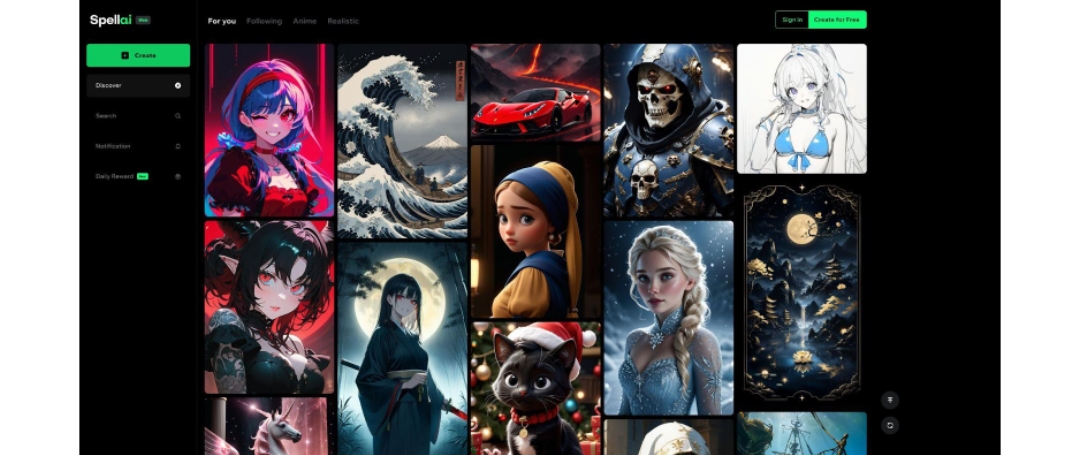
In 2025, converting an ordinary picture to a stunning art style is not only limited to skilled professionals. With the boom of AI, now anyone can transform their images into classic oil paintings or bold artistic styles. Yet, many artists still find it challenging to know how to use these powerful tools efficiently.
For your assistance, we’ll introduce a beginner-friendly photo-to-art generator along with an expert stepwise guide. Besides this, you’ll explore the benefits of using AI generators, overcoming the use of traditional art makers.
Part 1. Unlocking Creative Potential in 2025
In 2025, turning a photo into art has become more accessible due to a wide range of tools, from traditional to AI-driven Generators. Now, if you are curious to know what benefits these tools possess, then read the following points:
- Fast and Easy Art Creation: Using its one-click transformation feature, one can easily convert any photo into art with minimal input.
- Diverse Art Style: It allows users to choose the desired art style, such as oil, anime, and watercolor, from available built-in libraries.
- Cost-effective: Most of the tools offer free trials or budget-friendly options like pay-per-image to save the need to hire artists.
- Customized Results: You can fine-tune your results by adjusting settings like texture, lighting and using AI prompts.
- High-resolution Output: AI art generators support 4K or HD export formats, which are suitable for printing or digital use.
Part 2. Prerequisites and Preparation for Converting Photos to Art
Moving on, if you wonder what preparation you should do before converting a picture into art, then adhere to the following considerations:
- Select the Right AI Tool: While choosing the right AI tool, ensure that it is aligned with your goals by checking features like “Style Library” or “Custom Filters.”
- Prepare High-Quality Source Image: Before generating art, make sure that your photo is in HD format with balanced lighting, and choose the tools that support HD/UHD format.
- Decide Final Dimension and Composition: Always decide the aspect ratio for your output beforehand, like 1:1 for square pictures and 4:5 for portraits.
- Refine Your Input Image: Prior to using the art converter, ensure to edit your input picture, like removing the background or adjusting contrast, so that AI understands it better.
- Clarify Your Artistic Intent: You should always decide on your artistic style for your generated art, like “Surreal” or “Pop art,” to get more accurate results.
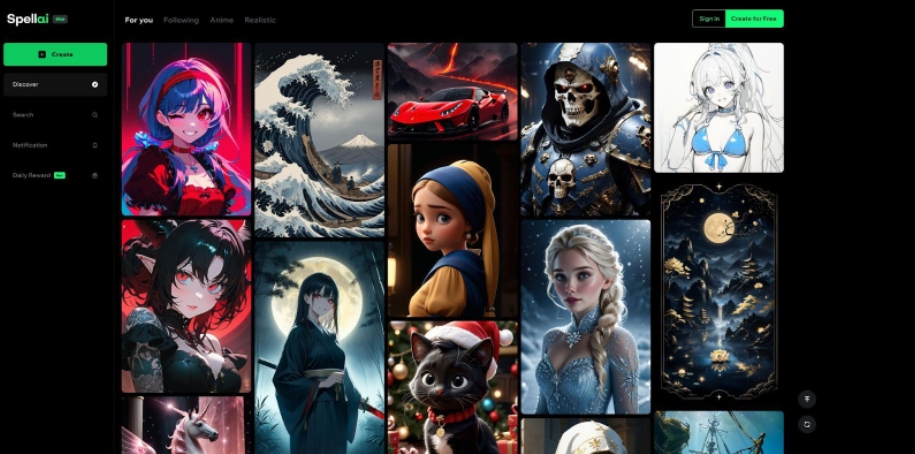
Part 3. How to Turn a Photo into Art with Spellai?
After knowing its preparations, let’s explore a detailed expert guide to turn a photo into AI art using the best available tool:
Step 1. Open a Reliable Photo Art Generator Like Spellai
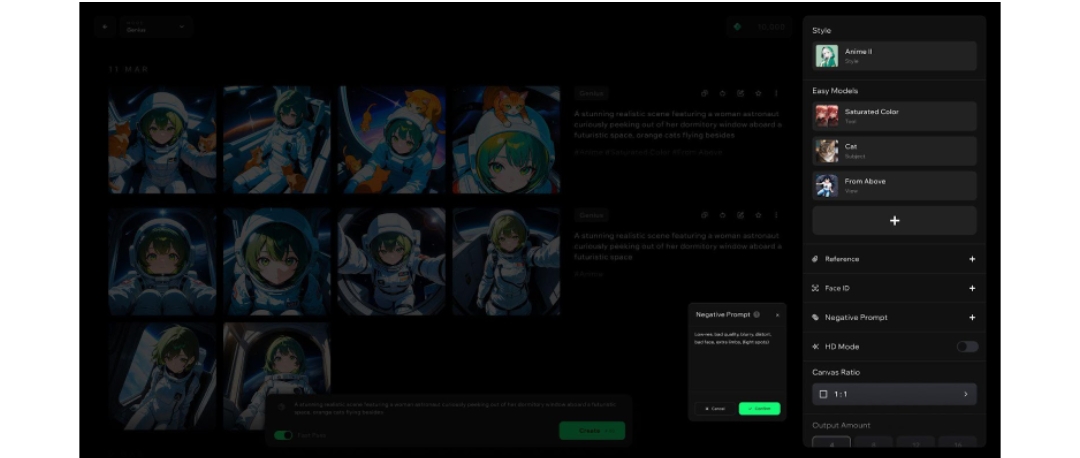
Begin by choosing the best AI tool, Spellai, which offers different modes for both professionals and beginners. This tool allows you to add a Negative Prompt to specify what you don’t want in the outcome and will enable you to adjust the canvas ratio. Moreover, you can use its Surprise Me option through which it writes the prompt to get an idea. So, after getting to know about its features, launch this tool to generate the art.
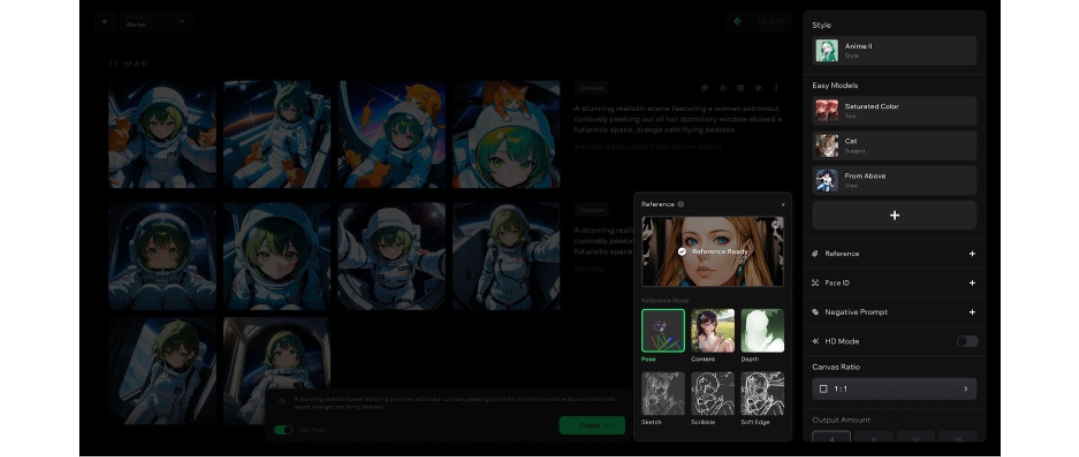
Step 2. Upload Your Pic to Spellai As a Reference In the “Content” Form
Select the “Genius” mode from the above menu, then hit the “Reference” button and click on the “Upload Pictures” option to insert the photo.
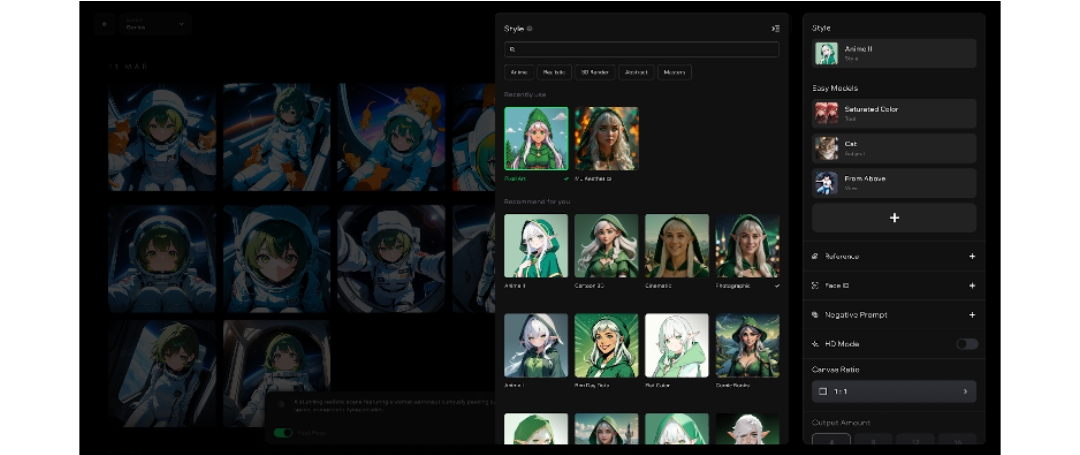
Step 3. Choose the Styles of Art Relevant to Determine the Pixel Art Style
Here, tap on the “Style” menu to select “Pixel Art” or “CG Art” style from the given options.
Step 4. Add More Easy Models and Settings To Fine-Tune Your Image
After picking the required style, choose the required model from the “Easy Models” section.
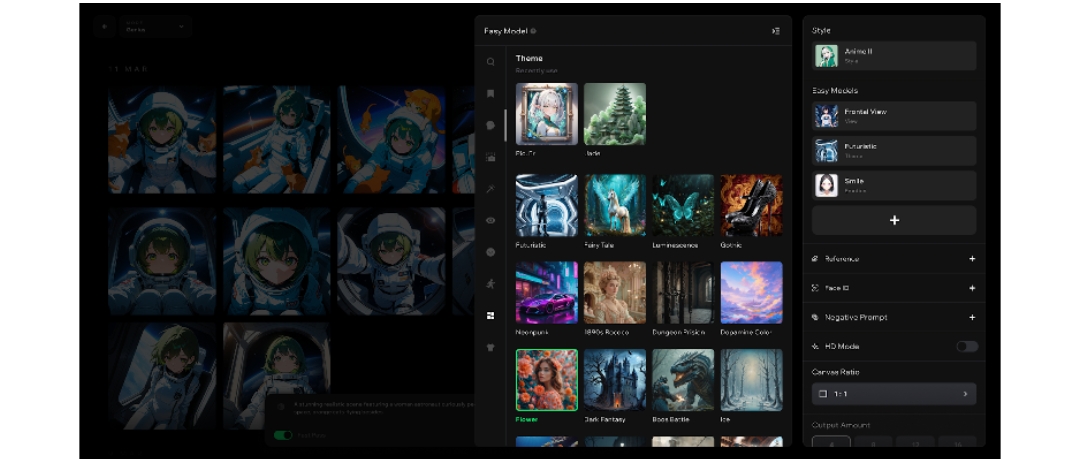
You can also choose other settings like adding “Negative Prompt” or selecting “Canvas Ratio.” Add a written text in the “Text” box and hit the “Create” button to get the process started.
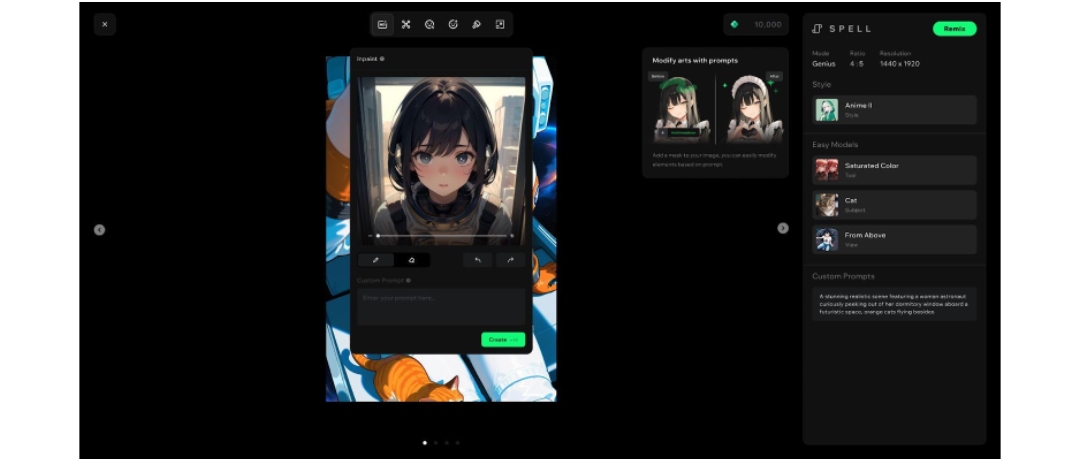
Step 5. Export Your AI Photo Art and Share with the Spellai Community
Finally, choose the desired “Advanced” settings to enhance the generated photos further and share them with your friends.
Part 6. Pros and Cons of Spellai for Photo-to-Art Transformation
Once you have created a photo-to-art AI with Spellai, walk through the following section for its strengths and weaknesses:
Pros
- Users can customize their desired Canvas Ratio according to their requirements.
- This tool lets you choose the number of outputs you want to generate.
- It offers numerous built-in Easy Models to get more specific results.
Cons
- AI video generation is not supported yet across Spellai, but it might be available by August of this year.
- Users can’t add Reference and Face ID within the “Professional” mode.
Conclusion
Summing up, now AI art converters have transformed the process of photo to art, making it as easy as hours to minutes. To make this process easier, review the prerequisites mentioned in this guide. However, for creating art, we recommend using Spellai among other options, which lets you add Face ID with a text prompt to get personalized outcomes.