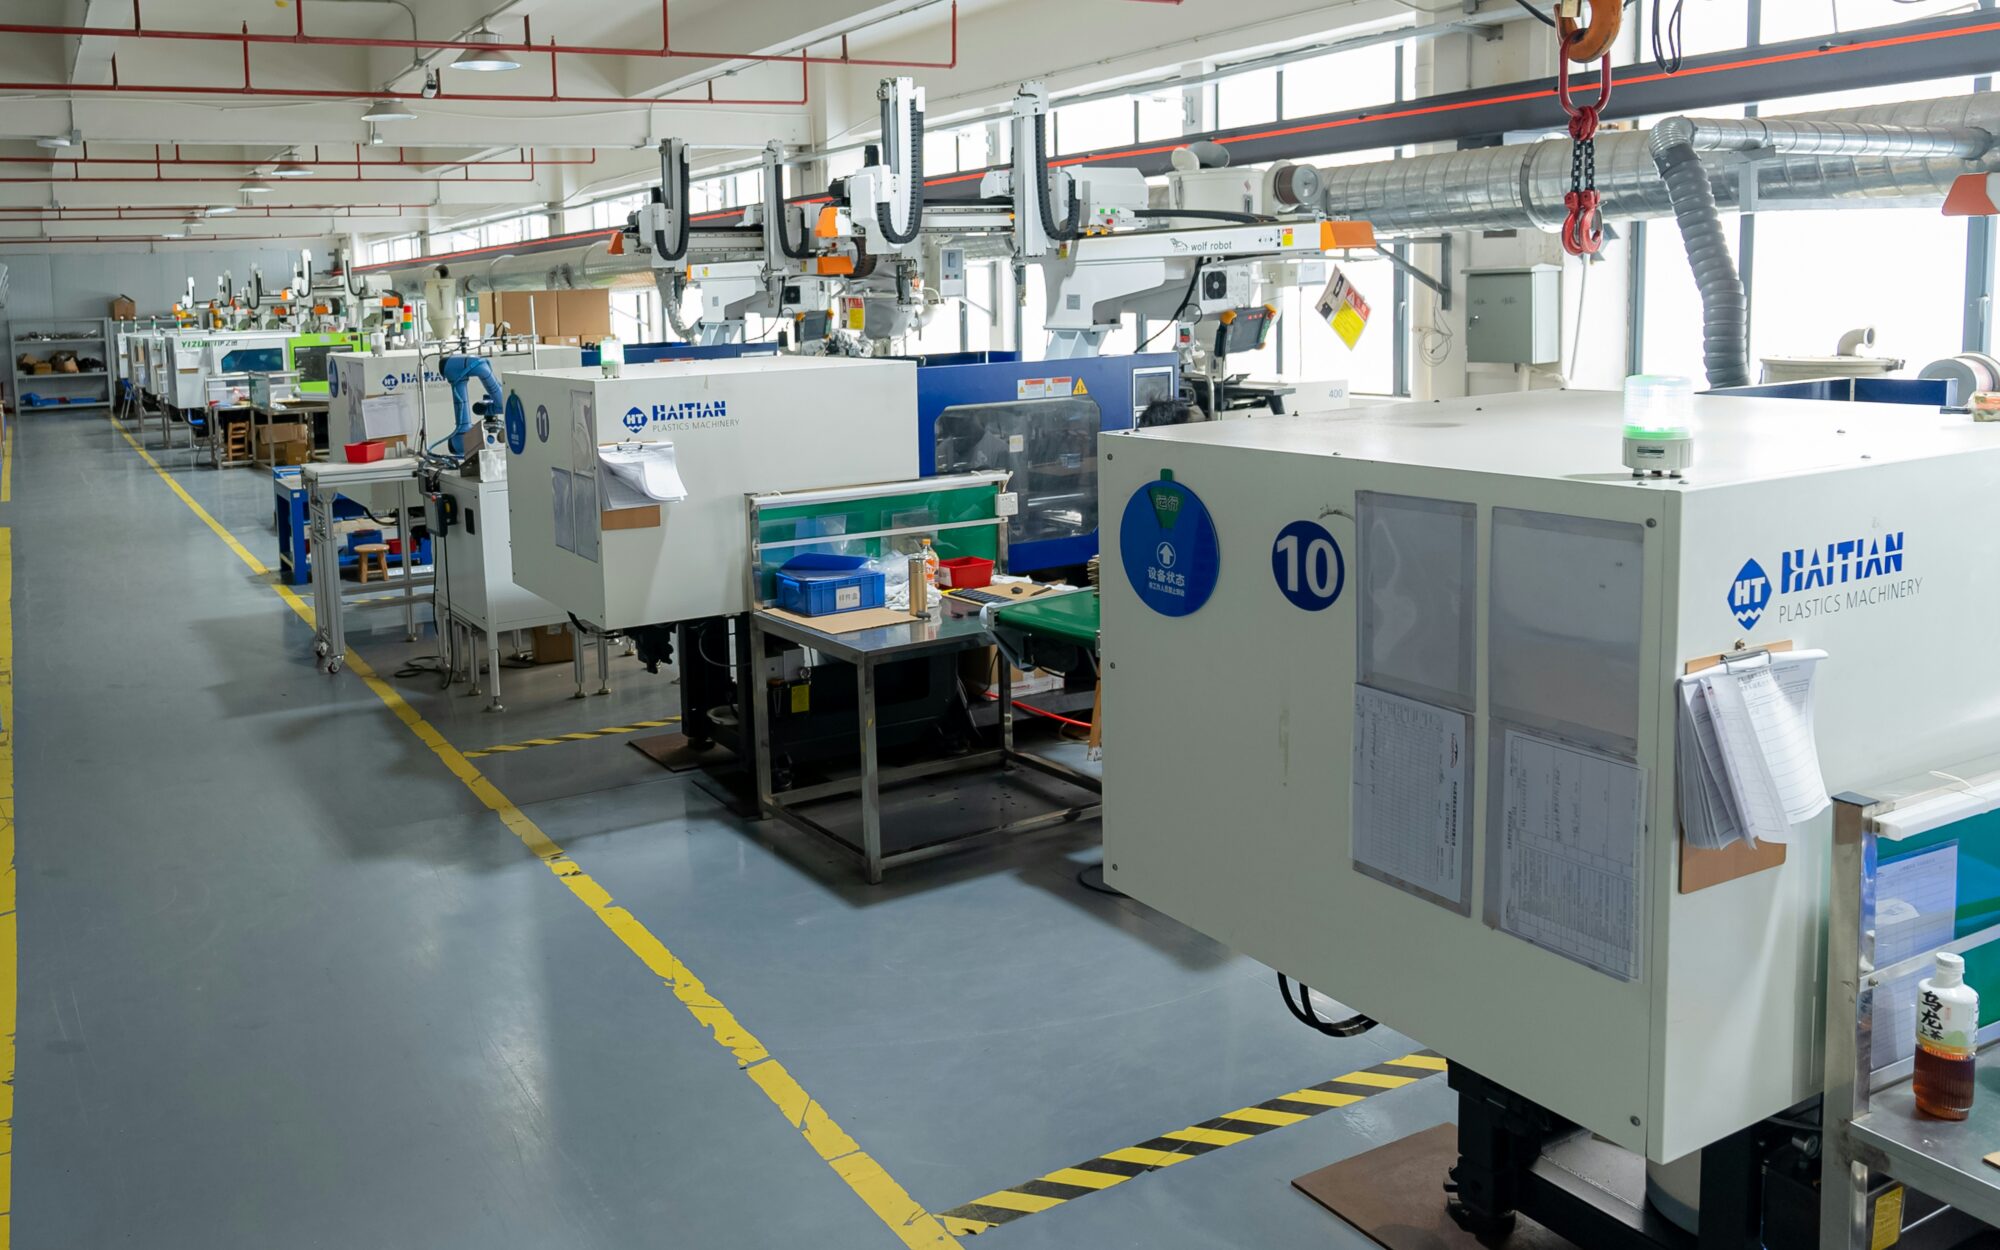
Purging might not be the most exciting part of injection molding, but it is one of the most important. If you have ever dealt with streaks, contamination, or an unexpected pop of the wrong color in a finished part, you would know exactly how frustrating poor machine hygiene can be. Purging, on the other hand, keeps your equipment clean, your transitions smooth, and your production on track.
So, if you are dealing with a simple material switch or trying to tackle carbon buildup from neglected maintenance, using the right purging approach can save significant time, money, and headaches. Here is a brief but helpful guide to purging compounds in injection molding.
Understanding the Role of Purging in Injection Molding
Simply put, purging is a maintenance process that removes leftover resin, pigments, and contaminants from the screw, barrel, and nozzle of your molding machine. It is particularly important during color or material changeovers, machine shutdowns, or when restarting after a pause. Without purging, residual materials can degrade, discolor, or cause streaking in future runs. These issues not only compromise quality but can also damage your equipment over time.
A proper purge hence serves to protect your product and safeguards the entire molding process. Clean internals lead to more consistent cycles, reduce downtime, and extend the life of machine components.
Choosing the Right Purging Compound
Some purging compounds are designed for general-purpose cleaning, while others are made to remove specific resins, colorants, or carbon deposits. Mechanical purging compounds physically scrub the screw and barrel, while chemical compounds break down residual material for easier expulsion. There are also hybrid formulations that combine both actions.
When selecting a compound, it is important to consider compatibility with the resins in use, the temperature range of your machine, and how aggressively the compound acts on contaminants. An overly abrasive compound may clean well but could increase wear on your equipment.
Preparing the Machine for Purging
Begin by clearing the hopper, feed throat, and lines of any leftover material. If the machine includes a vented barrel, clean and plug the vent before proceeding. Make sure nozzle band wires are clear, and always wear appropriate safety gear, which should also include gloves and eye protection.
Adjust your machine to manual mode and confirm that the temperatures are within the optimal range for the purging compound. A mismatch here can lead to poor cleaning or even damage. Once everything is ready, retract the injection unit and run the barrel empty while using maximum back pressure.
Step-by-Step Purging Process
After prepping the machine, it is time to purge. Load the purging compound- ideally one to two times the barrel capacity- into the hopper. With the screw in a forward position, increase back pressure and begin purging until the compound flows through the nozzle. At this stage, the material should start to look cleaner, with the purging compound’s color becoming more uniform.
Once the initial run is complete, drop the back pressure, refill the barrel, and allow the compound to soak for several minutes. This helps it penetrate stubborn residues. During the soak, the compound should begin to expand or bubble, indicating it’s actively breaking down contaminants. Continue purging until all traces of old material and the compound are gone.
Comparing Purging Methods
There are multiple injection molding purging methods available, and choosing the right one depends on your specific situation:
- Mechanical Purging relies on the physical action of the purging compound to scrub the barrel and screw. It is widely used for general cleaning and material changes.
- Chemical Purging introduces compounds that react with residual resin to loosen and remove it. It is effective for removing degraded material or sticky engineering plastics.
- Hybrid Purging combines mechanical and chemical properties for more aggressive cleaning when dealing with severe buildup.
- Manual Cleaning is less common but is sometimes necessary for extreme contamination. However, it is labor-intensive and requires disassembly.
Each method has pros and cons, but the goal is always to clean the machine quickly and thoroughly without risking damage or excessive downtime.
Some Common Mistakes to Avoid
One of the biggest pitfalls in purging is underestimating the amount of purging compound needed. Using too little can leave residues behind, while too much increases costs without added benefit. Another common mistake is skipping the soak phase, which is important for chemical or hybrid purges.
Avoid rushing the purge process to get production restarted faster. Incomplete purging often leads to more downtime later due to poor part quality or machine issues. Finally, overlooking the nozzle tip and gate areas can allow contaminants to linger in critical flow paths.
Final Thoughts
Keeping injection molding machines clean is more than a maintenance task—it’s a key factor in ensuring product quality, process efficiency, and equipment longevity. With the right purging strategy in place, material transitions become smoother, waste is minimized, and production downtime is kept to a minimum.
By understanding the different injection molding purging methods and applying them with care, it becomes much easier to maintain a reliable, high-performing production environment—one clean barrel at a time.


