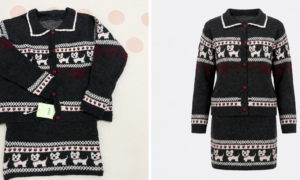
Photographing jewelry is a special specialization in studio photography that goes together with the necessary knowledge and skills of Photoshop. When you have the jewelry for your webshop photographed in the photo studio, it is therefore wise to first discuss the options in detail. If desired, we make some packshots in advance from different points of view, so that you can choose what best suits your web store. Our product photographer ensures that the jewelry is photographed perfectly in our photo studio. After processing, the packshots are delivered in the correct extension and format, so that you can place them directly in the webshop along product photography pricing.
Reflection and glare
The way in which the lighting is used has a great influence on the way in which the material appears in the product photos. It is important that a diffused light is used, for example via various soft boxes, to prevent reflections in the jewelry. White and black reflective screens are often used to show the colors of the jewelry well. For example, with diamonds it is important to bring out the brilliance well, but to minimize the reflection on the metal. When photographing jewelry, as a rule, a white background is used. Our product photographers have extensive experience in photographing jewelry in the photo studio and provide professional pack shots for your web store.
Jewelry post-processing in Photoshop
The studio photography is followed by post-processing using Photoshop. With this, the product photographer puts the proverbial dots on the, for example when it comes to color and shadows. In addition, Photoshop is used to combine different photos. For example to achieve a full depth of field when a piece of jewelry is both wide and deep. With our Webshop Ready Guarantee you will receive the packshots in the correct extension and format. So that you can place them directly in the webshop.
What do you need?
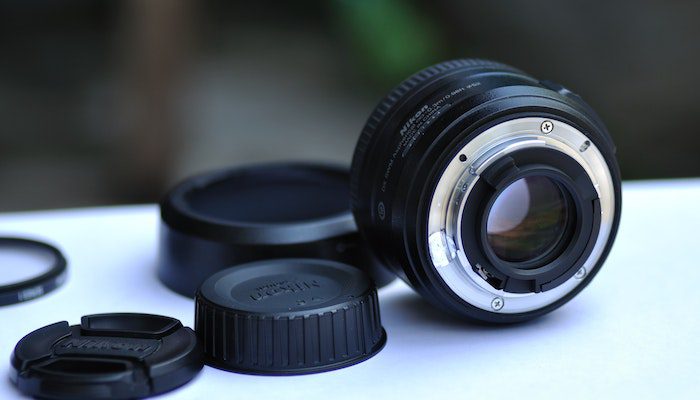
Background & tools
A good background for your product photos is a must. This can be just a simple sheet of white paper. There is also special background material such as a bendable white plastic sheet. The advantage of this is that you do not suffer from folding or tearing.
In terms of auxiliary tools, you can think of adhesive paste, wooden sticks and support blocks. It again depends on which product you are shooting. It can also be useful in some cases to use a tripod. A tripod is recommended, especially for photos with a slow shutter speed.
Light and exposure
As soon as you start with product photography, it is very important to keep a close eye on the incidence of light. You will soon come across the term “light tent”. Working with a light tent means that you always create exactly the same light. However, you can achieve just as good results with a white work surface, a white sheet of paper and a little natural light. For more professional approach check product photography pricing.
The ideal situation is to take the pictures close to a window with no direct sunlight hitting the shooting surface. This way you avoid too bright light or hard shadows. From which side the light should come can differ per product, you will have to experiment with this. A slightly slower shutter speed than usual emphasizes the dark parts of your subject. However, no matter how great the click is, photo editing is essential in converting a good click into a perfect one. For that purpose, the best photo editing apps are available with various features for your convenience to make an on-point image. As a result, you will automatically have a hold on product photography and can gain fruitful results from the business.