Installing wall tiles may seem like a challenging task, but with the right approach, you can transform any space with ease. Whether you’re updating a bathroom, kitchen, or any other room, the right installation techniques can make all the difference in achieving a professional-looking finish.
This blog will share five important tips to help you successfully install wall tiles, ensuring your project goes smoothly and the results are stunning.
1. Plan Your Layout
Get ready to start by planning how you will arrange your tiles. Find out how big the wall is and choose where to start. Most people start in the middle or a corner. This helps keep the edges of the wall from being uneven.
You can also test the tiles’ fit by putting them on the floor first. This ensures the pattern looks good and minimizes cutting tiles. Planning will make the entire installation process smoother and more precise.
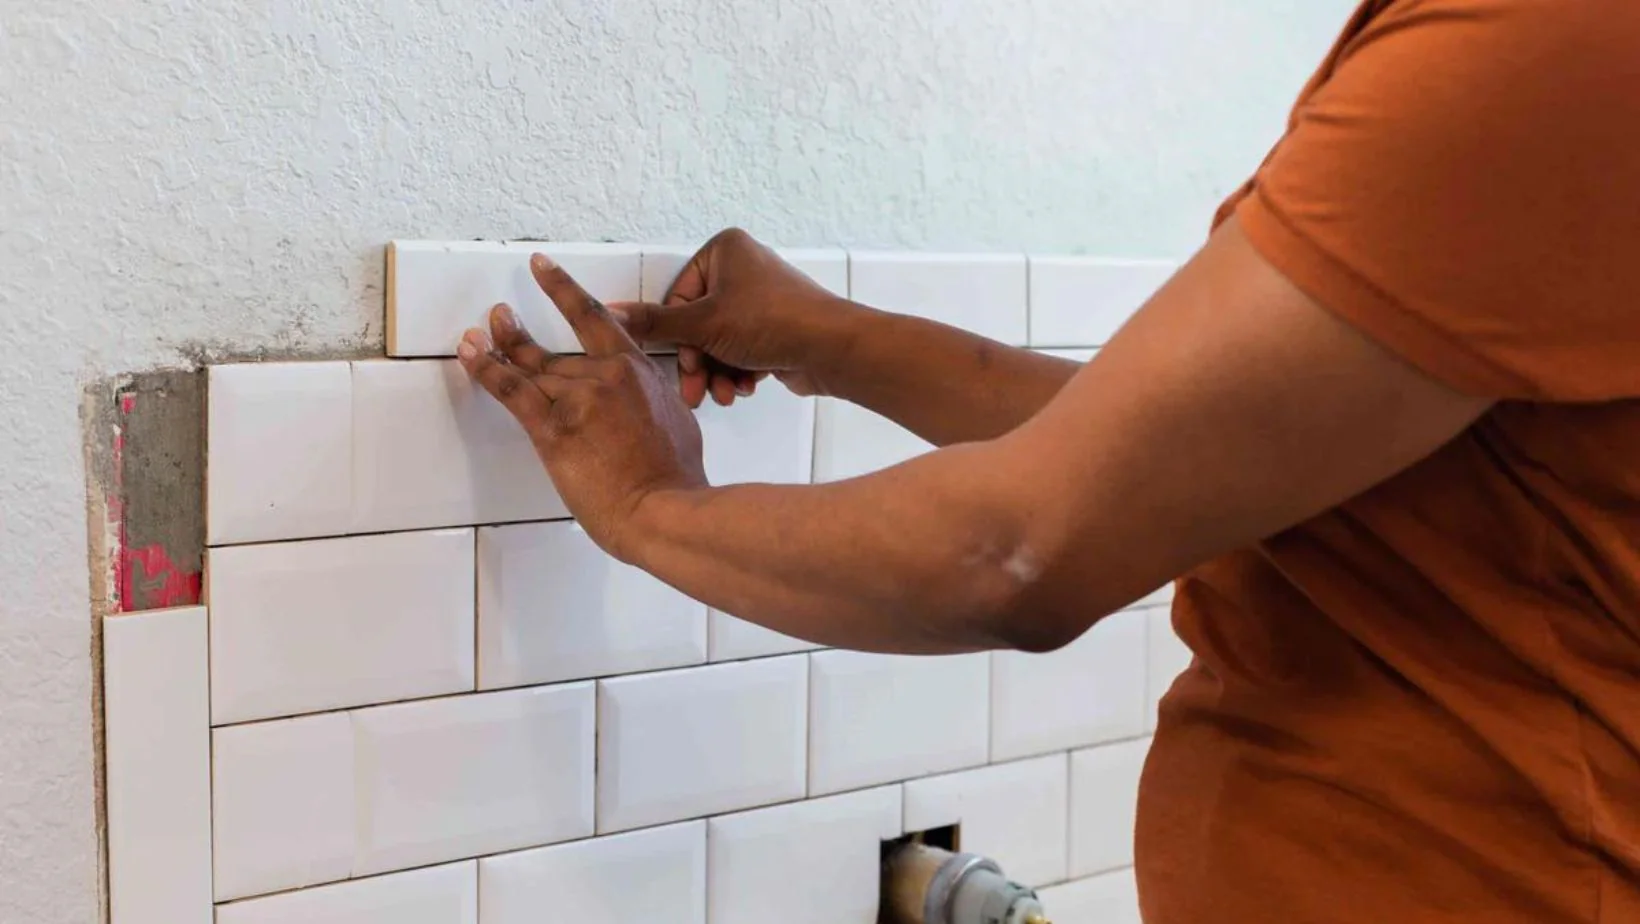
2. Prepare the Surface
Before putting up tiles, the wall must be clean, smooth, and dry. Get rid of any extra dirt, paint, or wallpaper. Use wall leveling compound to make the wall smooth if it is not even. This makes sure that the tiles stay put and do not move over time. If the surface is not prepared correctly, tiles may not adhere properly, leading to future problems.
3. Choose the Right Adhesive
It is very important to use the right adhesive for a safe tile installation. Pick a tile glue that works with both the tiles and the wall material (such as plaster, cement, or drywall).
Thin-set mortar is often used for ceramic and porcelain tiles. Mastic adhesive, on the other hand, works better for small tiles in dry places.
Always follow the manufacturer’s instructions for best results. The right adhesive ensures your tiles stay in place for a long time.
4. Use Tile Spacers
Tile spacers are small plastic pieces that help keep an even gap between each tile. They ensure your tiles are spaced consistently, making the grout lines straight and uniform.
As you put the tiles down, put the spacers between them. After the adhesive dries, you can remove the spacers and fill the gaps with grout. Using spacers helps maintain a professional-looking finish and prevents uneven spacing.
5. Seal the Tiles and Grout
After installing the tiles and grout, it’s important to seal them. Sealing helps protect the tiles and grout from stains, water damage, and mildew. Apply a grout sealer to prevent water from seeping into the grout and causing damage. For some tiles, such as natural stone, you might also need to seal the surface to keep them looking fresh and clean. Sealing ensures your tiles stay in good condition for years.
Have a Successful Wall Tile Installation
Whether you’re working on a small accent wall or a full-room project, proper planning, preparation, and technique are key. For top-quality tiles and expert advice, make sure to check out ColorTile for everything you need to complete your project successfully.