Welcome to the fascinating world of 3D printing through TinkerCAD! In this digital age, 3D printing has emerged as a revolutionary technology, empowering individuals to bring their imaginations to life in tangible, three-dimensional forms. TinkerCAD, a user-friendly platform, has democratized the process, making it accessible to beginners and experts alike.
Whether you’re a hobbyist, educator, designer, or entrepreneur, understanding the fundamentals of 3D printing in TinkerCAD opens a realm of possibilities. From creating intricate prototypes to crafting personalized gifts, the versatility of TinkerCAD’s interface allows for limitless creativity.
In this article, we’ll explore the essentials you need to know about 3D printing with TinkerCAD. From navigating the software interface to mastering design techniques, we’ll equip you with the knowledge to unleash your creativity and navigate the exciting world of additive manufacturing.
Join us on this journey as we delve into the intricacies of 3D printing in TinkerCAD, uncovering its potential to transform ideas into reality.
How to get started with 3D printing?
Website Overview: Image Source: Andreas Giencke
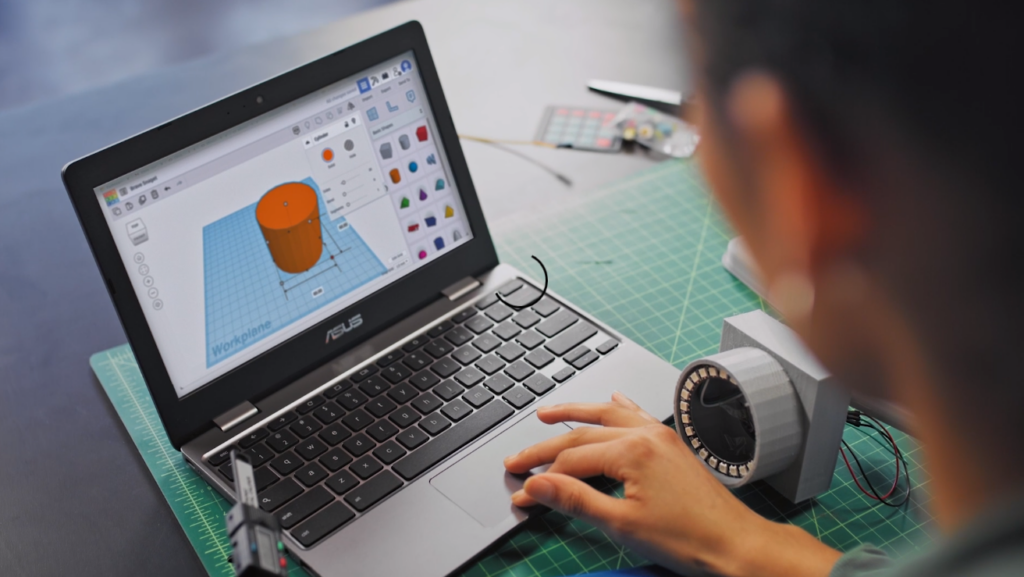
Embarking on the journey of 3D printing with Tinkercad can be both exciting and rewarding. Tinkercad, a user-friendly platform under the Autodesk umbrella, offers an accessible entry point into the realm of digital design and fabrication. Before diving into the intricacies of Tinkercad’s features and functionalities, it’s essential to grasp the foundational aspects of navigating the platform effectively.
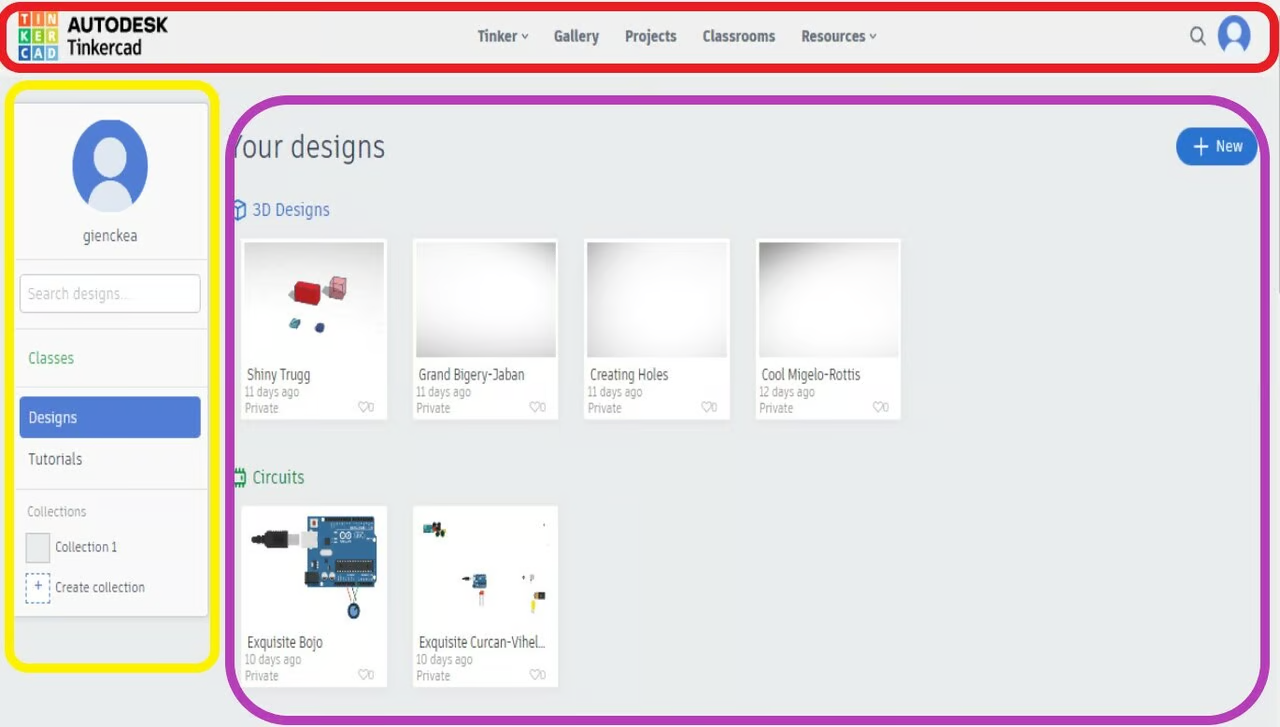
Dashboard: Image Source: Andreas Giencke
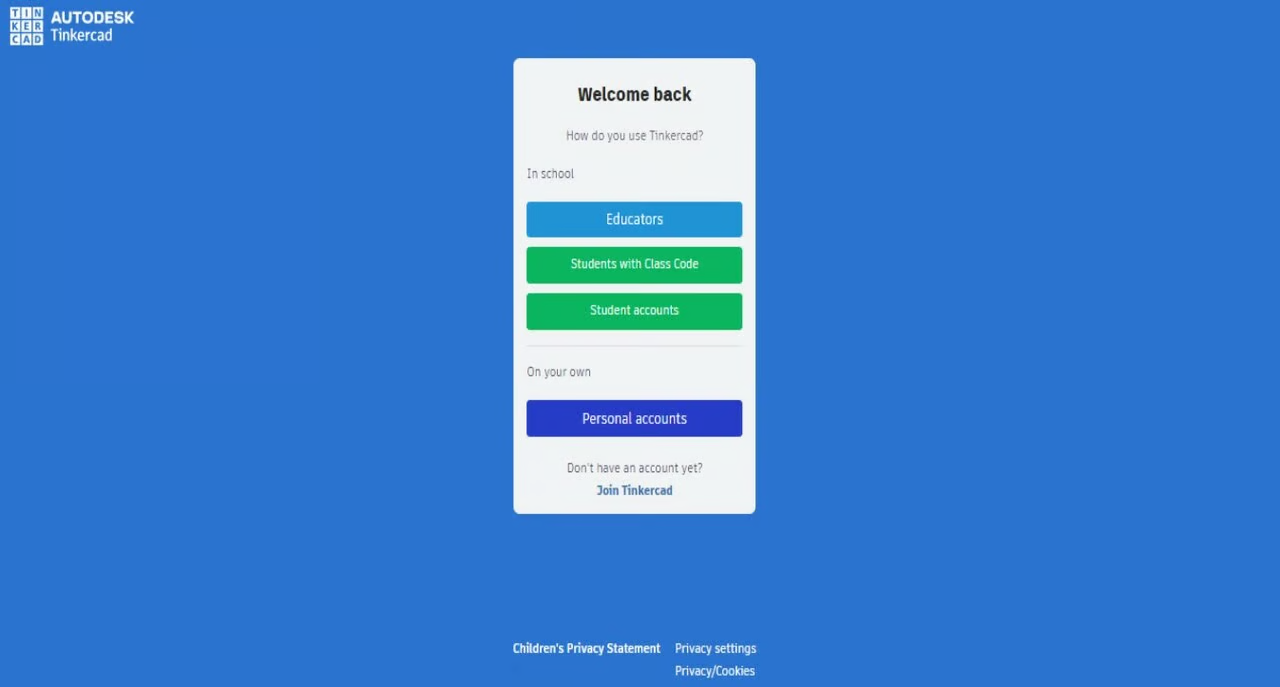
To begin your Tinkercad journey, the first step entails creating an account. Whether you’re an educator, a student, or an individual enthusiast, Tinkercad accommodates various account types to suit your needs. Interestingly, if you’re already a user of Autodesk’s Fusion 360, you can seamlessly use the same credentials for Tinkercad, streamlining your digital design experience across platforms.
Creating an account is a straightforward process, requiring you to click on a link, input your details, and follow the on-screen instructions. Once logged in, you’re greeted with Tinkercad’s intuitive web-based interface, designed for seamless navigation using mouse controls and straightforward menu options. Despite its educational focus and child-friendly appeal, Tinkercad boasts functionality that caters to users of all ages and skill levels.
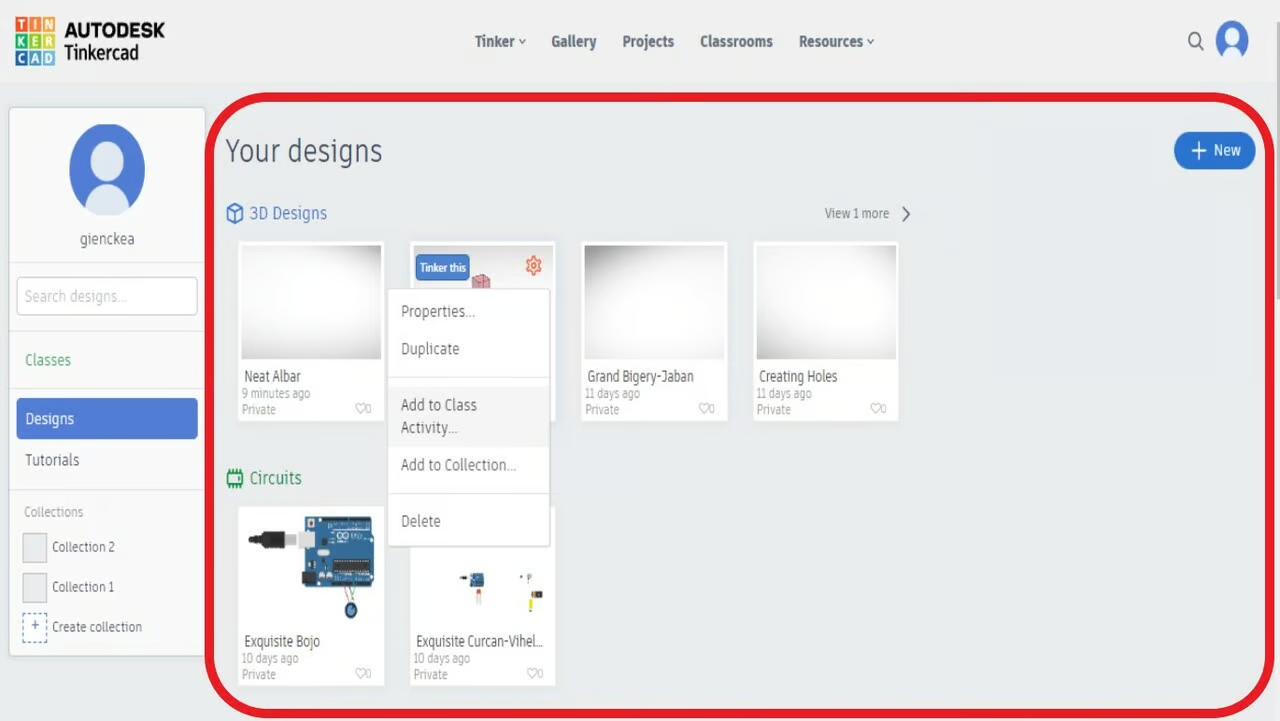
Upon logging in, you’re ushered into the dashboard, your central hub within Tinkercad. The dashboard provides an overview of all your designs, neatly organized into sections: 3D Design, Circuits, and Codeblocks. With easy access to account details, classes, and collections, the dashboard serves as your command center for exploring and managing your creative endeavors.
Delving deeper into Tinkercad’s menu block, you’ll discover a plethora of administrative functions at your disposal. From personalizing your profile to joining classes and organizing collections, the menu block offers tools to enhance your Tinkercad experience, particularly in educational settings.
Collections within Tinkercad enable you to curate and organize your designs efficiently. Whether creating new collections or managing existing ones, Tinkercad empowers users to structure their projects with ease and flexibility.
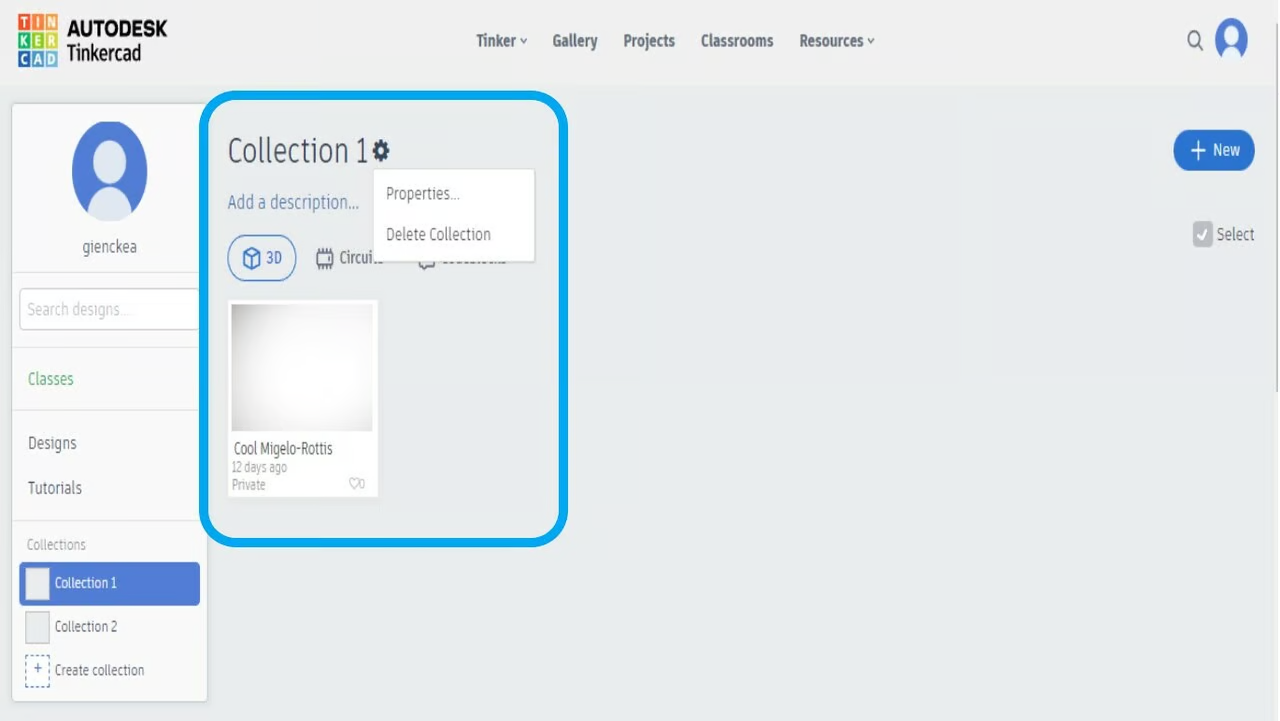
Collection: Image Source: Andreas Giencke
The main area of the dashboard showcases your designs across different Tinkercad sections, providing a comprehensive view of your creative portfolio. With the ability to initiate new projects seamlessly and explore community-driven inspiration through the Gallery, Tinkercad fosters a dynamic environment for innovation and collaboration.
Main area: Image Source: Andreas Giencke
Navigating the top bar menu unveils additional avenues for exploration and learning. From accessing different Tinkercad sections to exploring community projects and educational resources, the top bar menu serves as a gateway to endless possibilities within the Tinkercad ecosystem.

Top bar menu: Image Source: Andreas Giencke
Tinkercad encapsulates the spirit of creativity and exploration, offering a user-friendly platform for individuals of all backgrounds to unleash their imagination and bring their ideas to life through 3D printing. As we delve deeper into the intricacies of Tinkercad, we embark on a transformative journey that transcends traditional notions of design and fabrication, paving the way for innovation and discovery in the digital age.
What Can You Create, and What Are the Limits of TinkerCAD?
In the realm of 3D printing, TinkerCAD stands as a versatile tool, offering a gateway to creativity and design. Here’s a breakdown of what you need to know about 3D Printing in TinkerCAD:
Uses & Limitations:
– Unleashing Creativity: With TinkerCAD’s 3D design capabilities, the only limit to what you can create is your imagination. It empowers users to craft intricate designs and bring ideas to life in three dimensions.
– Integration with Minecraft & Lego: TinkerCAD facilitates seamless integration with Minecraft and Lego, allowing users to translate their designs into Minecraft models and Lego brick designs. This feature proves handy for makers seeking alternatives to traditional 3D printing methods.
– Design Constraints: While TinkerCAD offers a myriad of creative possibilities, it comes with certain limitations. Notably, it lacks support for 2D design, animations, analyses, and simulations. However, users can still design items capable of movement, like hinges and gears.
– Third-Party Dependency: TinkerCAD lacks built-in capabilities for creating machine paths for milling or 3D printing. As such, users need to rely on third-party software to convert their designs into tangible objects, emphasizing the importance of external tools for actualization.
Use Cases:
– 3D Modeling: TinkerCAD serves as a robust platform for creating intricate 3D models, catering to diverse user needs.
– CNC Milling: It enables users to generate models suitable for CNC mills or routers, expanding its utility beyond mere virtual design.
– Educational Tool: TinkerCAD’s user-friendly interface makes it an ideal tool for educational purposes, enabling students to delve into the world of 3D design with ease.
– Minecraft & Lego: The platform facilitates the creation of Minecraft and Lego models, offering a creative outlet for enthusiasts and hobbyists alike.
Limitations:
– Absence of Simulation & Analysis: TinkerCAD lacks options for simulations and analyses, such as Finite Element Method (FEM) and center of gravity calculations.
– Limited Interactive Modeling: It does not support interactive modeling features like hinge and movement simulations, constraining certain design possibilities.
– Professional Constraints: TinkerCAD lacks specialized libraries for professional use, limiting its applicability in certain industries.
– Format Restrictions: Users encounter restrictions in importing and exporting formats, hindering interoperability with other software tools.
– Functional Limitations: The platform lacks advanced features like mesh tools, sheet metal mode, and machining tool path functionality, constraining its utility for complex projects.
Despite these limitations, TinkeCAD remains a valuable tool for novice and experienced designers alike, offering a user-friendly interface and versatile design capabilities.
Curious about 3D printing in TinkerCAD? Here’s what you Need to Know!
Embarking on the journey of 3D printing with TinkerCAD unveils a world of creativity and innovation. This user-friendly platform simplifies the process, making it accessible for both beginners and seasoned designers. Here’s a concise guide on what you need to know about 3D printing in TinkerCAD:
- Downloading STL Files TinkerCAD facilitates the 3D printing process by allowing users to easily download STL files. Whether you’re at home with your printer or in a nearby maker space, obtaining the file is a breeze. Click on the model thumbnail or use the editor to export the STL file, the preferred format for most 3D printers. This file can then be imported into your printer’s slicing software, generating the essential G-code for the printing process.
- Printing with Partners: TinkerCAD goes a step further by providing the option to place print orders directly from the 3D editor. Navigate to the 3D Print tab, click “Export,” and explore the partnering printing services. This feature allows users to leverage the expertise of TinkerCAD’s printer partners, streamlining the printing process. By configuring printing options on the partner’s website, users can bring their TinkerCAD designs to life with ease. With TinkerCAD, 3D printing becomes not only a creative endeavor but also a seamlessly integrated and accessible experience.
The best substitute for TinkerCAD: SelfCAD
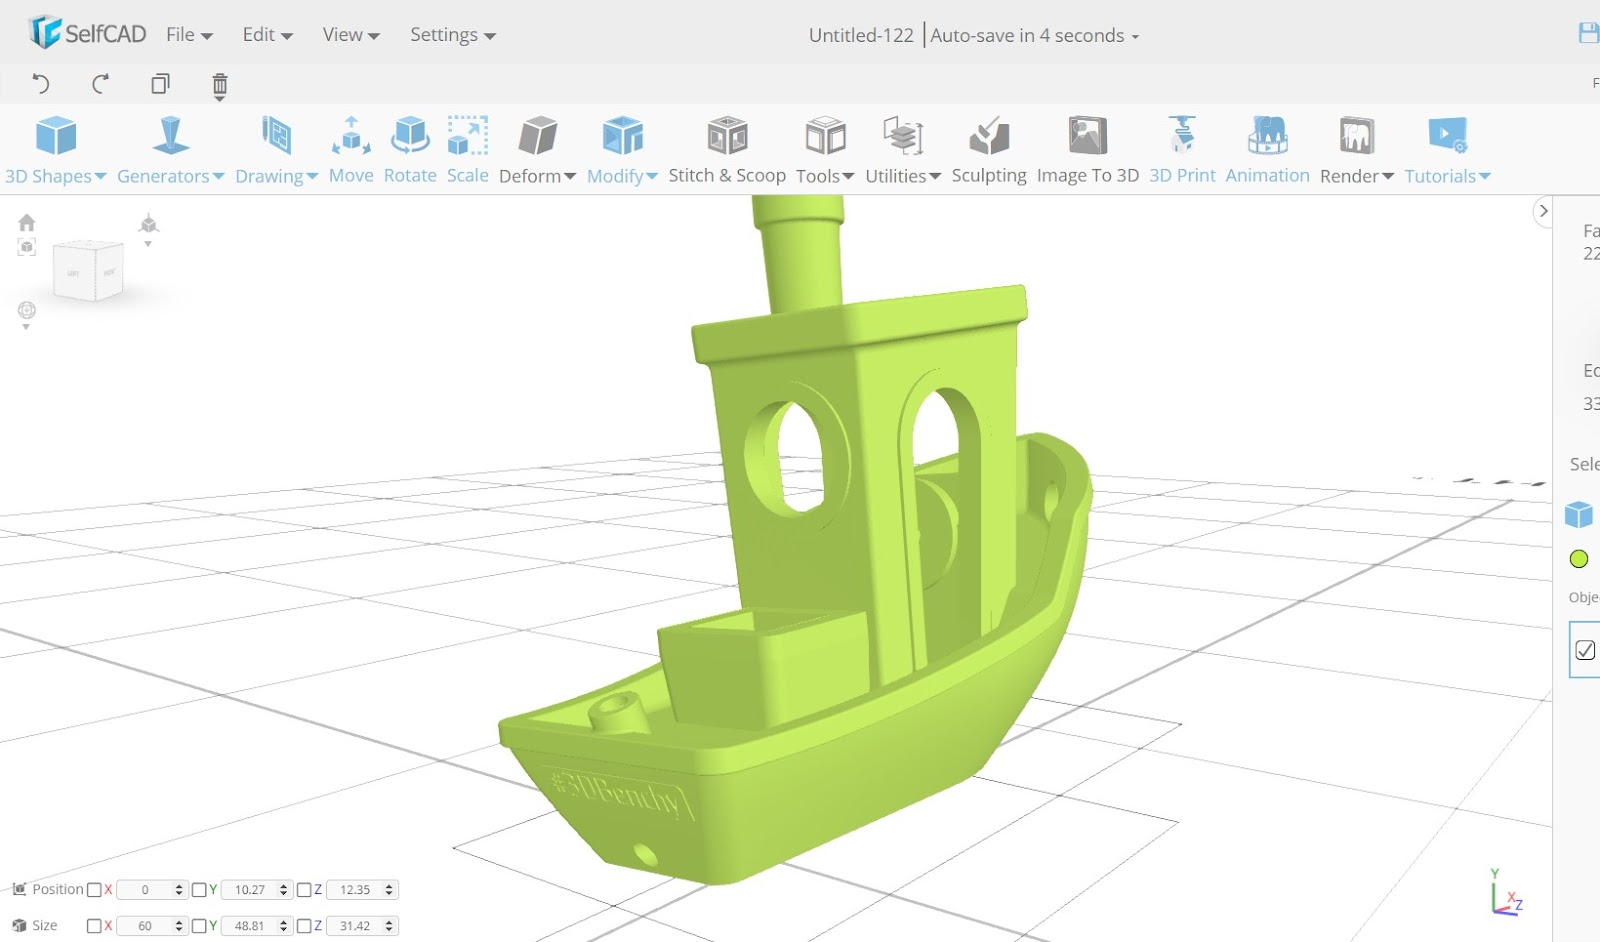
The best substitute for TinkerCAD: SelfCAD: Image Source: selfcad.com
There are many tools available that you can use as TinkerCAD alternative, but we recommend SelfCAD. SelfCAD is an easy to use 3D modeling software that integrates an in-built slicer, streamlining design preparation for printing. Notably, its magic fix tool aids in refining designs for printability, generating G-Code seamlessly without the need for additional software, thus enhancing its utility.
Moreover, SelfCAD isn’t just about printing readiness; it’s a potent 3D rendering platform as well. By rendering lifelike visuals swiftly, it minimizes the learning curve with interactive tutorials, empowering users to master 3D modeling effortlessly. With SelfCAD, the journey from conceptualization to realization becomes smoother, epitomizing a versatile toolset for novices and experts alike.
Conclusion
In conclusion, TinkerCAD offers an accessible entry point into 3D printing, empowering users to create and innovate. From designing simple shapes to intricate models, its intuitive interface fosters creativity. Understanding its basics opens doors to endless possibilities, making 3D printing a tangible reality for all enthusiasts.