
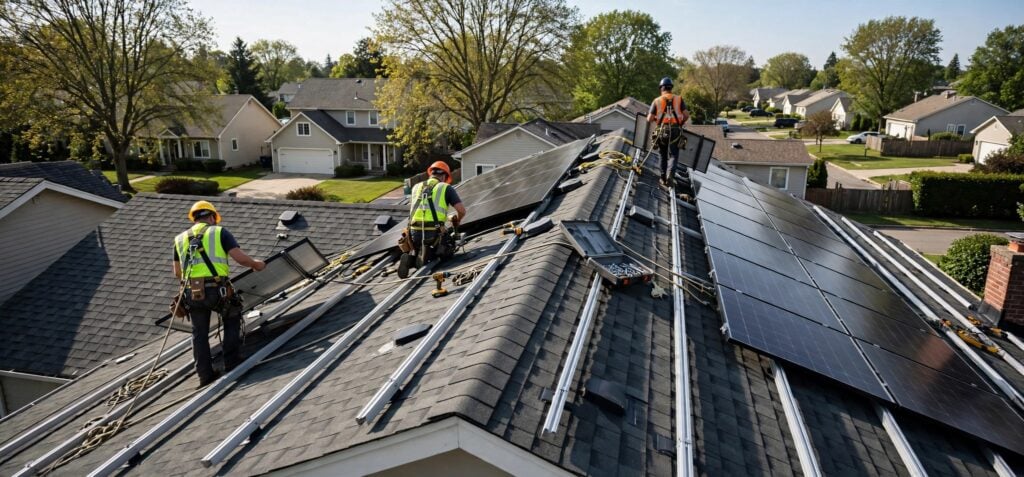
Plenty of people look into solar, get a quote and then stall. Part of the hesitation is not knowing what the process involves: how long it takes, how much disruption there is, and what paperwork comes with it. The reality is simpler than most expect. Here is what a typical home install looks like, from first visit to switch on.
Step 1: The survey
A good installer starts by looking at your home, not just a satellite image. The surveyor checks the direction, pitch and condition of your roof, notes any shading from chimneys, trees or nearby buildings, and works out where the inverter and any battery could go. They should also ask about your electricity use. Your annual usage in kWh, from your bills or supplier account, is the most useful number you can give them.
Step 2: System design and quote
From the survey, the installer designs a system around your roof and your usage. A proper quote sets out the number and type of panels, the inverter, the expected yearly generation, and whether battery storage is included or allowed for later. If a quote only gives you a system size and a price, ask for the detail before you sign.
Step 3: Telling the grid
Your local network operator needs to know about any system that connects to the grid. Smaller systems, up to 3.68kW on a standard single-phase supply, can usually be fitted first and notified afterwards. Larger systems, or setups where adding a battery takes the combined output over that limit, need approval before solar installation. That approval can take several weeks, so build it into your timeline.
Step 4: Scaffolding goes up
Scaffolding usually goes up a day or two before the install so the team has safe access to the roof. If your roof needs any repairs, such as slipped tiles or worn flashing, now is the time to get them done while access is already in place.
Step 5: Install day
Most domestic installs take one to two days. The team fixes mounting rails to the roof, secures the panels and runs cabling down to the inverter, which normally sits in the loft or garage. If you are having a battery, it goes in at the same time. Expect the power to be off for an hour or two while the system is connected to your consumer unit. Disruption inside the house is minimal.
Step 6: Commissioning and handover
Once everything is connected, the installer tests the system and checks it is generating as it should. You should be shown how to use the monitoring app so you can track output from day one. Before they leave, make sure you know what documents are coming:
- Electrical installation certificate
- Panel, inverter and battery warranties
- Workmanship warranty from the installer
- MCS certificate
Step 7: The paperwork that pays you
The MCS certificate matters more than most people realise. You need it to apply for the Smart Export Guarantee, which pays you for the electricity you send back to the grid. Your energy supplier, or another supplier offering an export tariff, will ask for it along with your smart meter details. Residential solar panels and batteries also carry 0% VAT in Great Britain until 31 March 2027.
How long does the whole process take?
From survey to switch on, most homes are looking at four to eight weeks, depending on the installer’s diary and whether grid approval is needed first. The time actually spent on your roof is a day or two.
If you are planning solar panel installation in Bristol, choose an MCS certified installer who handles the grid notification and export paperwork for you. It saves you chasing forms and means nothing gets missed between the roof going on and your first export payment arriving.